OGT Expedition 2.0: Rear Storage Lighting
We all want to get away from the bright city lights, but we don’t want to be left in the dark when setting up camp or preparing a meal. The Off Grid Trailer’s Expedition 2.0 has a great rear storage area, but one thing that is missing is some lighting.
Let There Be Light
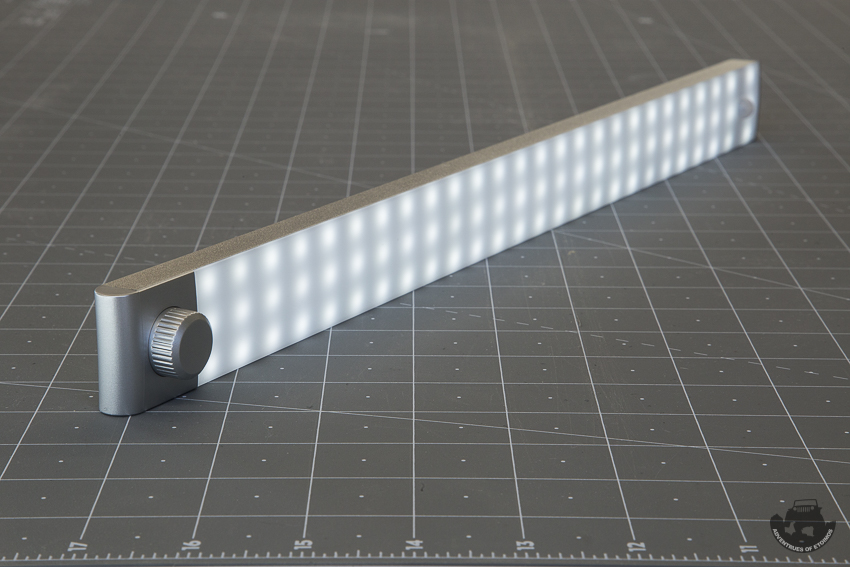
I purchased two LED lights that are 17-1/2″ long to give me good, even coverage across the entire rear storage area. These lights are dimmable from 250 lumens down to 150 lumens. They also have three modes of operation. They can be Always On, in which case the rechargeable battery is supposed to last about 6 hours, Motion Sensing, or Motion and Light Sensing. I run my lights in the last mode. In this mode they only turn on when it is dark and they sense motion. It is a great way to save the battery and only have them come on when you need them to… all without having to even touch them.
Mounting The Lights
You could easily stick some battery powered lights to the inside of the rear storage shelves, but that will give less than optimal coverage and could get in the way of things you are trying to store on the shelves. By mounting the lights on the inside of the rear door, it is easy to have them shine directly into the storage compartment.
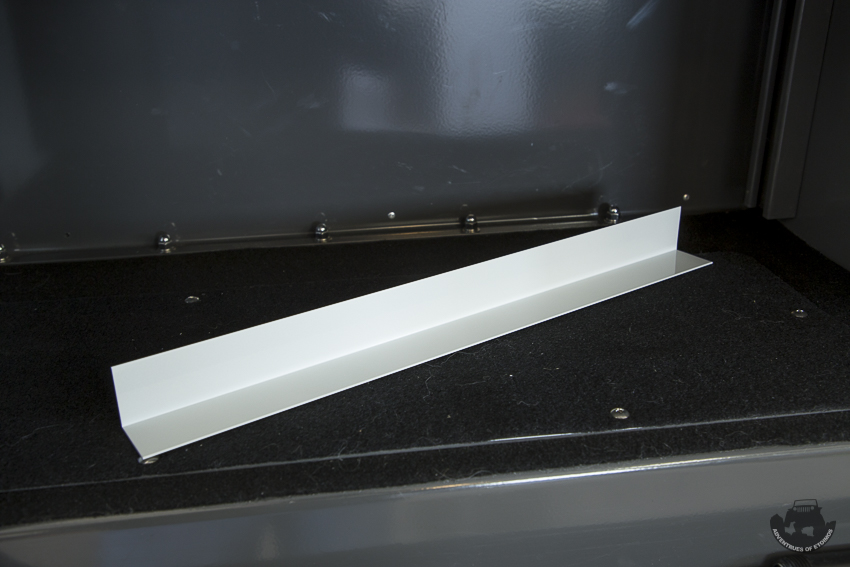
For my setup I ordered a 48″ section of 1-1/2″ x 1-1/2″ x 1/16″ aluminum angle off of Amazon. Aluminum is very easy to cut and can be done with a handsaw, or as in my case, a miter saw. Just be sure to file the edges down to remove any sharp spots. I powder coated it an off white to better match the inside of the rear door. You can also spray paint aluminum, but you need to put a good coat of aluminum primer on it first.
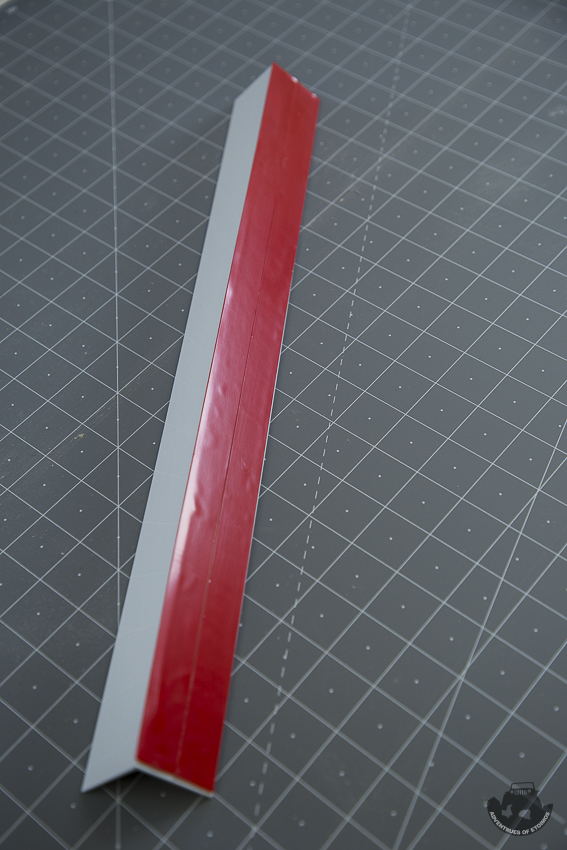
Once you have your mounting bracket prepared, it is time to put some adhesive on one side in order to stick it to the inside of the rear door. I used some 3M VHB Heavy Duty Mounting Tape (4910) for this as I had it on hand for a future solar panel install. This Very High Bond tape will also ensure that the brackets don’t come off when hitting the trails.
To attach the lights to the brackets, I used the adhesive backed magnetic strip that came with the lights. The adhesive hold the magnetic strip to the bracket and the magnet sticks to the back of the light. This makes it simple to remove the light and recharge it as needed.
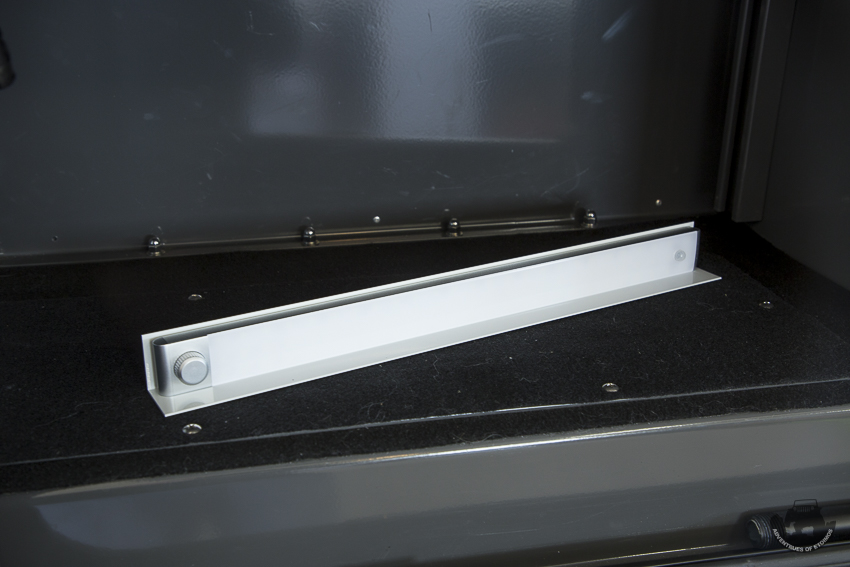
To ensure that the lights were level and pointing directly at the storage compartment, I ran some painters tape across the rear door. I then used that to align the light brackets and attached them.
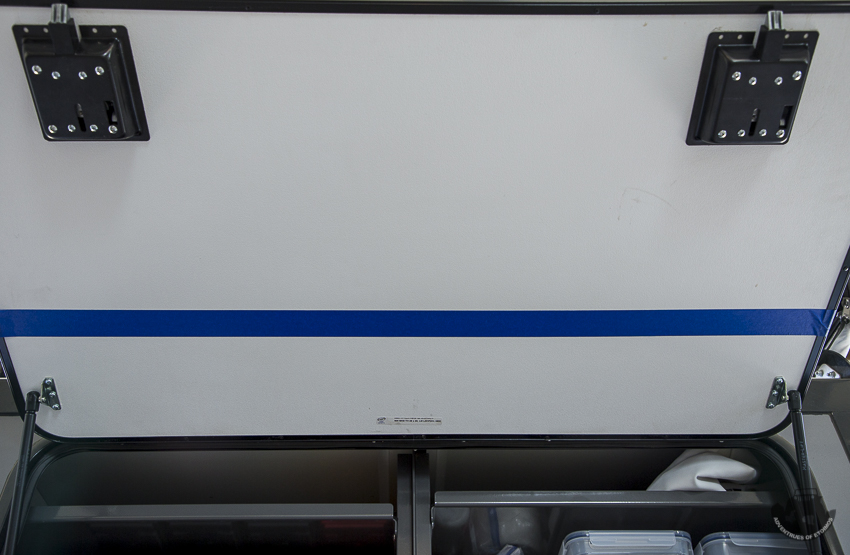
And There Was Light
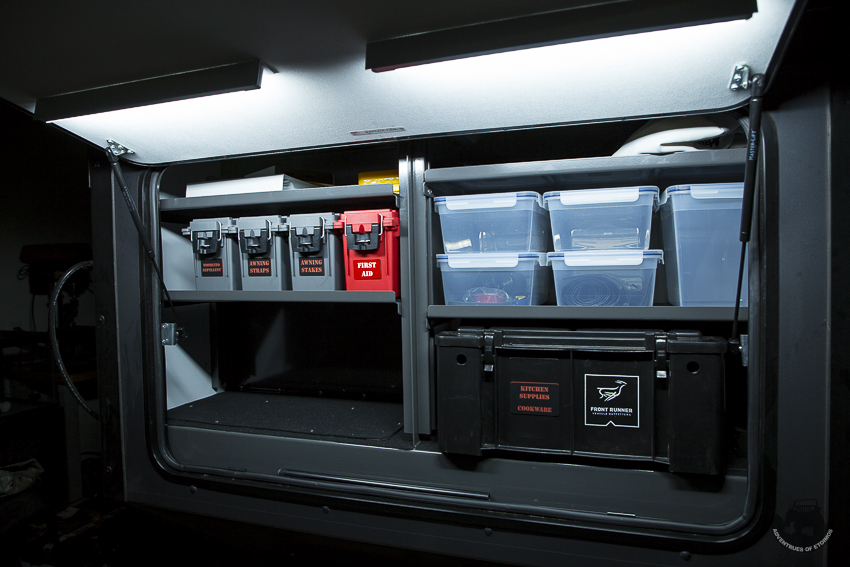
As you can see in the photo above, these lights give off a nice bright, even coverage across the back of the OGT Expedition 2.0. There are two other benefits to mounting the lights like this. First, they are not shining into your face making it hard to see into the storage compartment. Secondly, when the door is closed, the angle actually supports the bottom of the lights adding even more support when Overlanding.
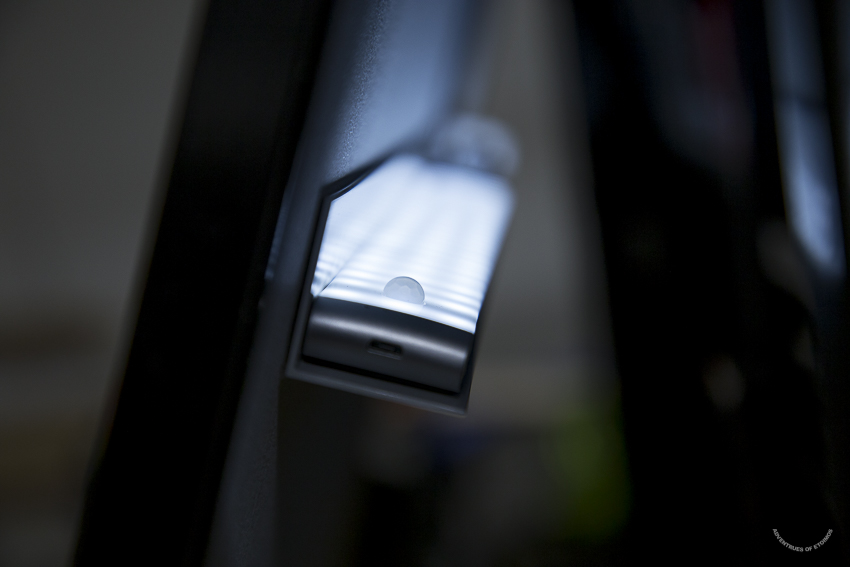
This is a simple modification that you can do in an afternoon and it yields a very clean install.
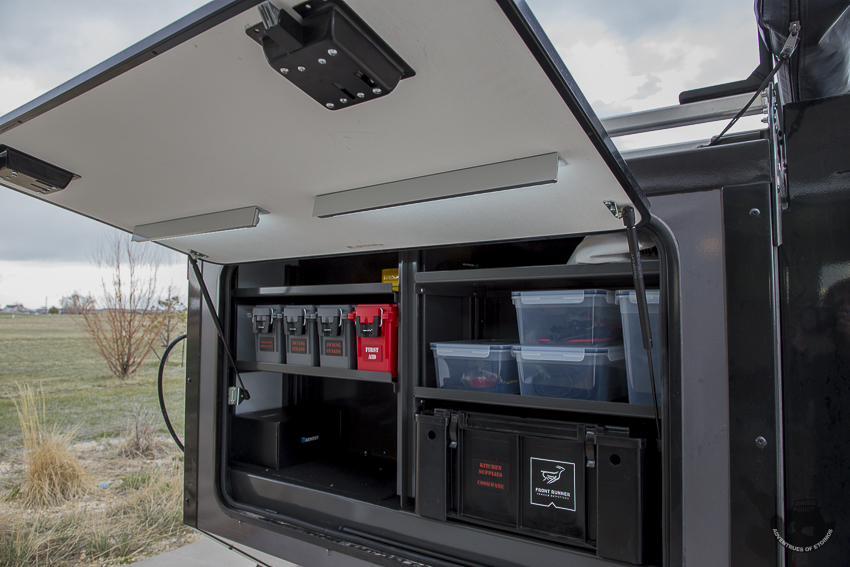
And as easy as that you have a nice set of lights to light up those deep, dark woods… well, to at least light up your midnight snacks!
4 comments