OGT Expedition 2.0: Sink Mods
There is not a lot that needs to be done as far as the Expeditions kitchen is concern, but one area that does need a little attention is what to do with the waste water from the sink when you are out Overlanding.
The sink has a standard 1.5″ threaded drain on it, but there is nothing to control where the water goes to. I just pours out on to the ground right below the sink. This is not what you want in a campsite where the ground is mostly going to be dirt. We want to make good food in our overland kitchen, not mud pies.
There are a couple of options to address this issue, with the two most popular being to fit a hose to it or hard plumbing it. The former is a decent option, but if you are camping in colder weather, it is going to be hard to get that hose to lay where you want it to. The latter option requires you to carry some type of bucket to catch the water in and then dump it.
I chose to go the hard pipe route as I’d much rather empty a bucket from time to time then have to fight with a hose in cold weather. And if we are looking on the bright side of things, that bucket of dish water can be used to put out the campfire at the end of the day.
Hard plumbing the sink is fairly straight forward. You just need to reduce the 1.5″ male threads on the bottom of the sink down to a 0.5″ riser pipe. There are several different options out there to reduce the pipe size and any of them will work. The method I used was a 1.5″ union connected to a 1.5″ to .5″ reducer and threaded my riser pipe into the reducer. Those were the parts my local Home Depot had in stock at the time.
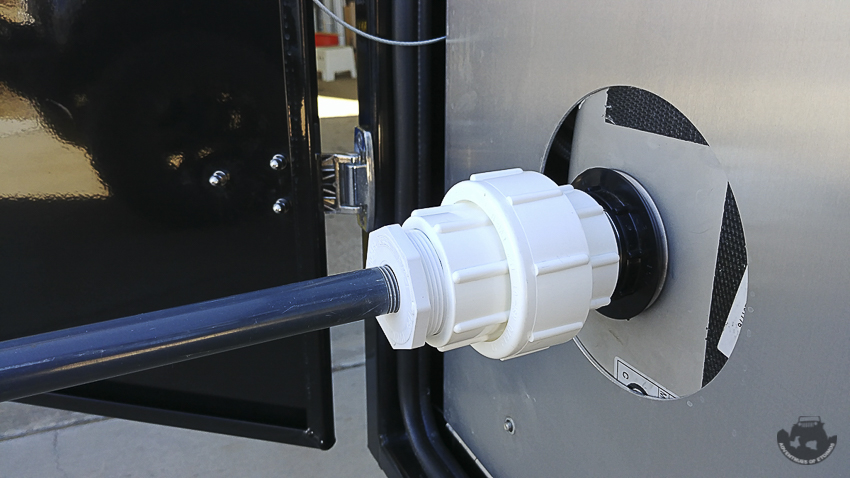
There is one thing I disliked about using the hard pipe to plumb my sink and that is I hate the look of white PVC. They do make PVC pipes in different colors, but it is just about impossible to find the fittings to match.
You can paint the PVC, but the paint never adheres well and it always chips off. The way to over come this is to dye the PVC instead of painting it. Dying it is very easy, but very messy. You will need some clear PVC cleaner, like Oatey, and the dye. I got my dye off of eBay, but there are Youtube videos showing people using Rit Dye. You simply mix the dye into the cleaner and then “paint” the parts with it.
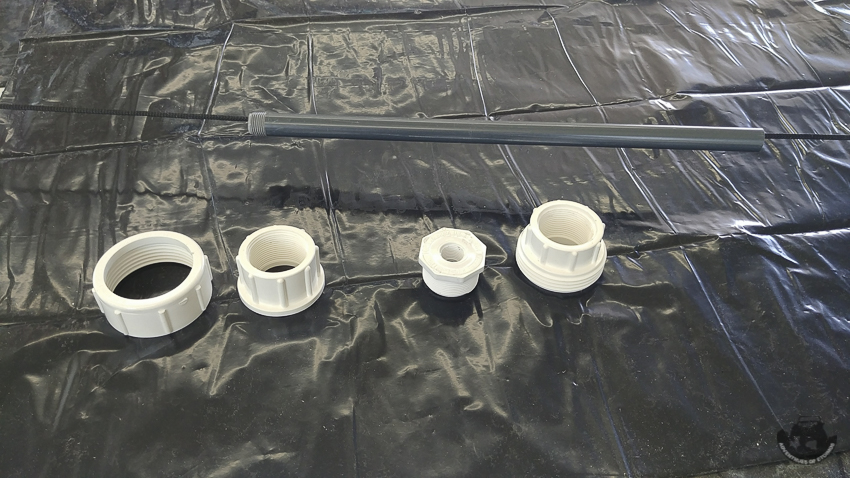
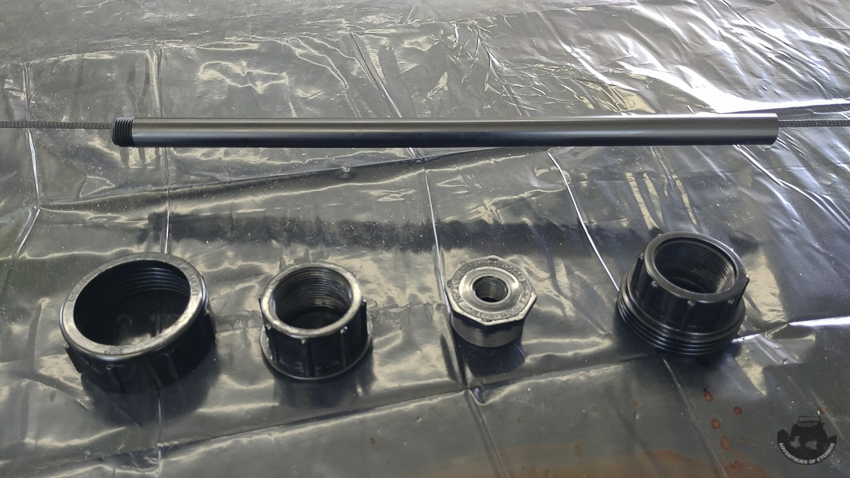
It dries really fast and you end up with colored PVC that is resistant to scratching or chipping off. You can scratch or gouge the parts enough to remove the dyed portion of the PVC, but that would take bit of effort. What you are left with is a nicer looking setup that just blends in with the trailer.
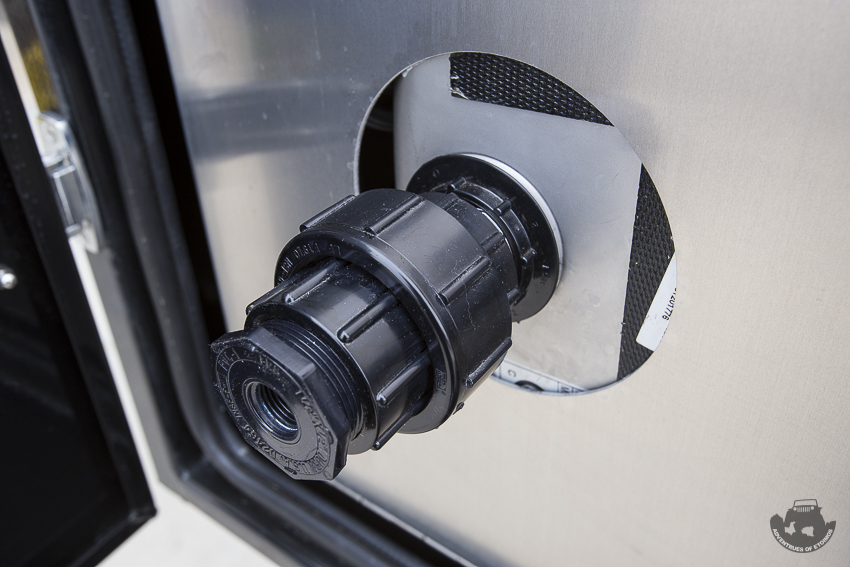
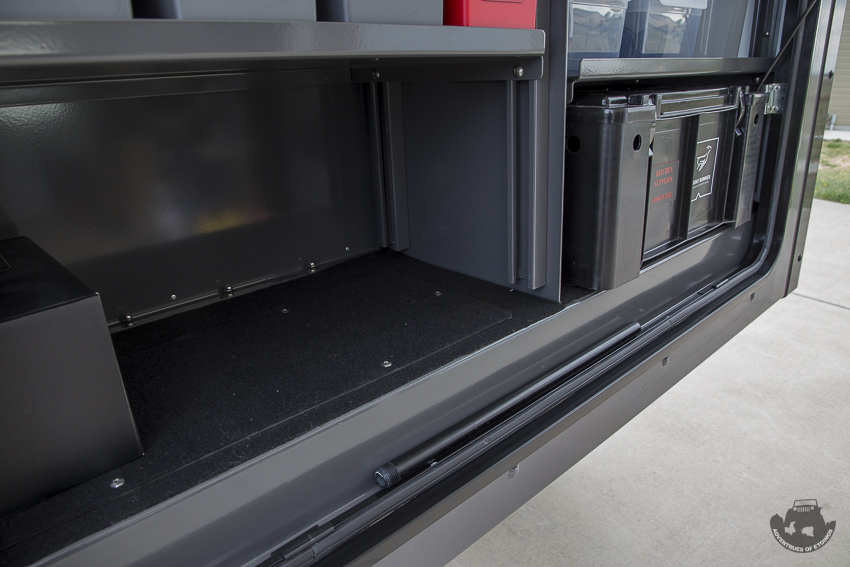
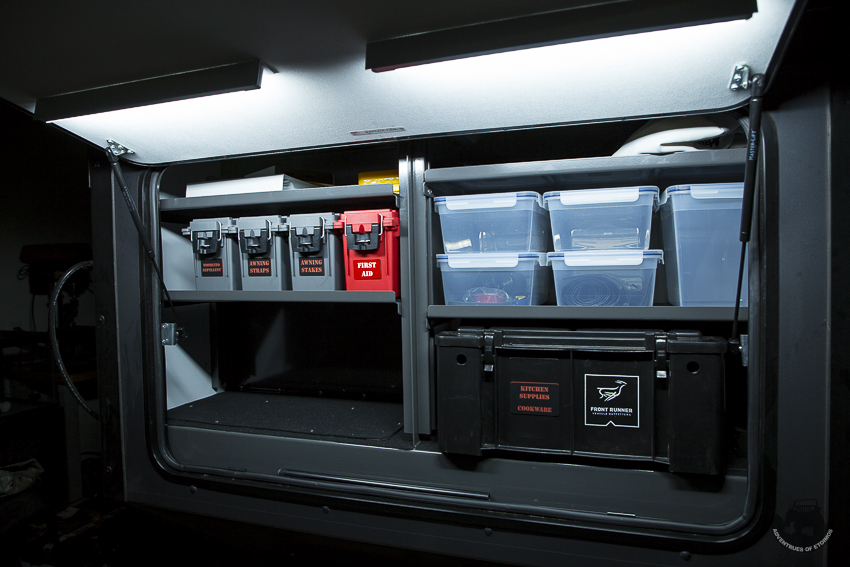
The indvidual parts store quite easily in the rear of the trailer. The union and reducer stay assembled and go into one of the storage containers and the long riser pipe fits nicely in the space between the hatch and shelves.
Leave a Reply