Power Wagon: Bed Modifications
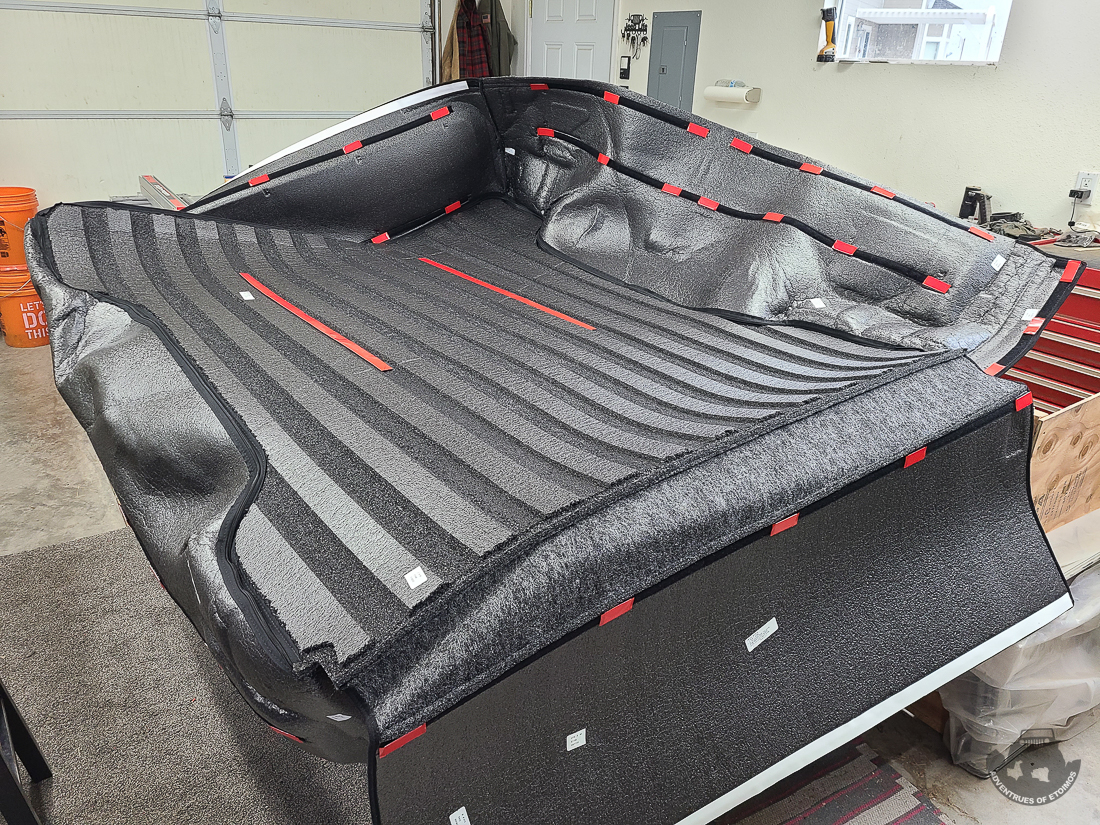
BedRug Classic
I did not order the truck with the factory spray in bedliner as I knew I wanted to install a BedRug Classic. I had looked at the BedRug line of products online back in my Jeep days, but I’d never seen one in person. Now that I have one in the PW, I really don’t know why I never got around to installing these in the Jeeps. This thing is super nice and makes crawling around in the bed way more comfortable.
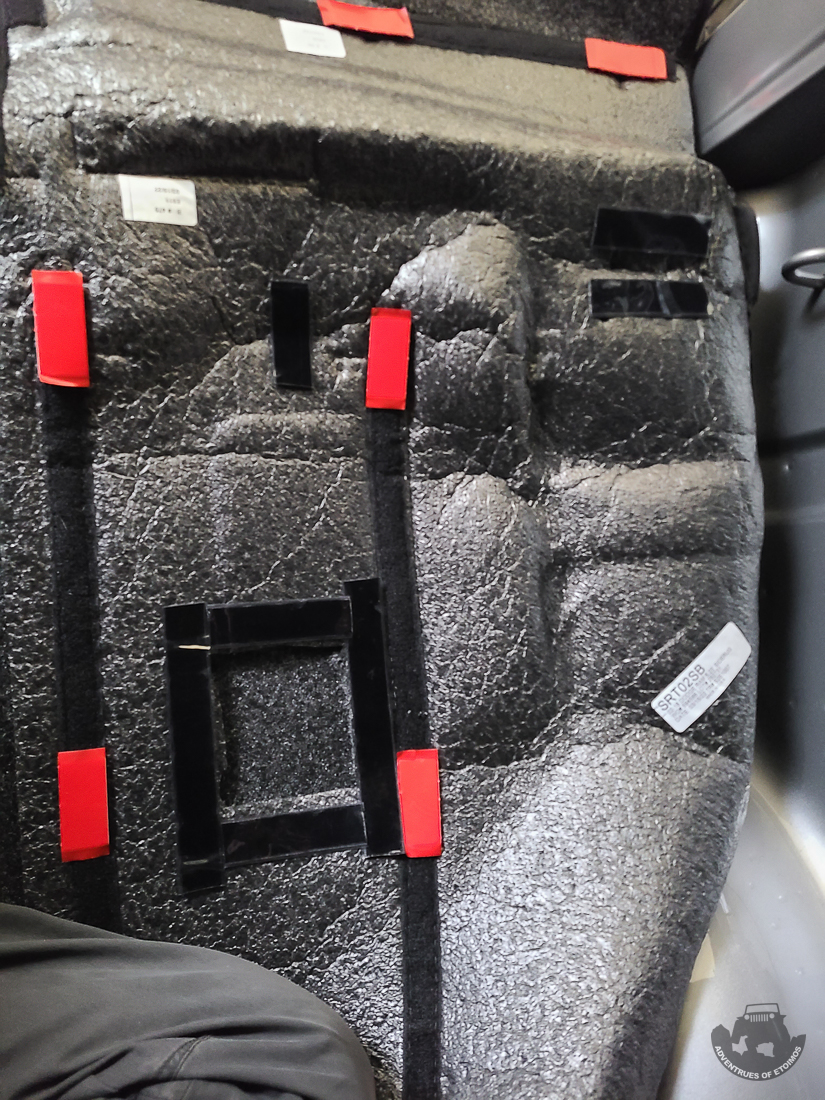
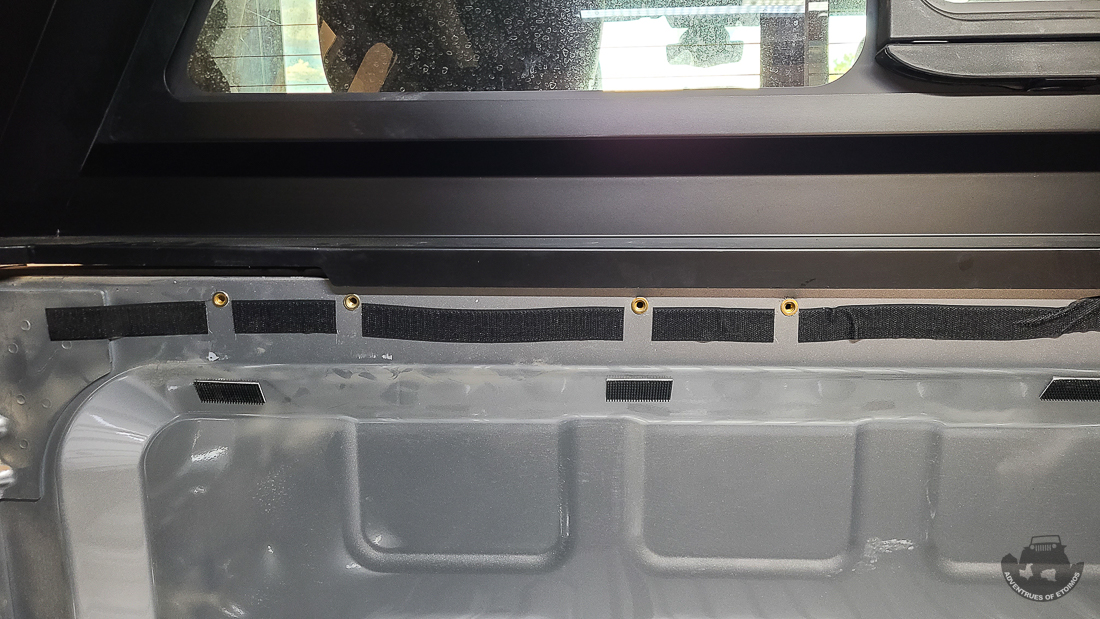
The install starts out by having you attach the sides and back to the bottom with everything turned inside out. It’s a little odd, so a large clear work area comes in handy. Then you have to attach all the velcro to it.
I did add extra velcro around the areas where I had to cut it to allow access to the bed tie downs. This helps keep things tight around those openings.
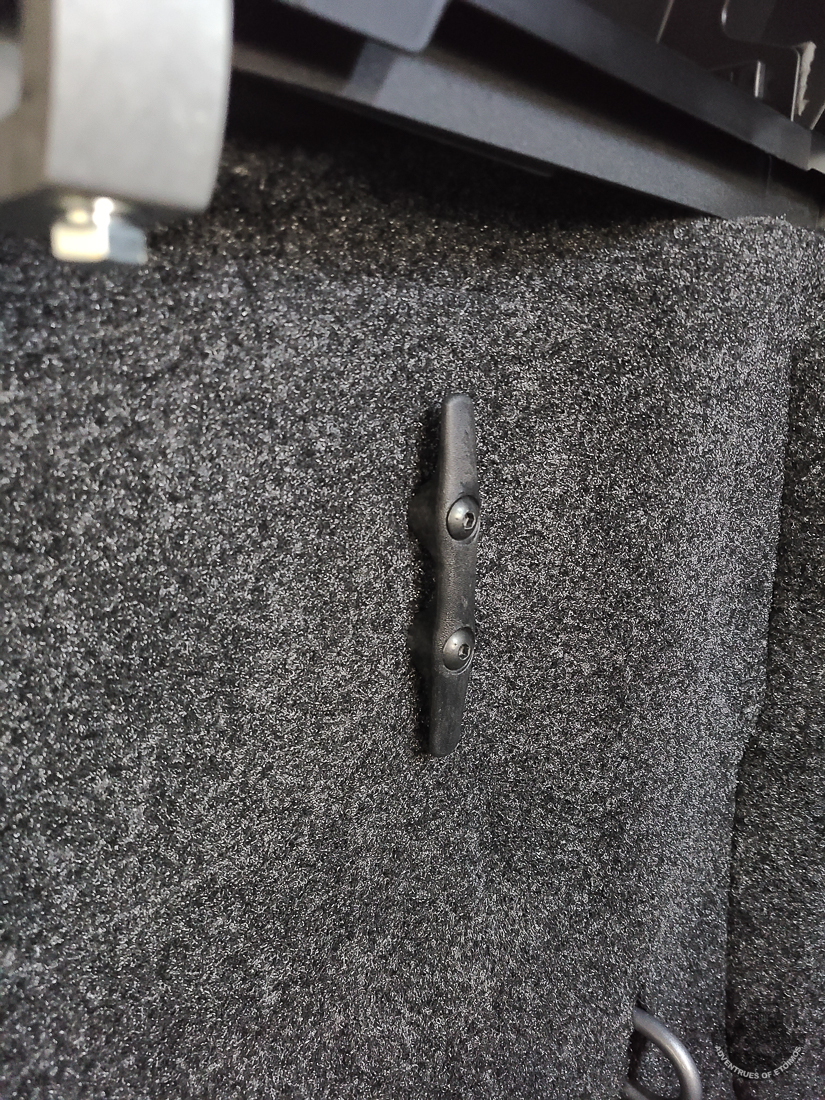
The BEDRUG also comes in handy for hiding wiring for other projects.
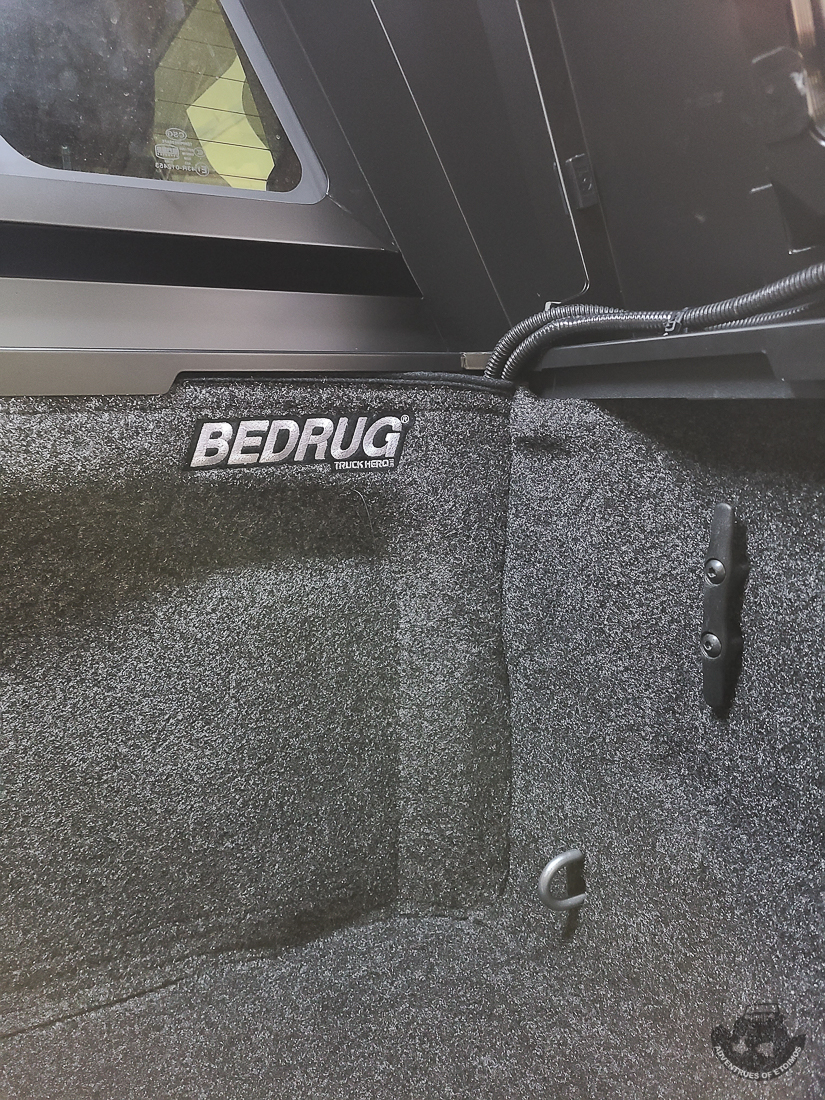
In addition to protecting the bed and adding comfort when you are messing around in there, I think it looks pretty good as well.
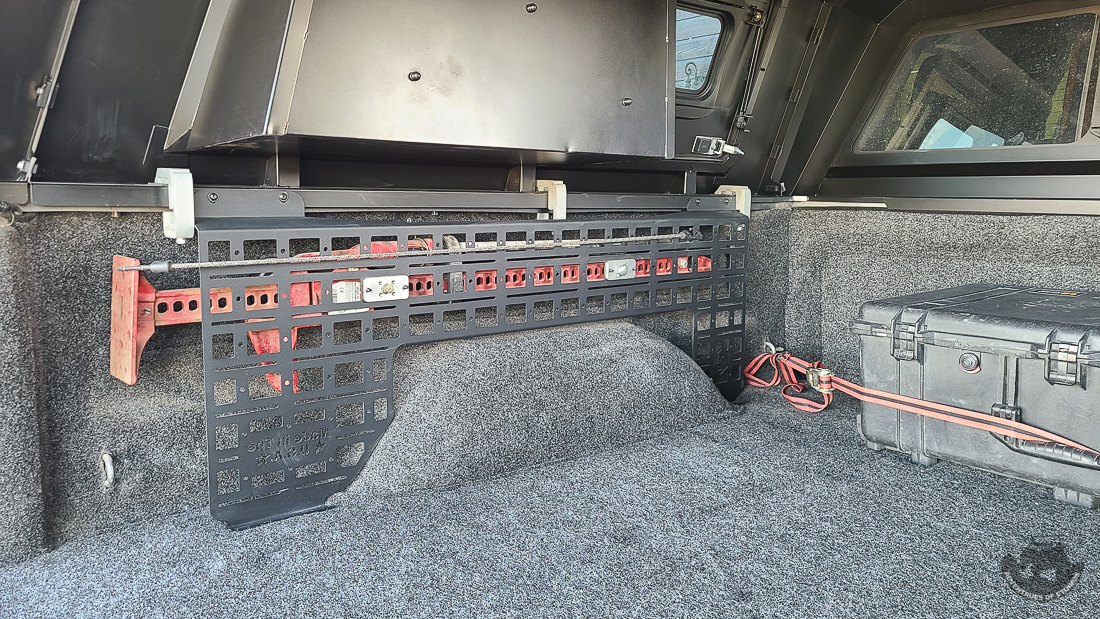
Icky Concept Side MOLLE Panel
The next phase in bed build out was installing a driver’s side Icky Concept MOLLE panel. I’ve ran MOLLE panels from other companies in the past, but the Icky panels are by far the beefiest panels I’ve had. The press brake bends in them really add to their rigidity.
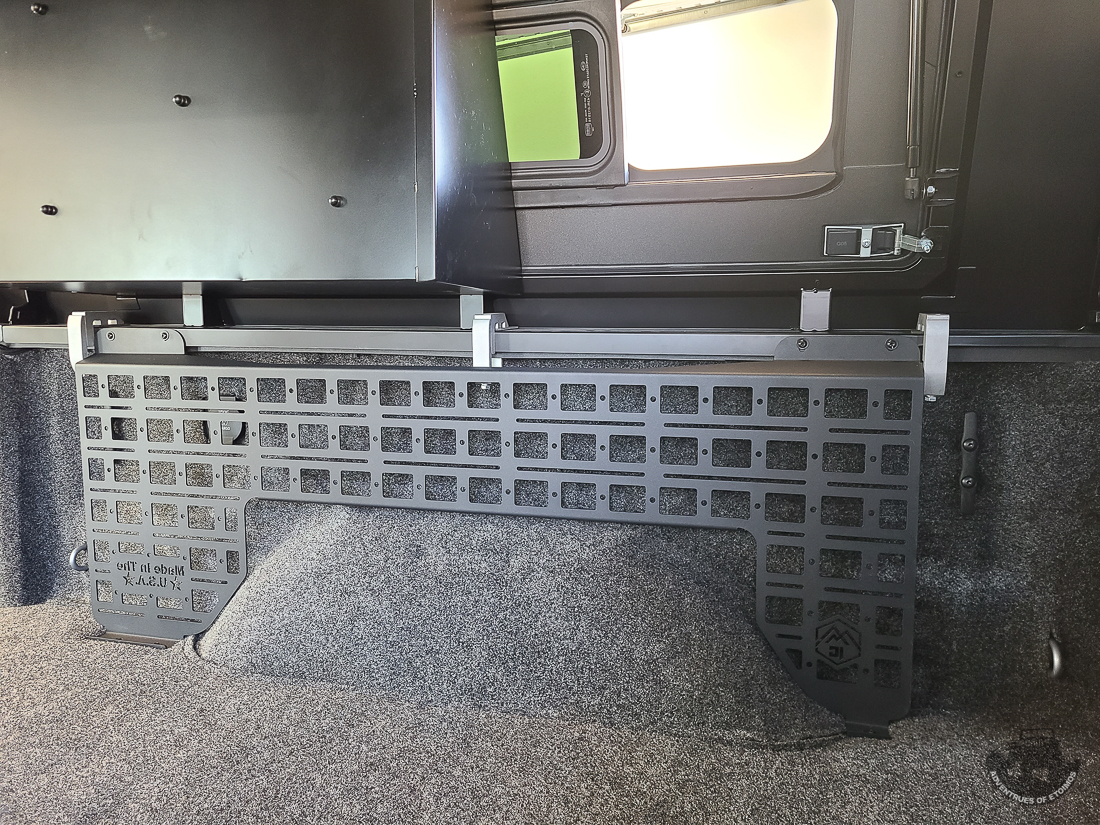
The one downside to them is that you must drill into your bed to install rivnuts. Once you overcome that aversion, it really is not that bad and makes for a very solid panel.
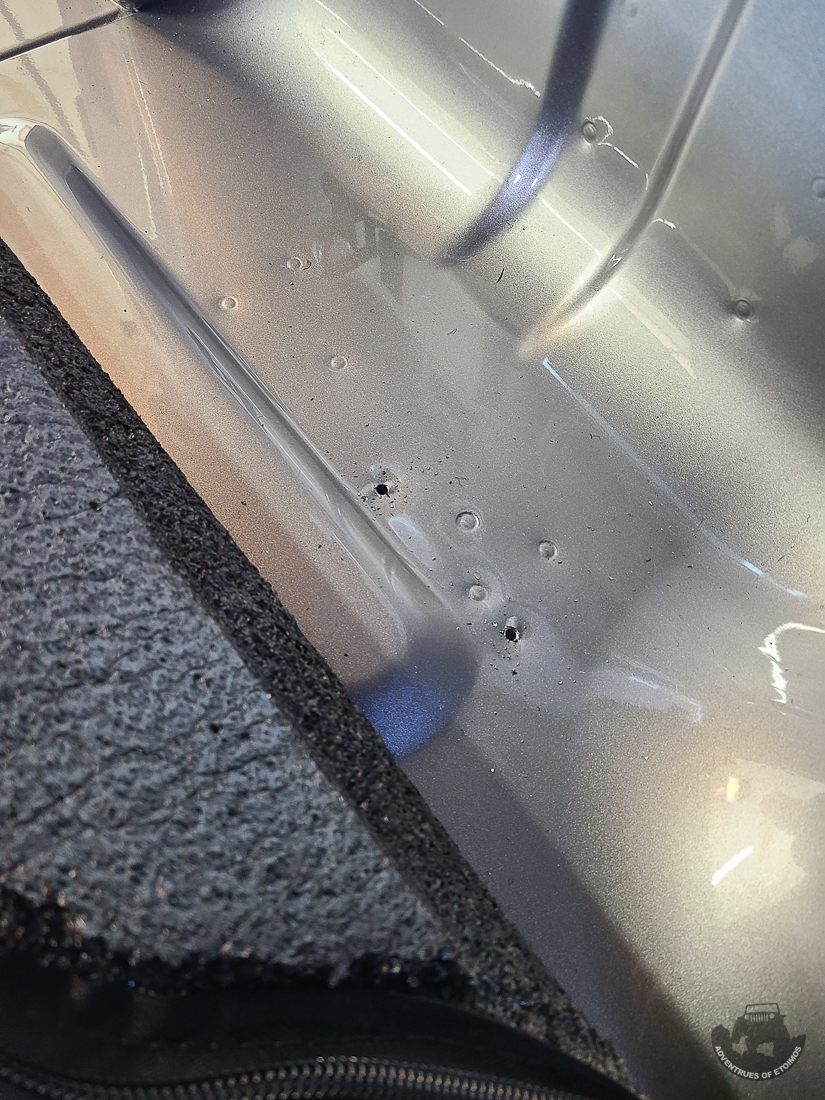
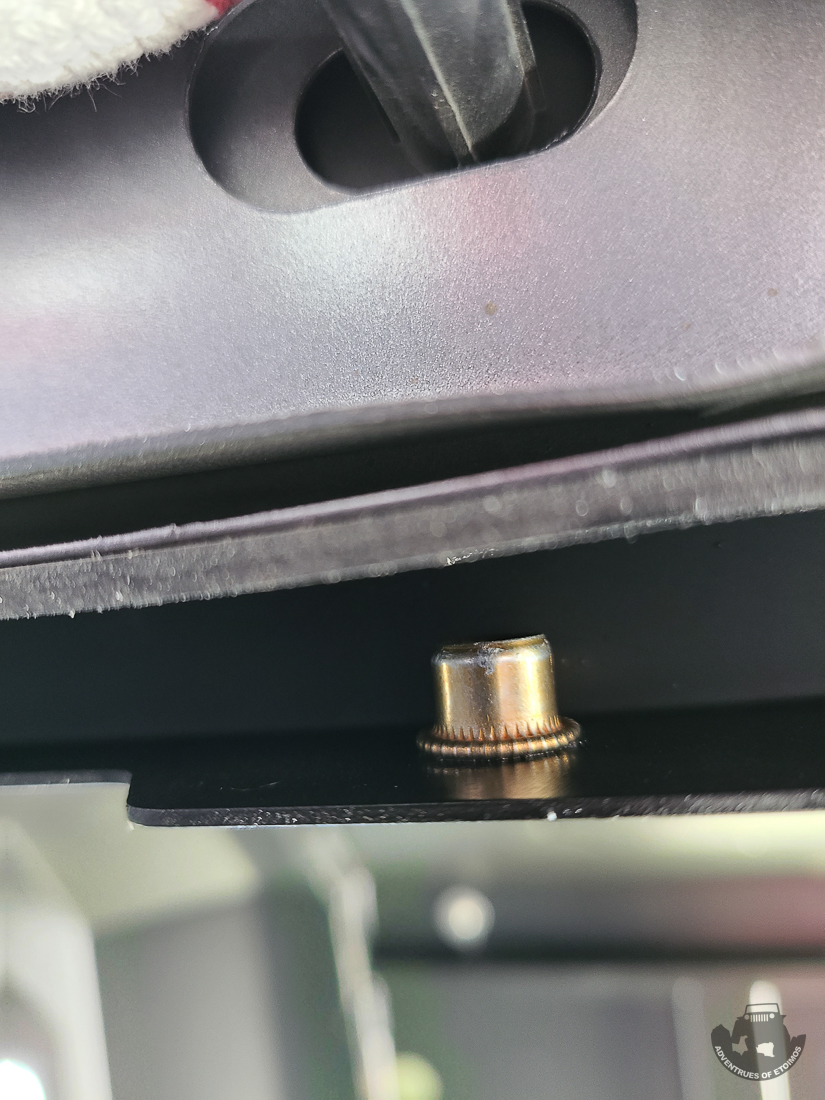
One thing to keep in mind when installing the driver’s side panel is that the hole you have to drill for the front is very close to the fuel filler neck under the bed. One of the rear’s also comes close to hitting the under bed support frame member. On my install, the drilled hole actually was inside the U shaped support beam.
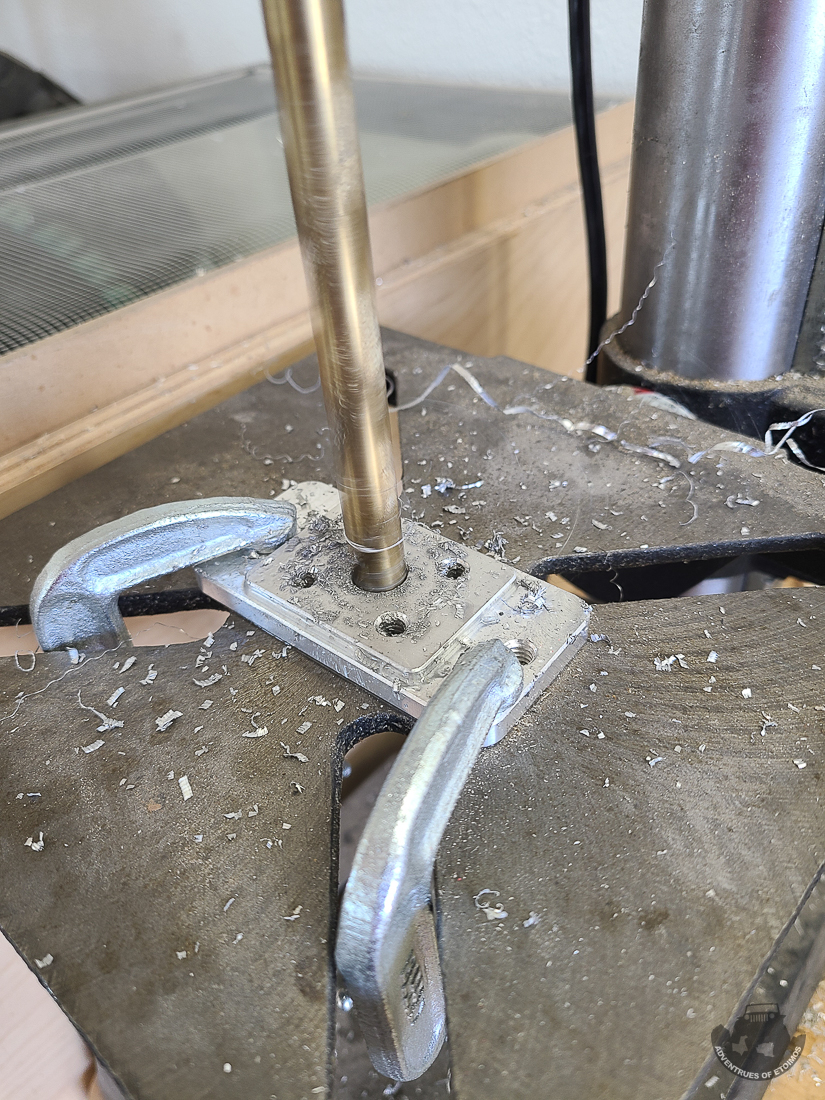
My plan was to mount my Hi-Lift jack to this panel like I had it mounted in my Gladiator. The differences in the MOLLE layout between that old panel and the Icky made it so that I needed a pair of the really cool Icky Concept MOLLE Backing Nuts. IC makes a Hi-Lift mount, but I already had a setup I used in the past and wanted to reuse it. This meant that I needed to drill a much larger hole through the center of the Backing Nuts.
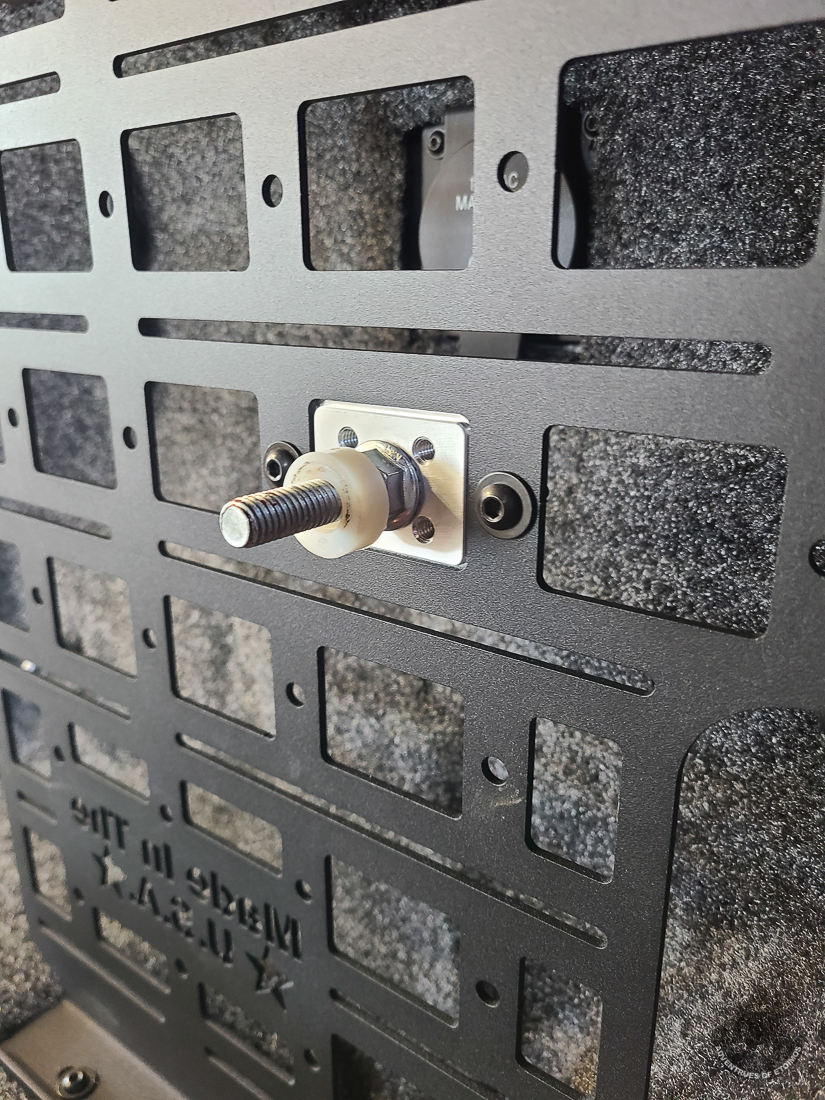
With the hardware sorted, it was just a matter of mounting the jack to the panel.
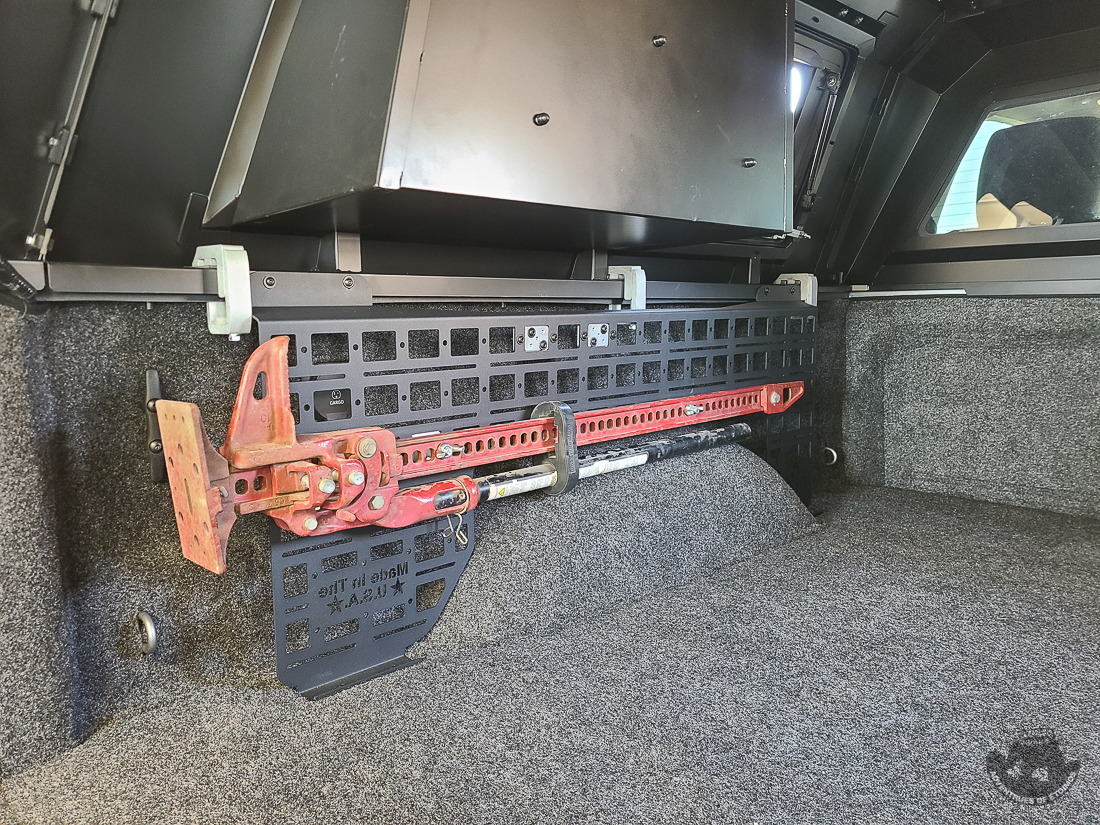
While held securely in place, the jack stuck out into the bed area too much and all those hard and rough parts of the jack was bound to destroy whatever rubbed against them. I also have plans on make a kennel area in the front of the bed for my dog and did not want him to hurt him self on the jack. So, I determined that the jack could actually be mounted behind the panel! This solved the problem of the jack sticking out into the bed and also made it where I could still use that panel for lots of other things as well. Win win!
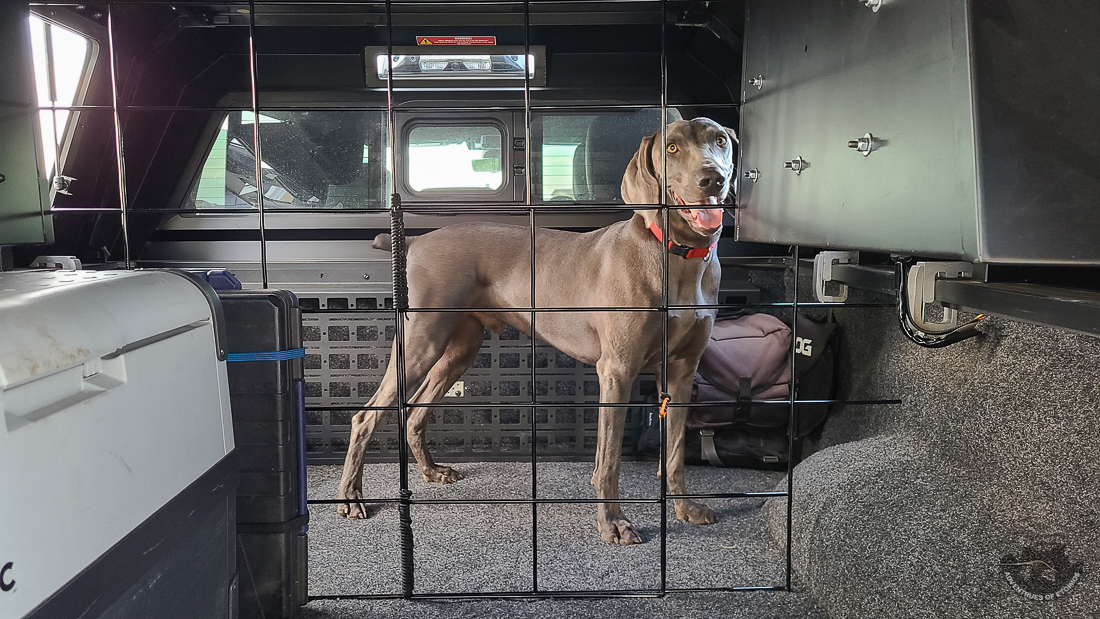
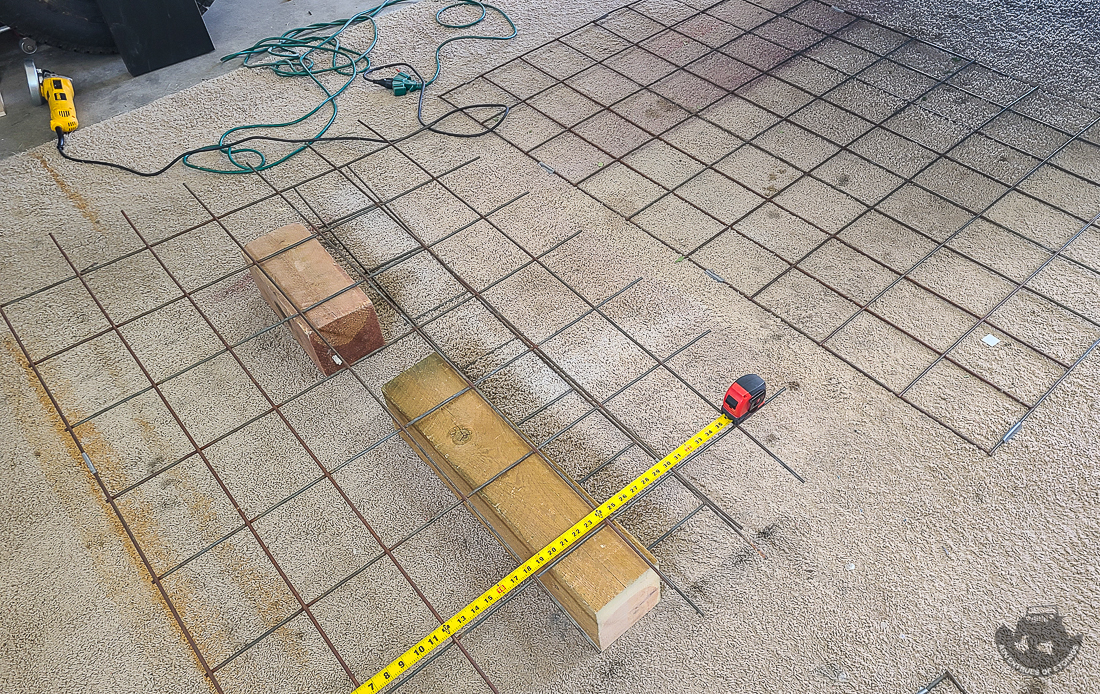
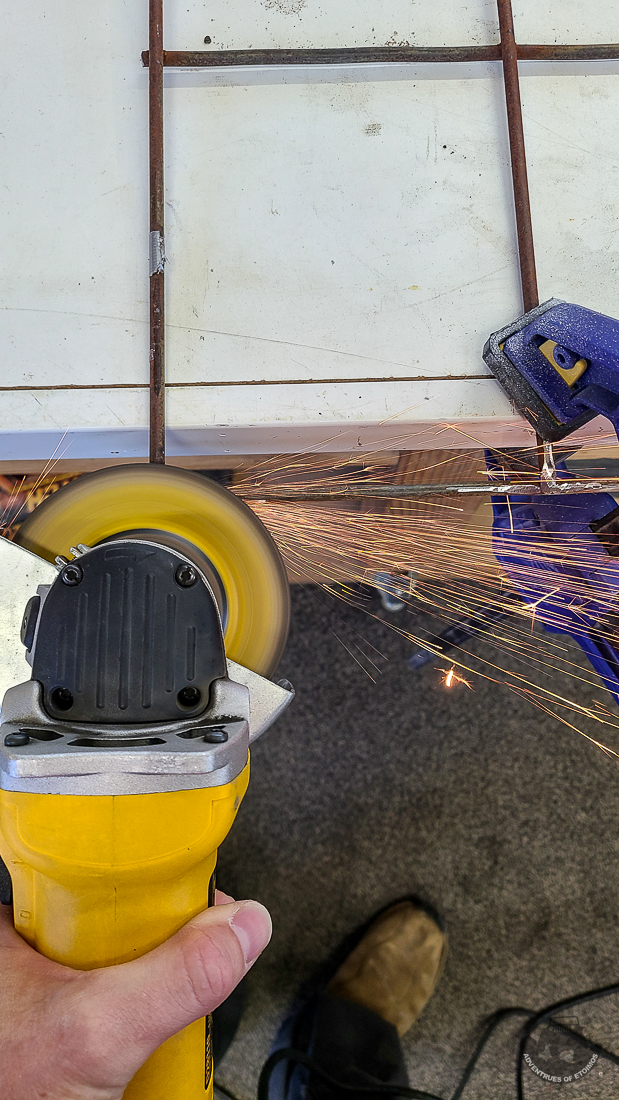
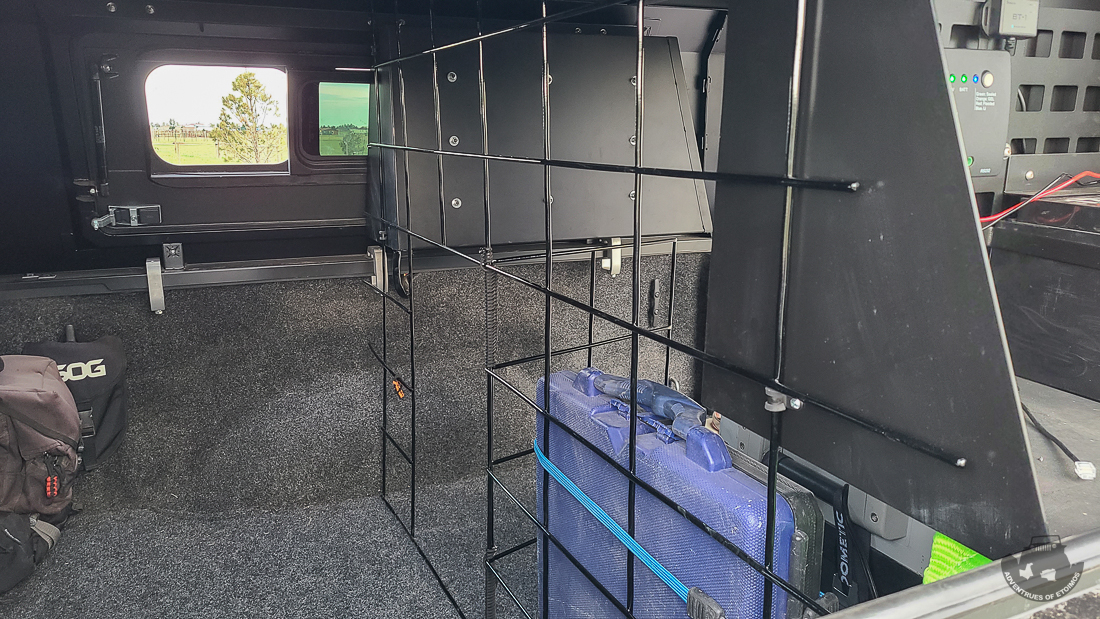
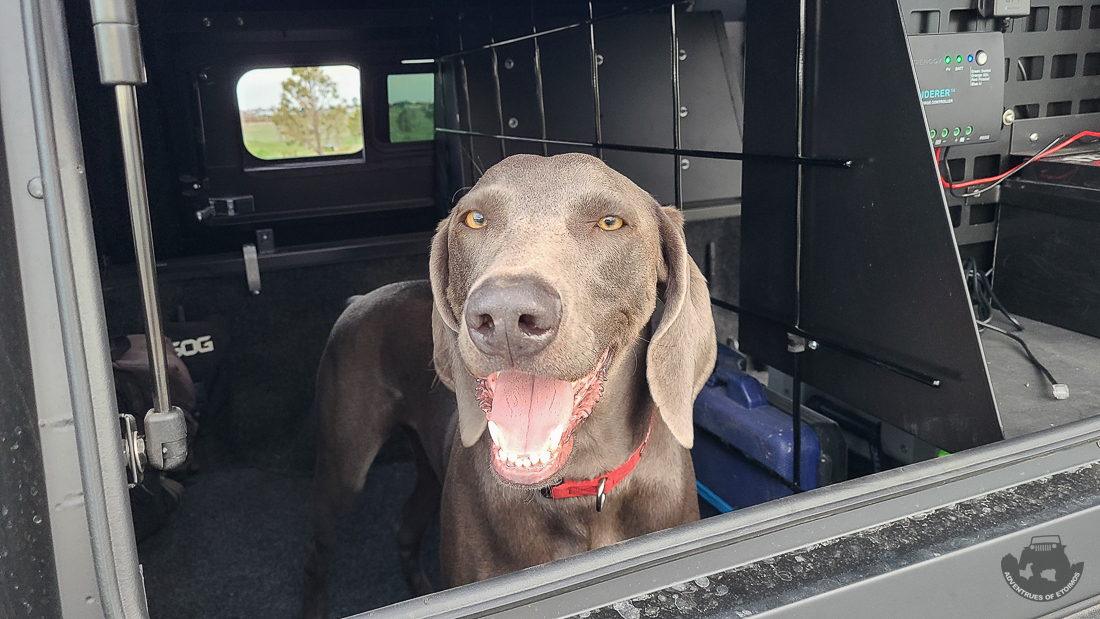
Dog Kennel
I made this from a hog/cattle panel that my dad had laying around his property. The angle grinder make quick work of cutting it to shape and then rounding off the sharp edges.
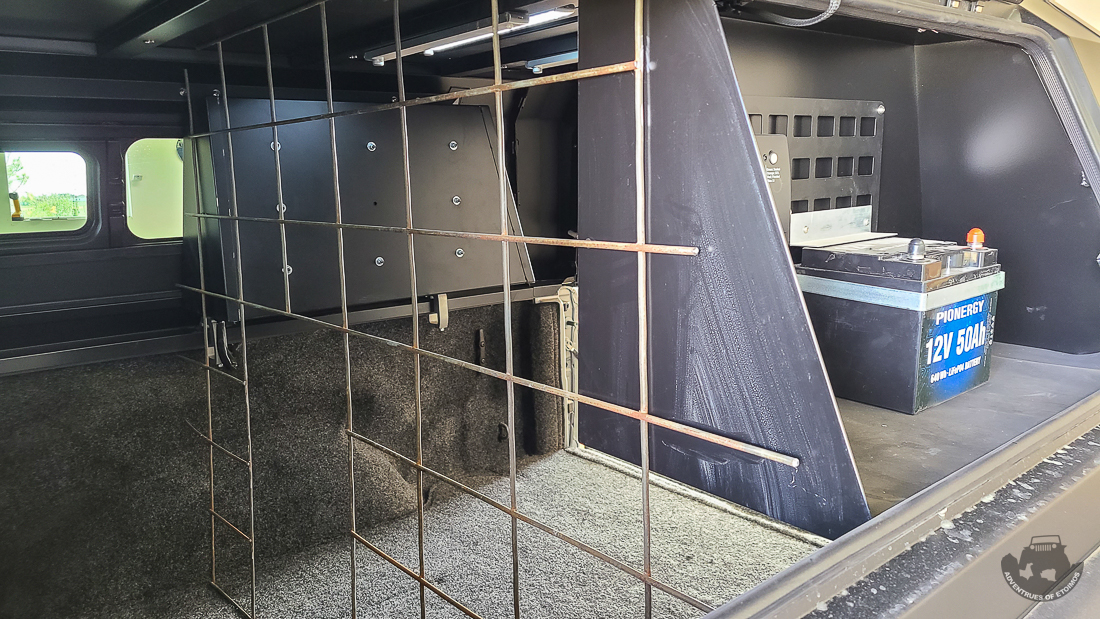
Once it was all cut to shape and size, I dropped it off at a buddies business to be powder coated as it was too large for me to do in my shop.
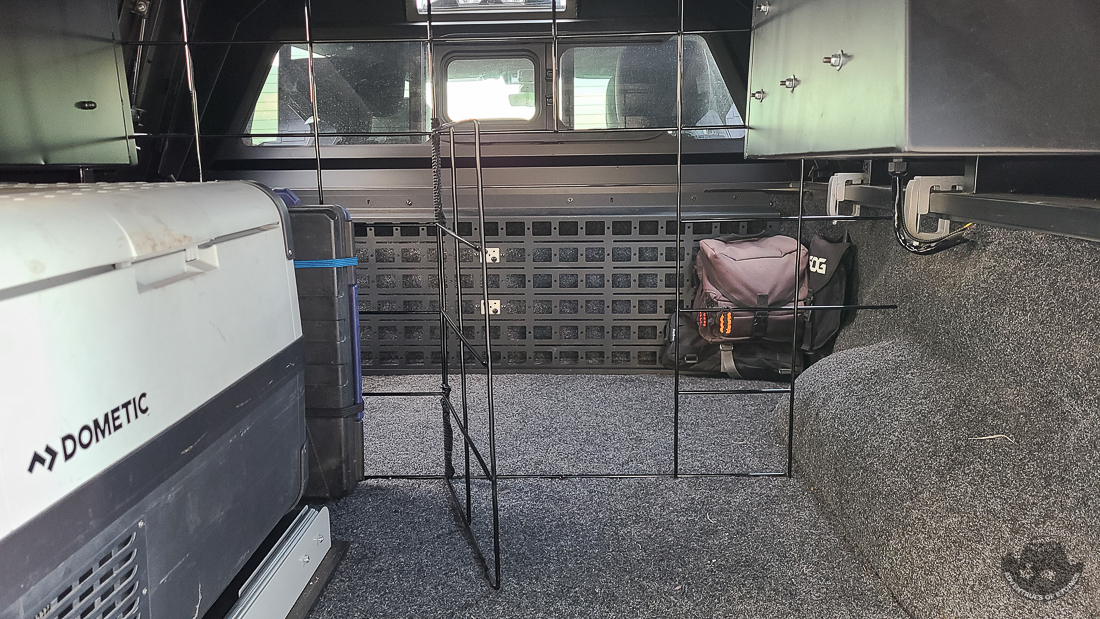
To make the hinges I used 550 cord to lash the door panel to the overall panel. The orange 550 cord zipper pull just right of center in the above photo is used to secure the door closed.
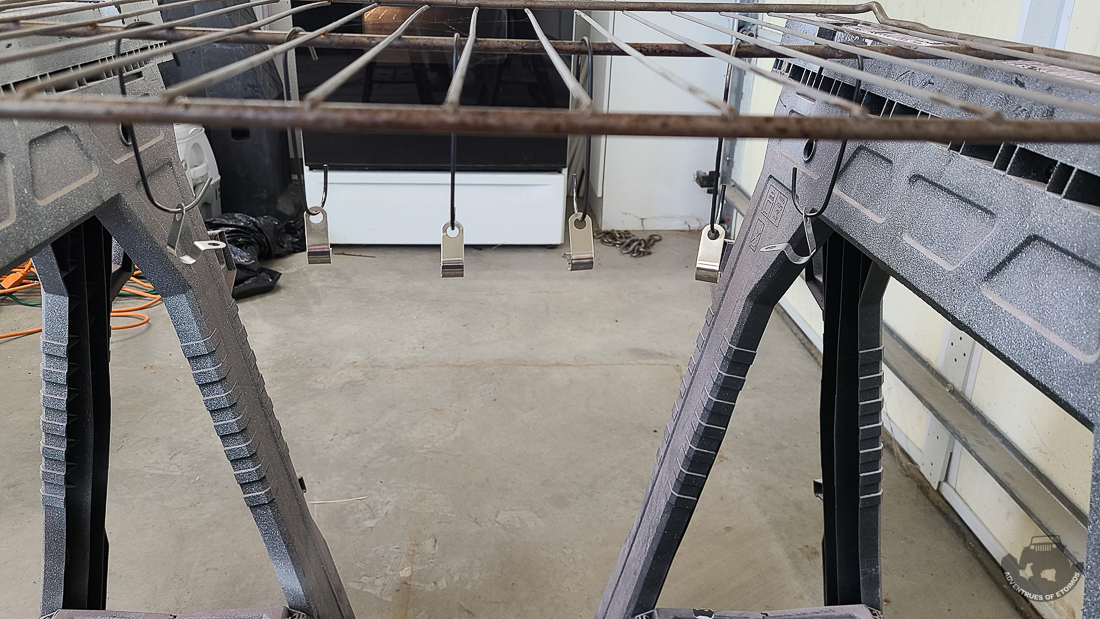
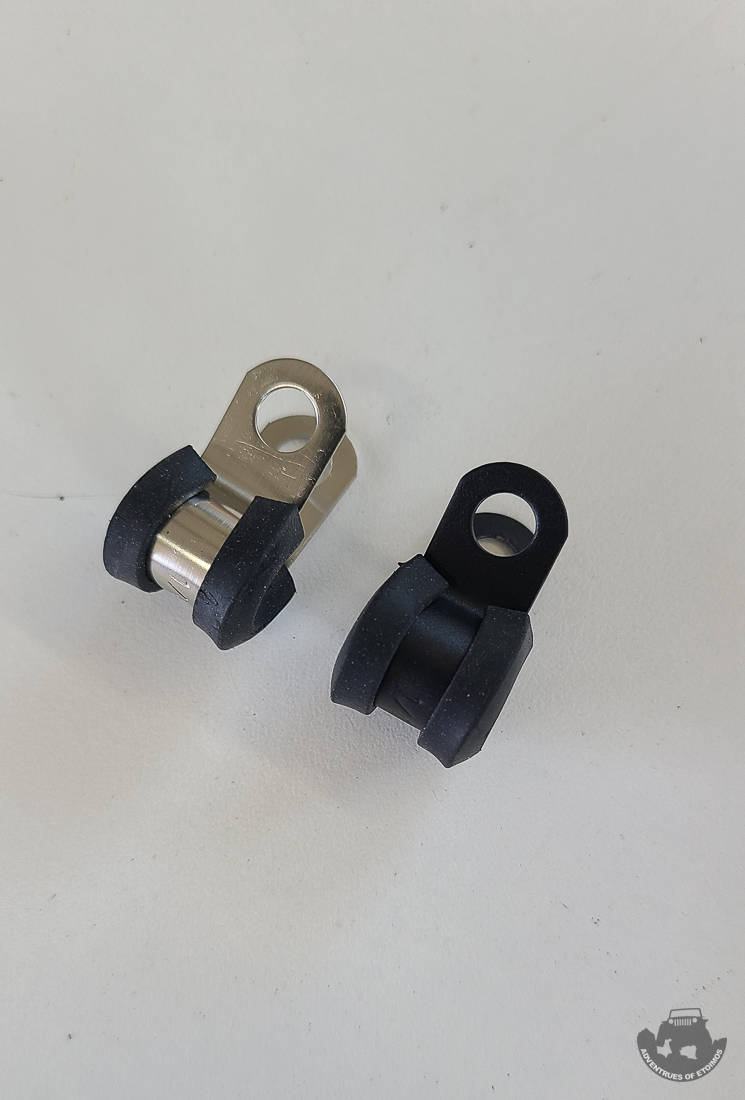
To attach the panel to the RSI SmartCap I used four stainless steel cable clamps. I powder coated these satin black to get rid of the shinny bits.
Maximus really seems to enjoy having his own room in the truck now!
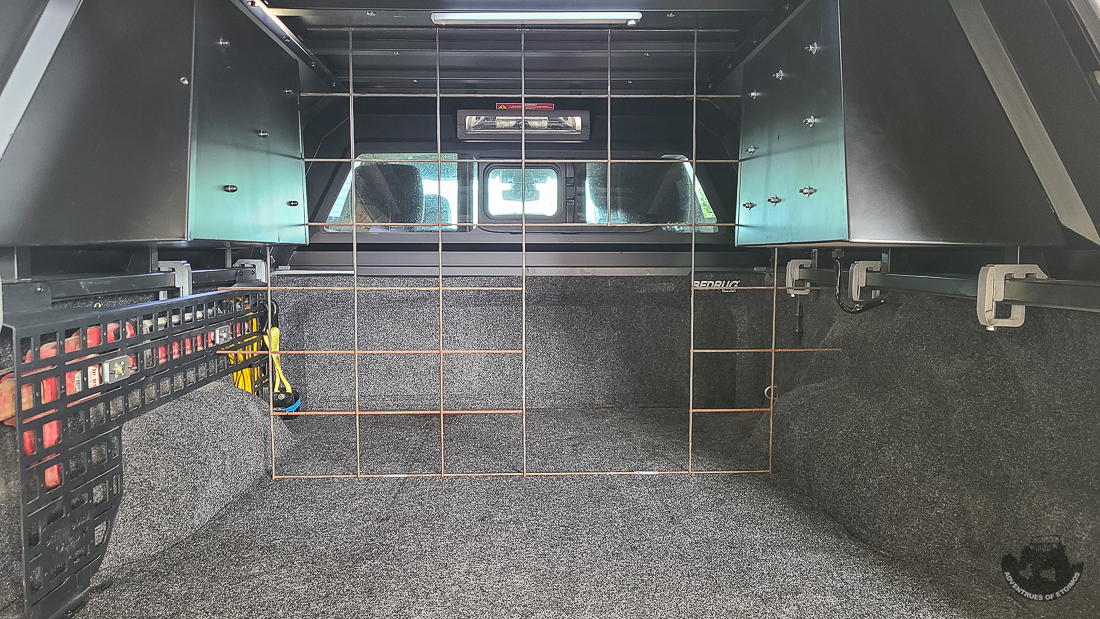
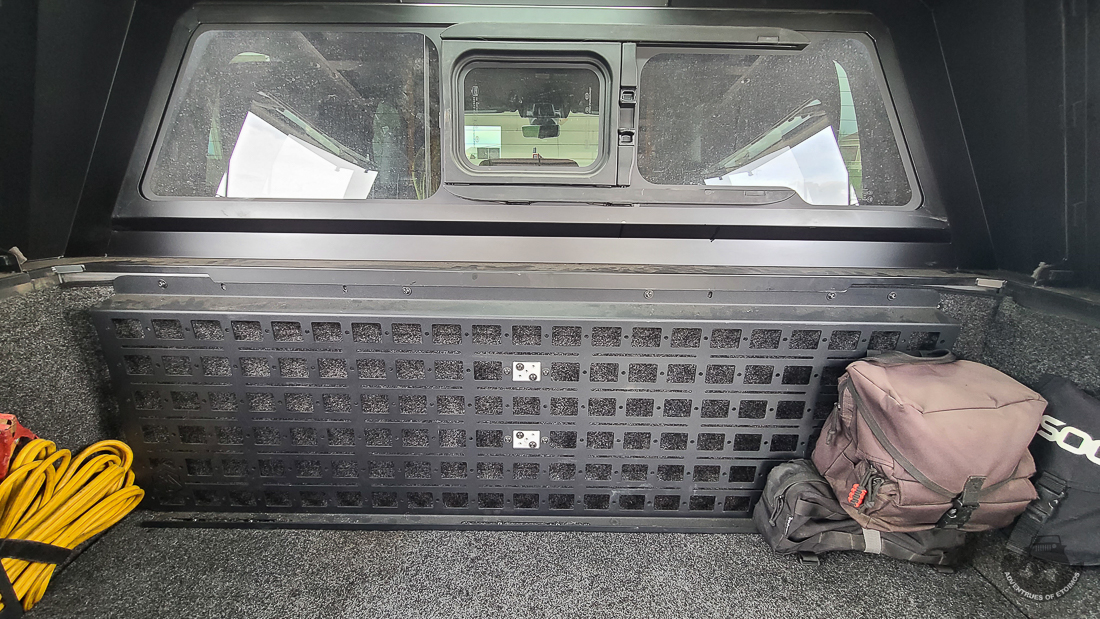
Icky Concepts Bulkhead Panel
Installing the Icky Concept bulkhead panel was kind of a pain in the butt with the BedRug and Smart Cap already installed on the truck. I had to pull the BedRug away from the bulkhead so that I could install the rivnuts and that left little room to work in that area.
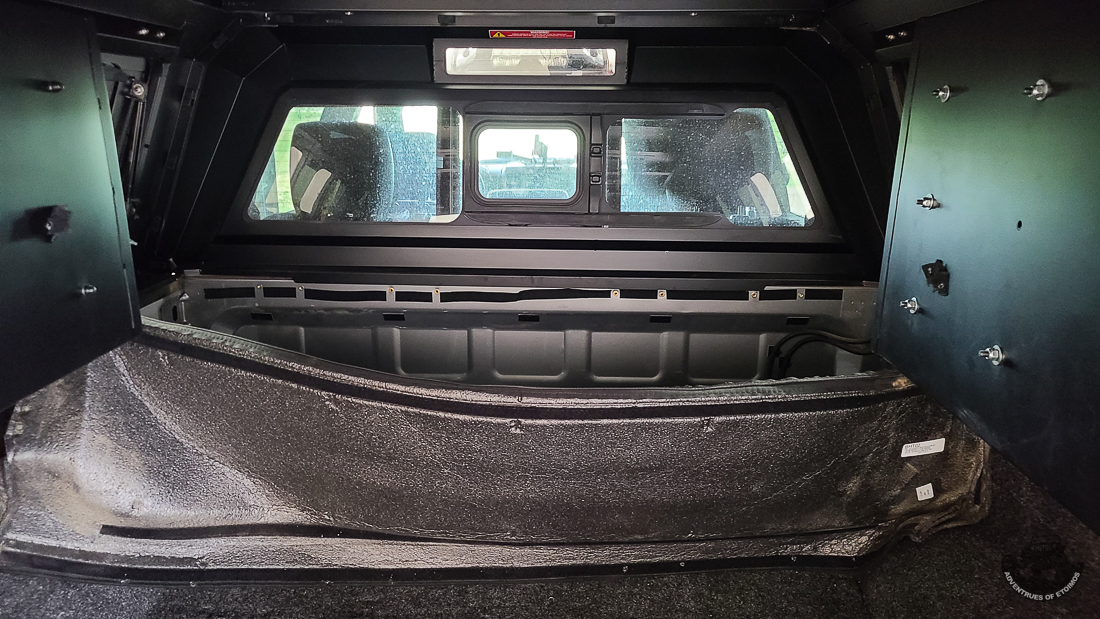
The biggest pain was that the SmartCap came down to low for me to install the upper rivnuts. I had to loosen the cap’s clamps and then use my hoist to lift just the front of the cap up enough to get the required room to install them.
After that it was a quick job of putting the BedRug back in place and bolting the panel on.
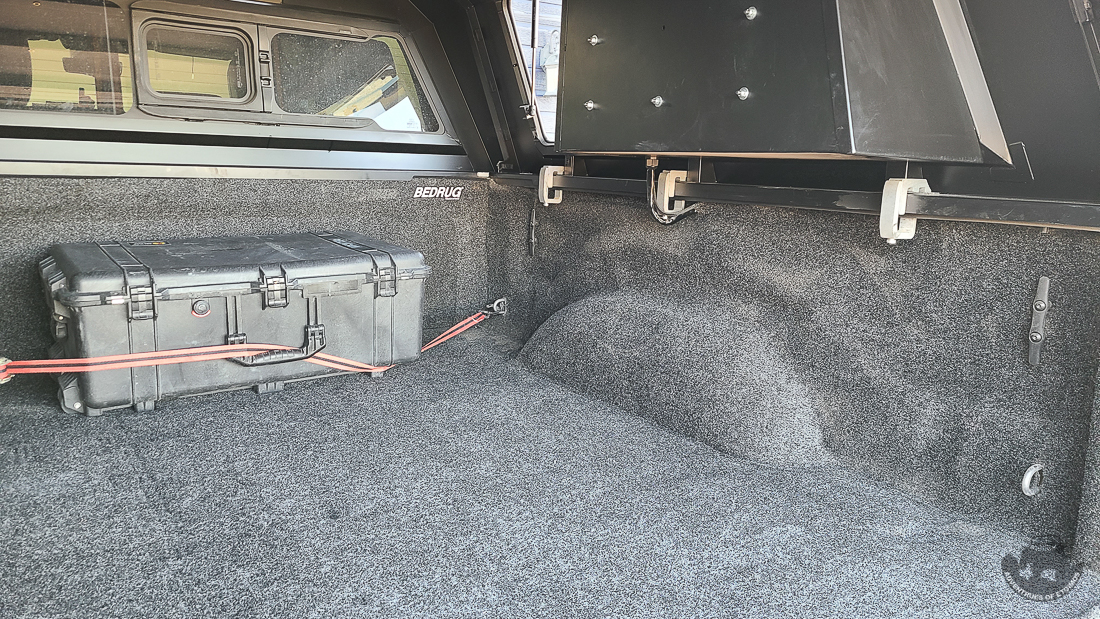
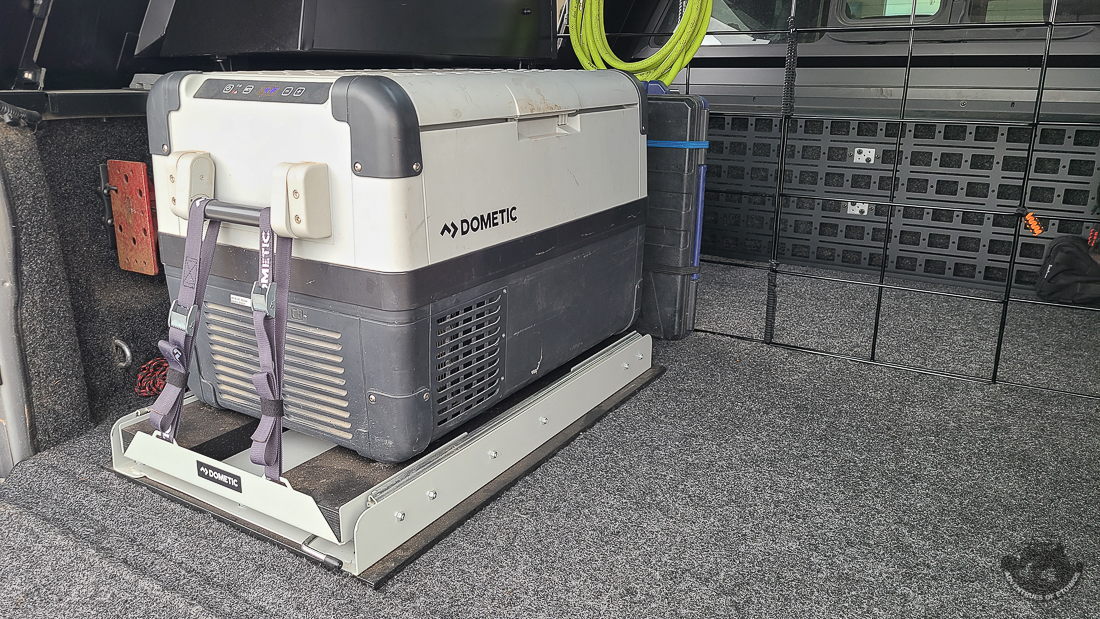
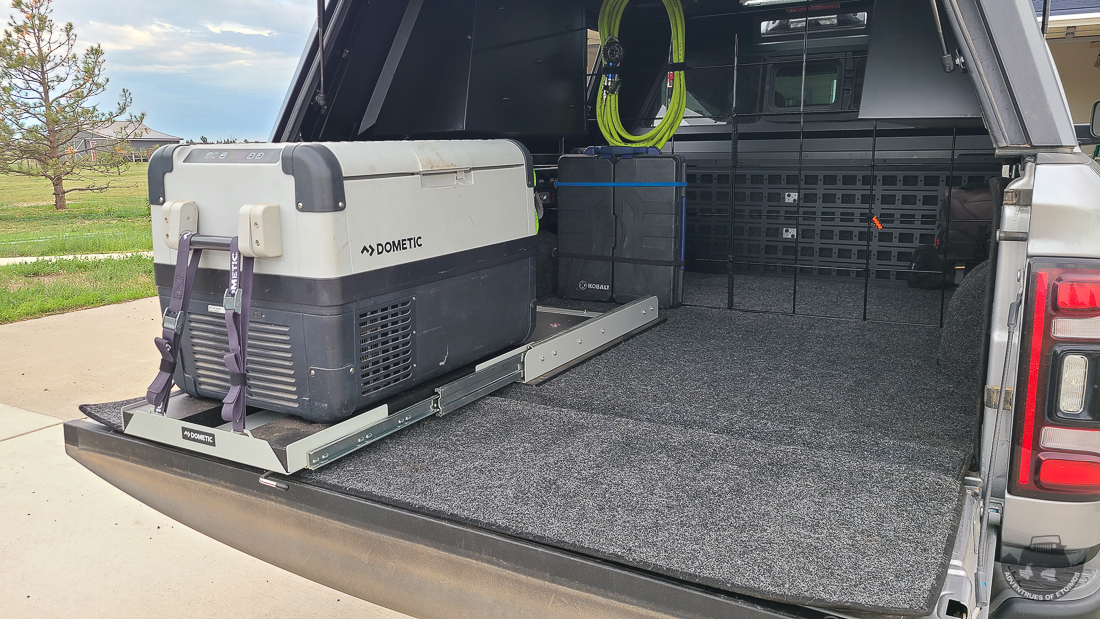
Dometic Fridge
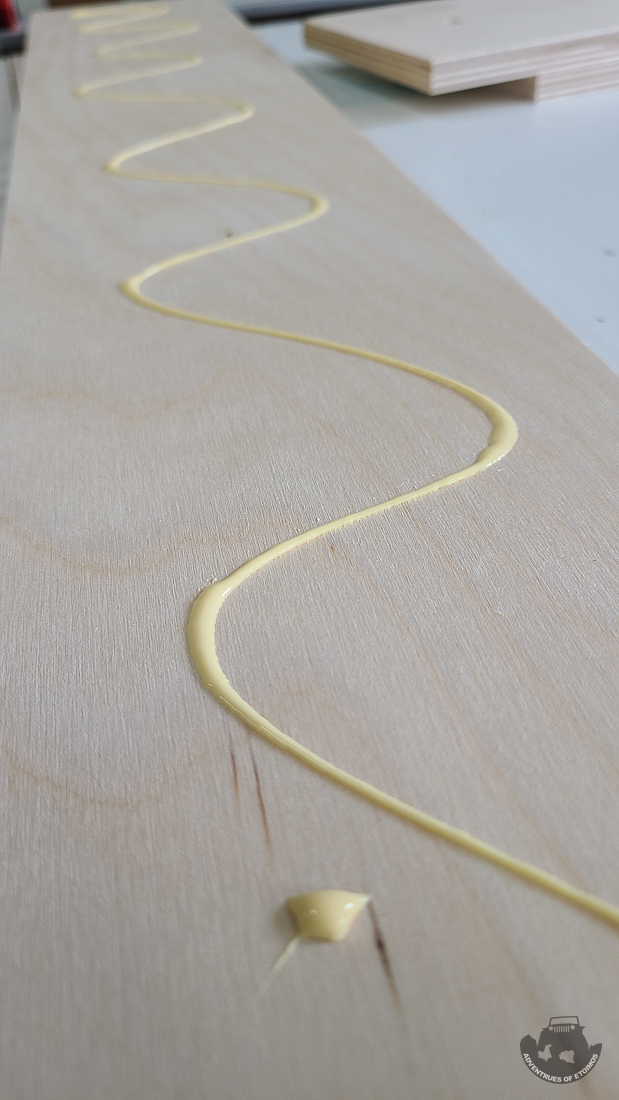
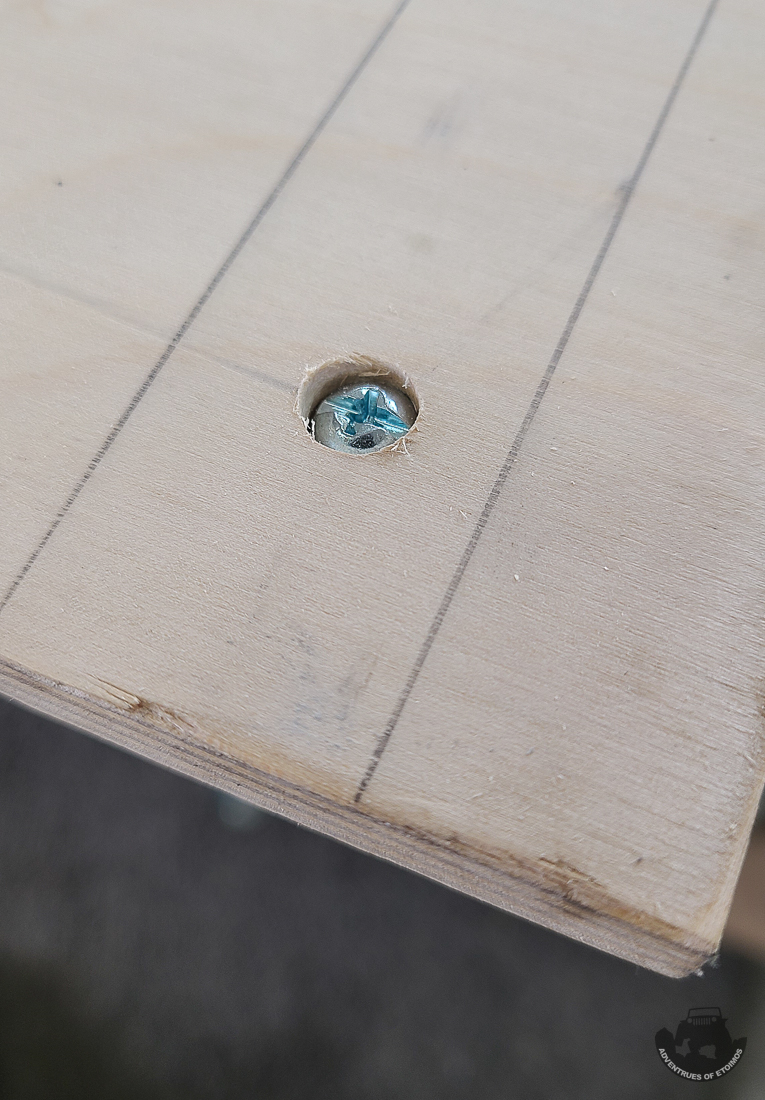
You might have noticed in some of the photos above that I also installed a Dometic fridge in the bed of the truck as well. It is mounted on a Dometic slide that will extend all the way out when the tailgate is opened. The slide was a Christmas gift many years ago that I never got around to installing in my Jeeps. It turned out that it was not the correct slide for the fridge that I had. My fridge would not sit all the way down into the slide’s tray. To solve this issue I cut up some 1/2″ Blatic Birch plywood and laminated them together. I recessed the screws and used wood glue to ensure they did not try and separate in the future. Once the glue had setup and they were sanded, a couple of coats of black paint made them blend in and protects the wood from getting wet. I also used a similar method of mounting the slide to the truck bed so that it would stay put.
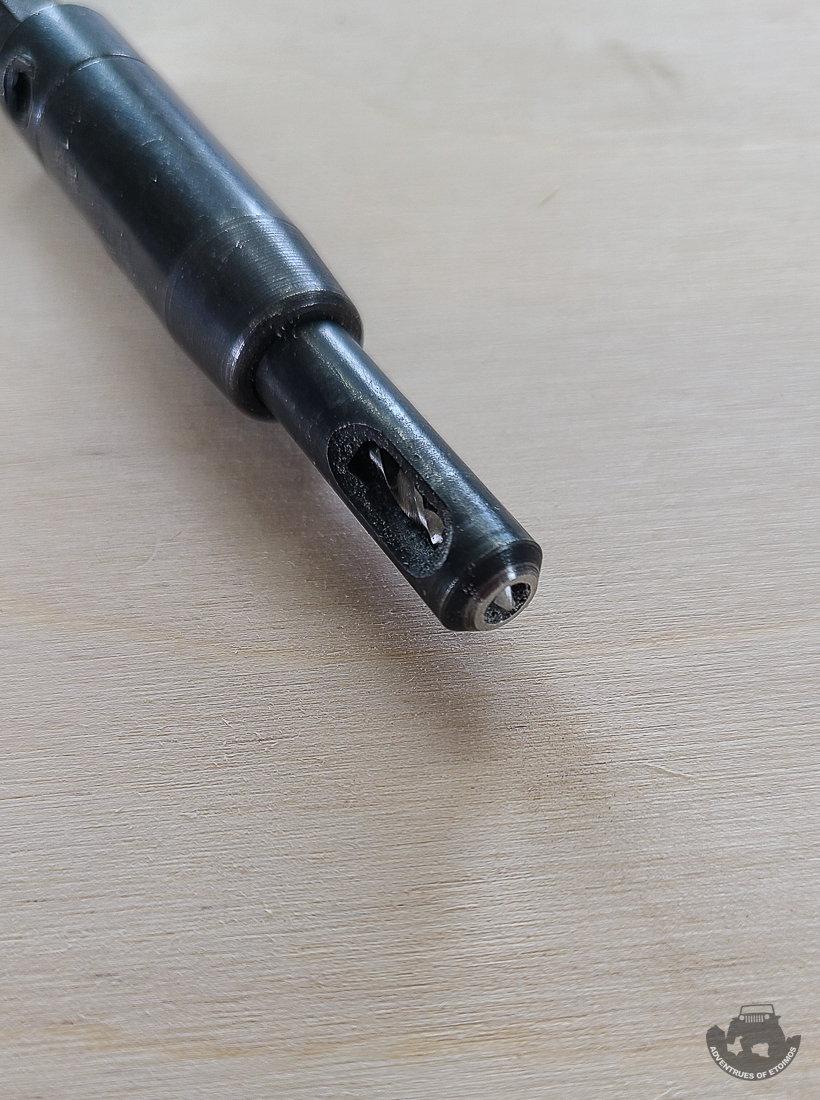
A self centering pilot bit made sure the holes drilled into the wood under the slide stayed centered with the holes already in the slide its self.
The recessed bolts allowed the base to be bolted down tightly to the rivnuts drilled into the bed of the truck. At this point my bed has more holes in it than swiss cheese!
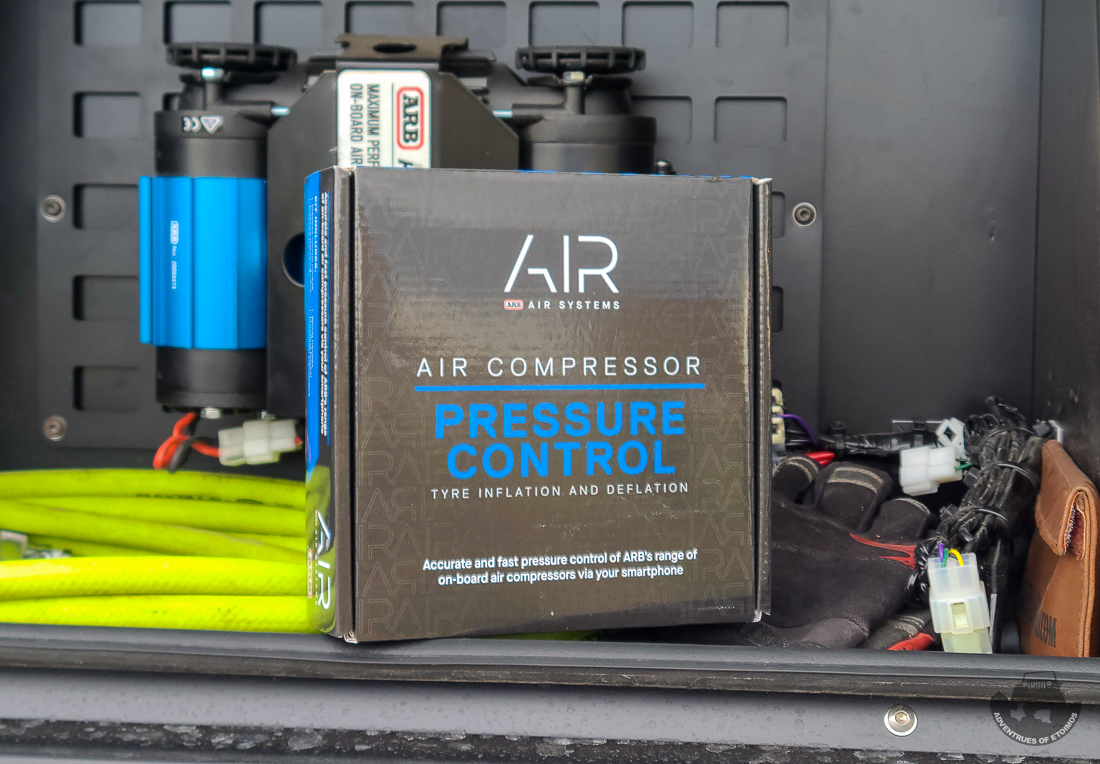
The build continues with the On Board Air System…

Leave a Reply