Power Wagon: On Board Air System
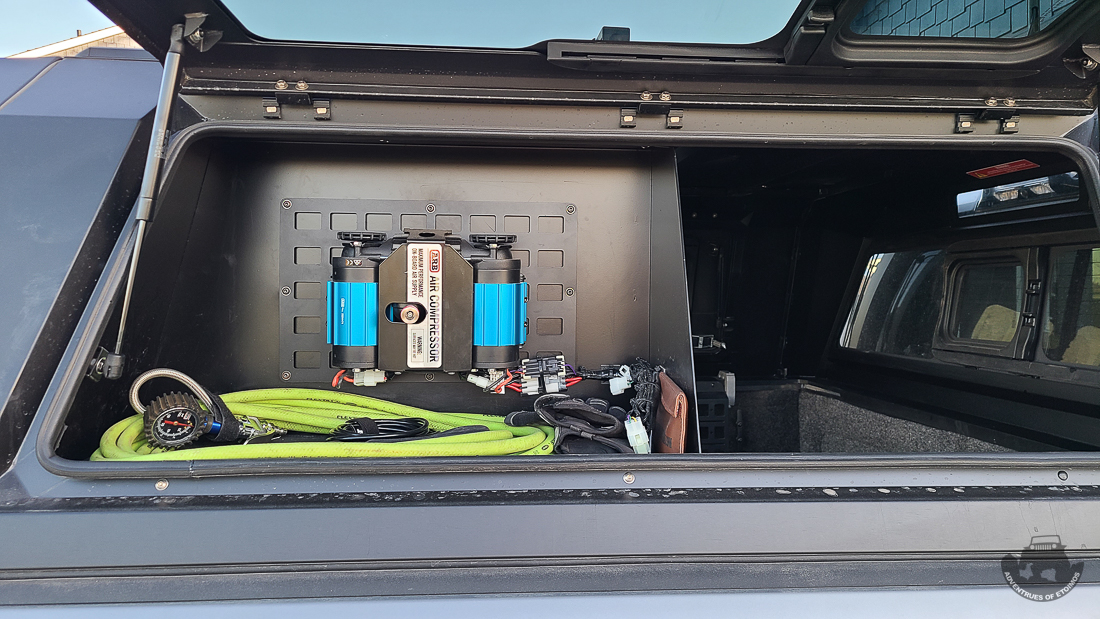
Every overland build needs an on board air system of some type, so I picked up an ARB twin compressor for those duties. The first step in building the system consisted of mounting the compressor in the passenger side RSI half bin and routing the cables and wires to the engine bay.
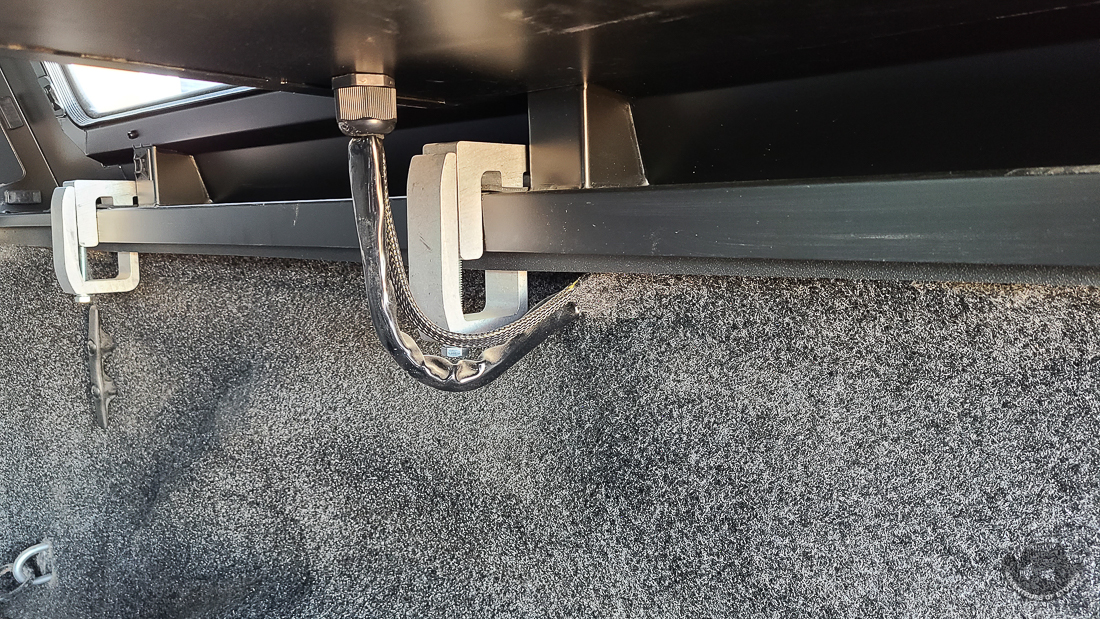
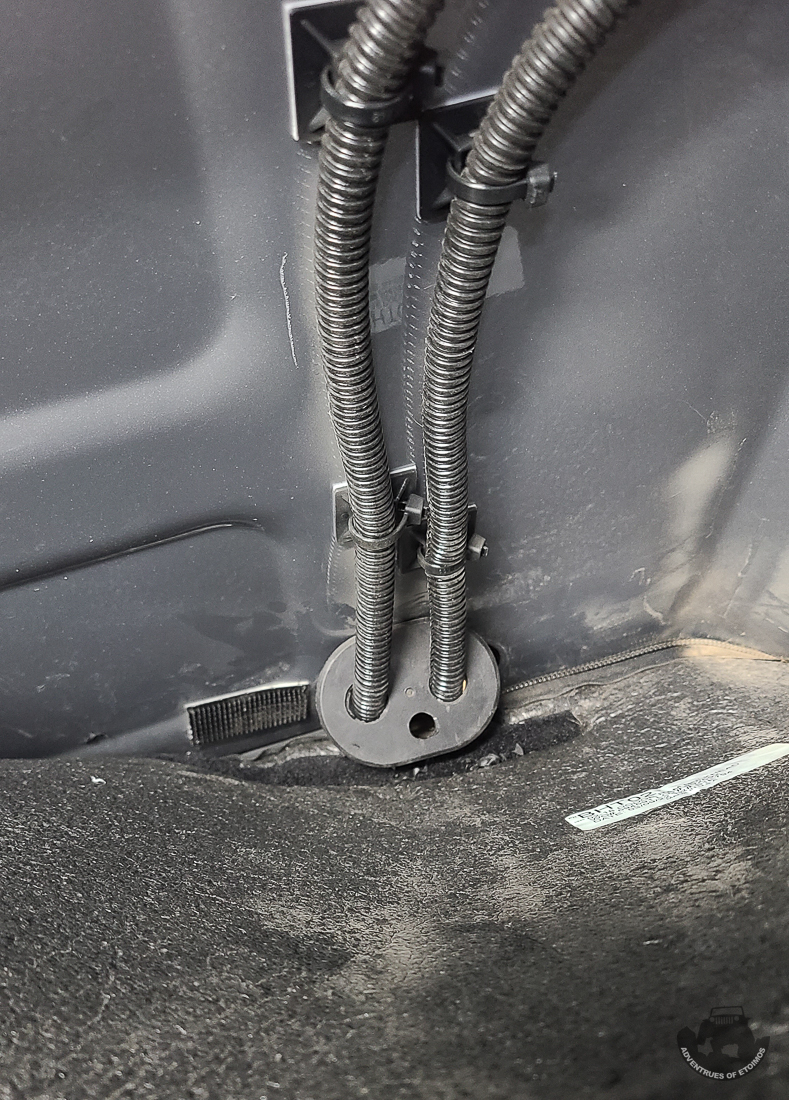
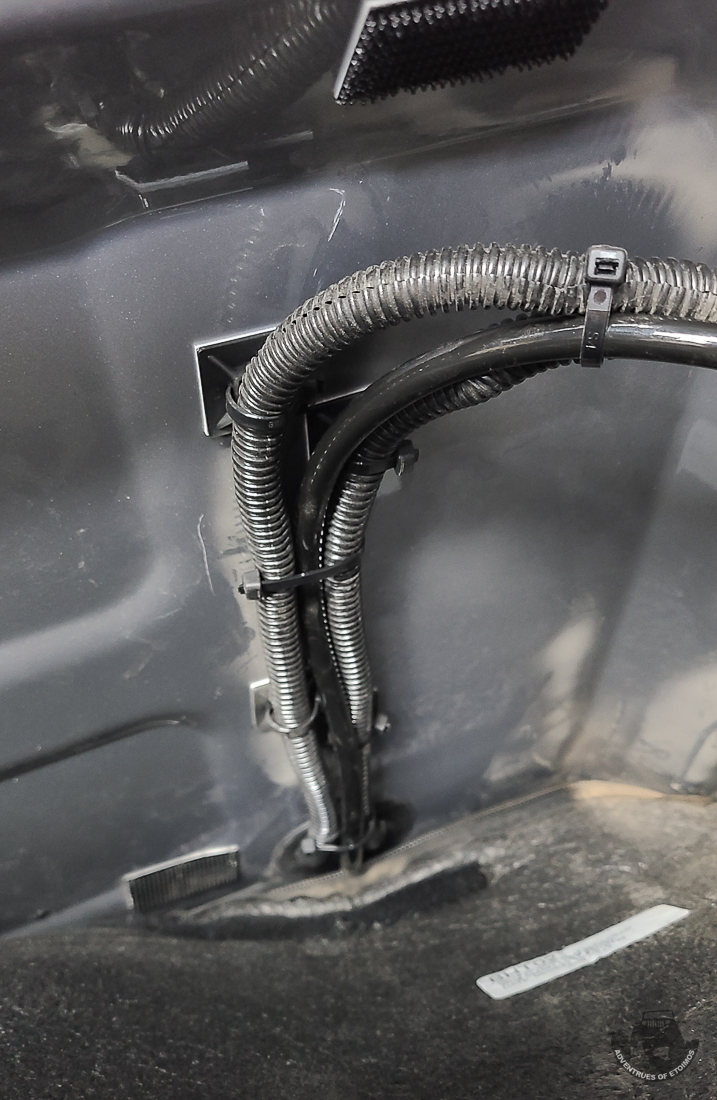
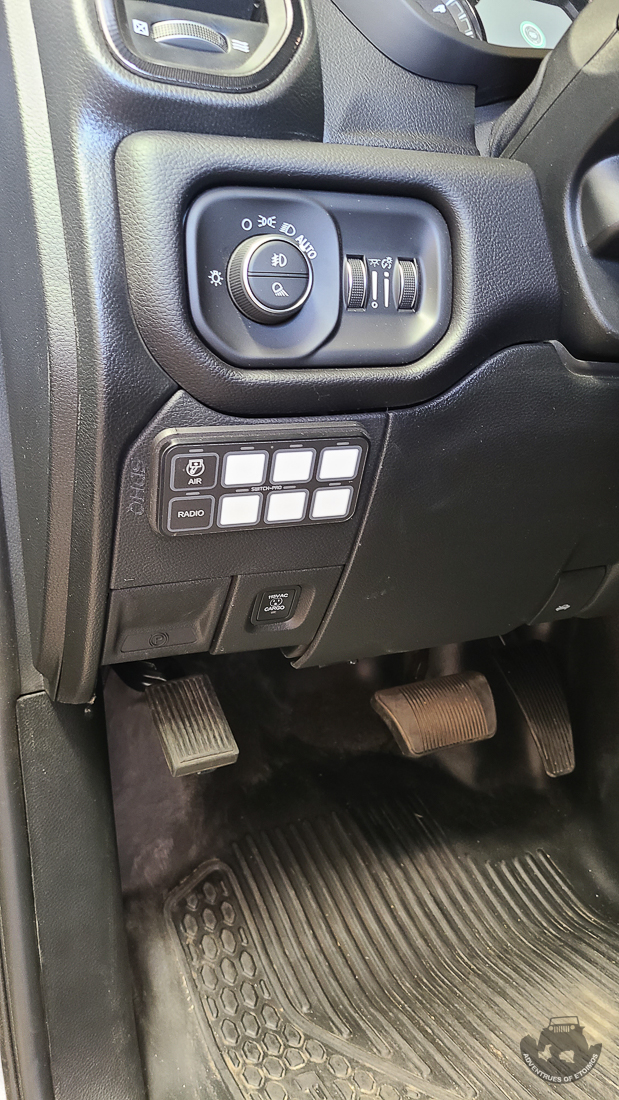
The wiring runs through a cable gland in the front corner of the half bin and then behind the BedRug and under the truck and finally to where the Switch Pros is mounted.
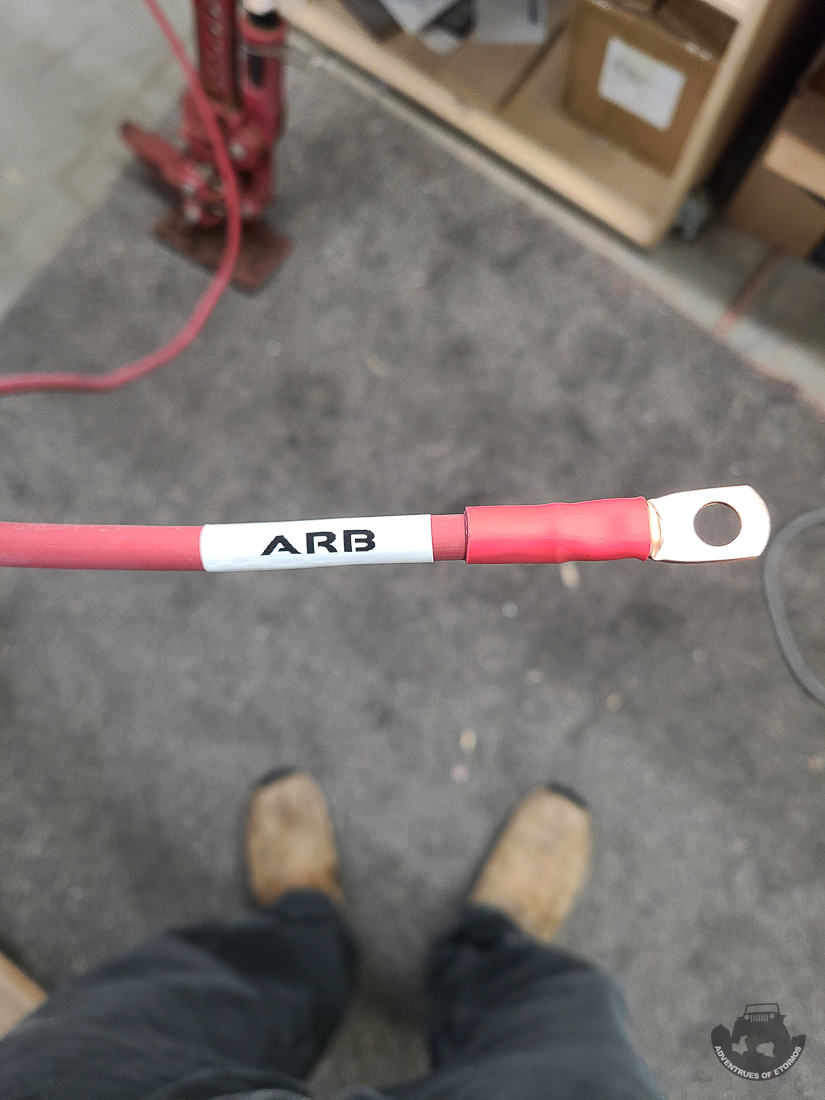
The ARB twin compressor required three wires going to the engine bay. One was to connect it to the Switch Pros and the other two were the positive and negitive wires to the battery. I chose to connect the ARB to the main truck battery instead of the house battery installed in the RSI for a couple of reasons. First, I did not want to run the house battery down via the compressor since its main job is to power the fridge/freezer. Secondly, the ARB really needs a good solid power source and I order the truck with dual alternators just for this purpose.
The three wires were all ran through more cable glands installed along the fire wall. On the driver’s side there was room to place them in the black plastic cover that runs along the back.
The wires go across the back, hidden under that plastic cover.
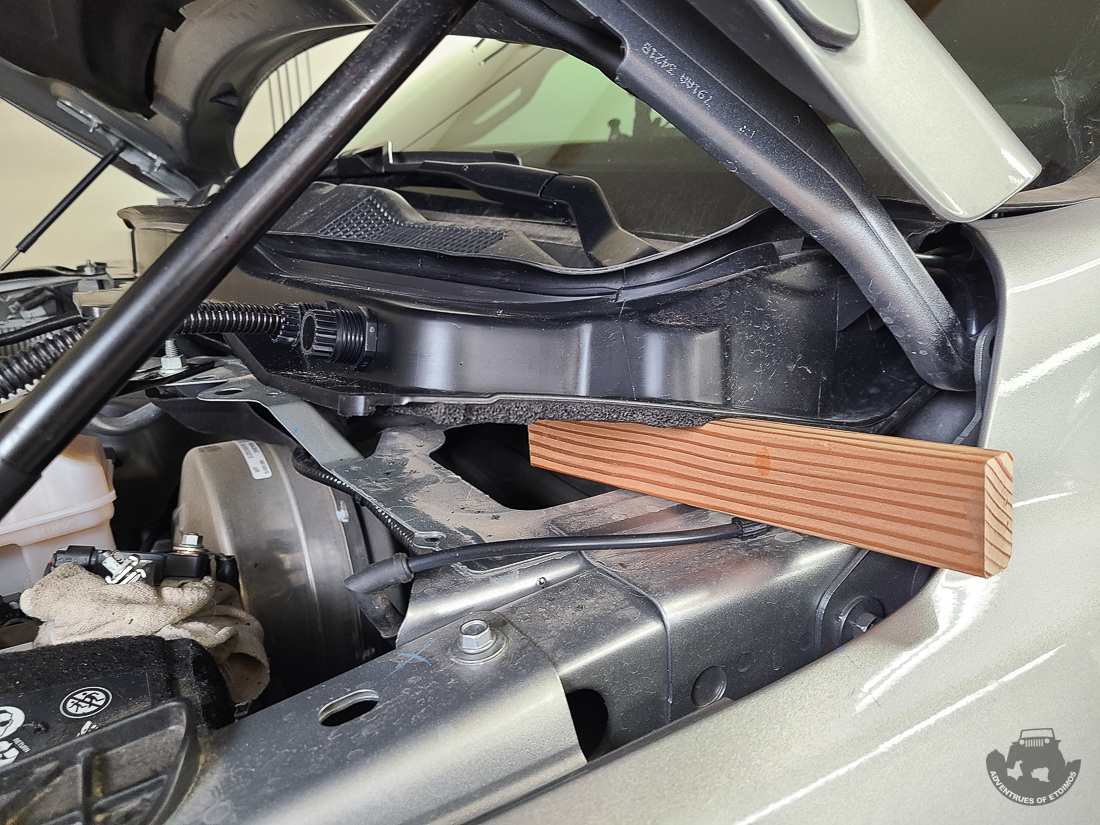
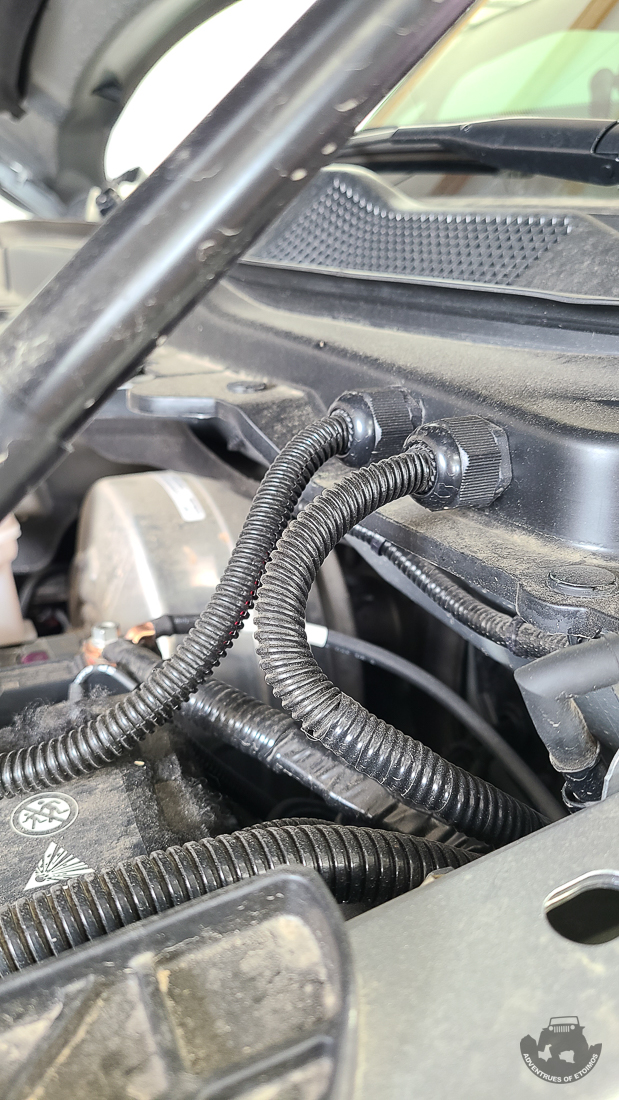
The passenger side does not have enough space on the plastic cover for the cable to exit, so I had to drill some holes in the firewall for them.
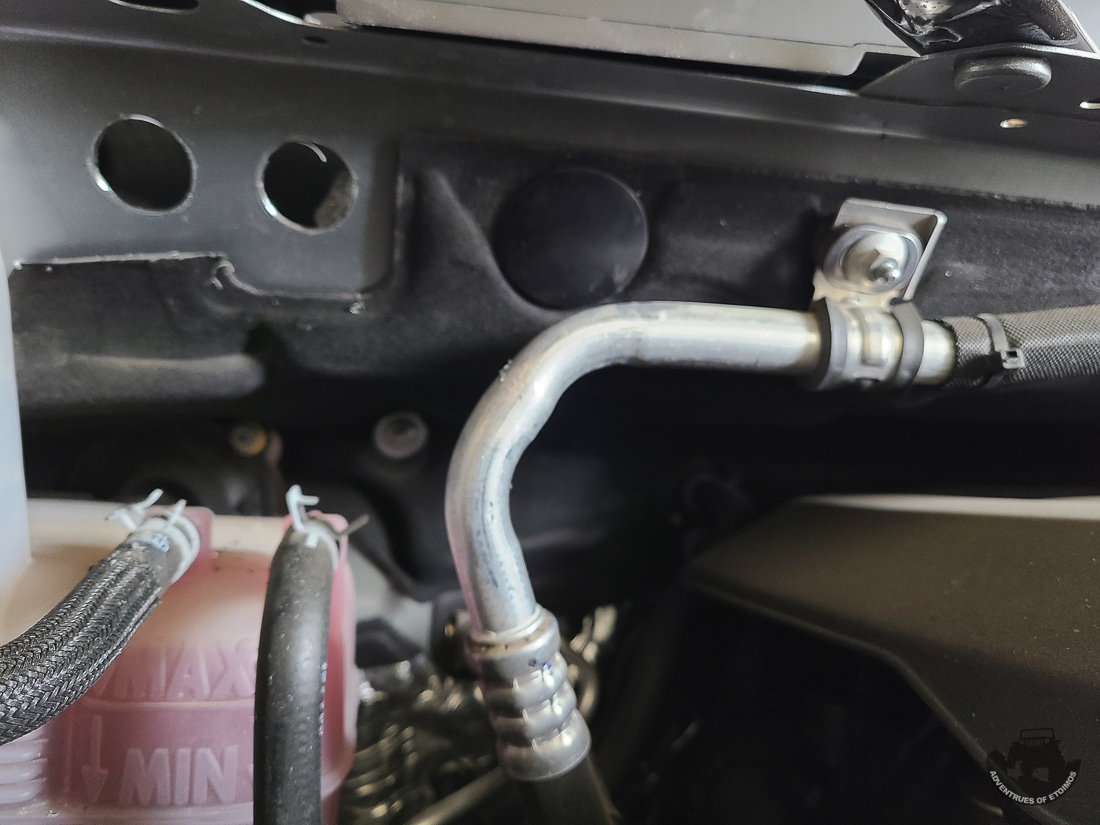
Cable glands were used on this side as well for a nice clean look. Unless you know these trucks, it is hard to tell these wires are not factory installed.
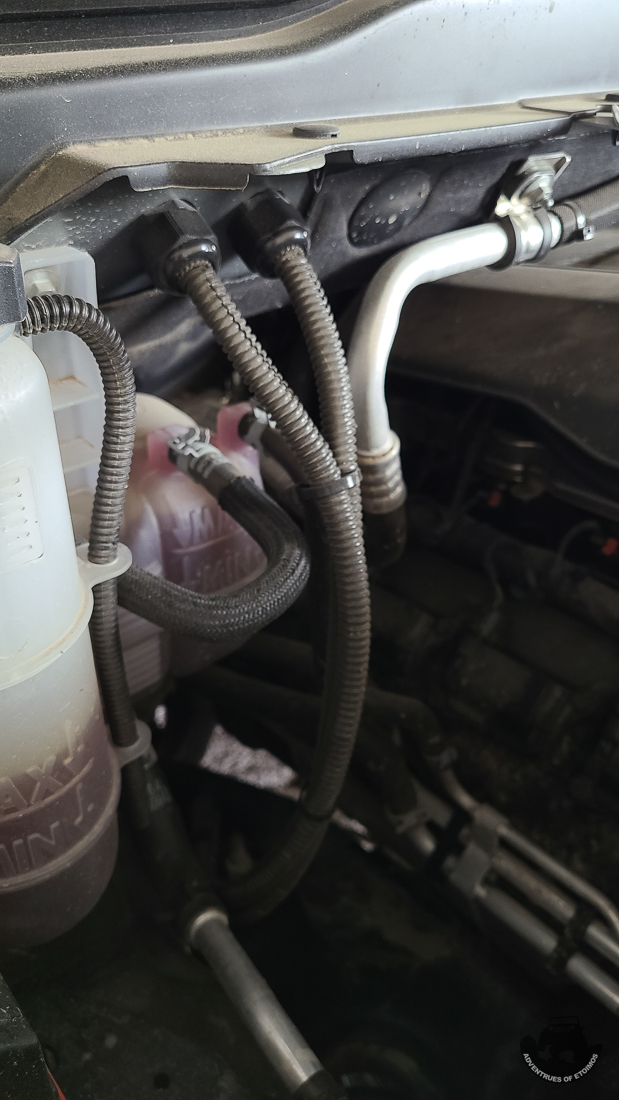
Again, all the wires are labeled for easy identification later on.
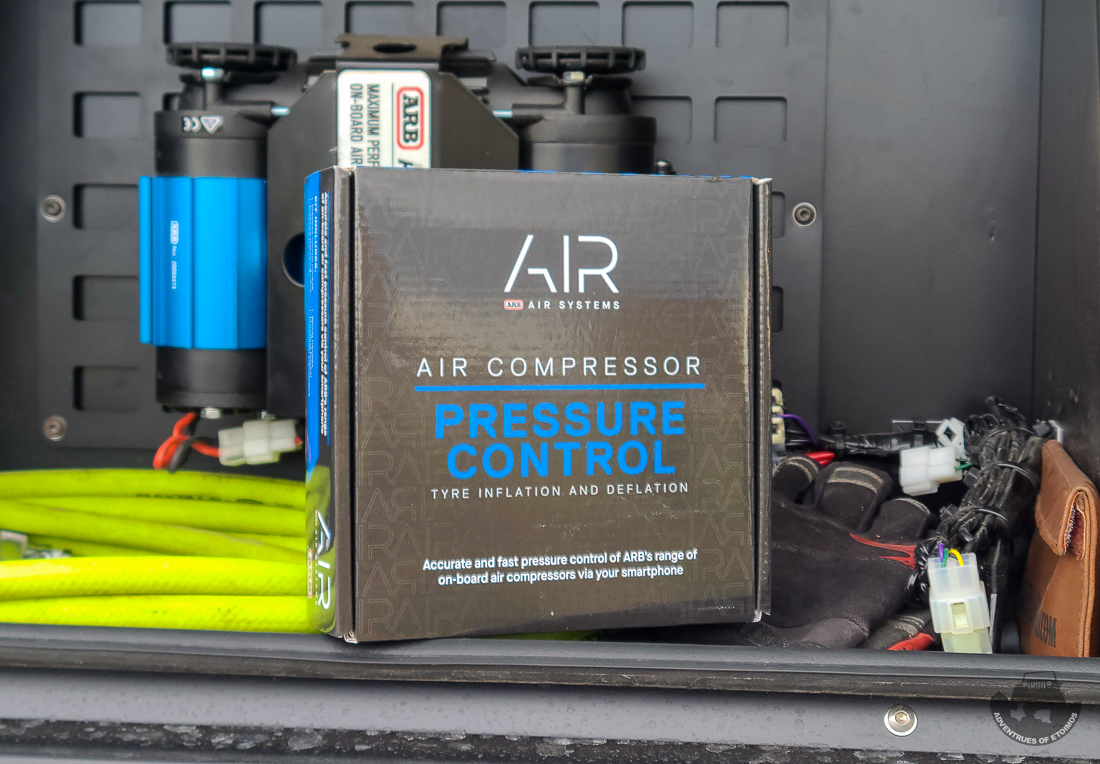
With the wiring all ran and the ARB Twin Compressor mounted in the passenger side half bin, it was time to finish up the on board air system with an ARB Air Compressor Pressure Control system. If you are unfamiliar with ARB Pressure Control system, it allows you to configure preset tire air pressures in an app and then inflate or deflate your tires by simply connecting a “whip” to each tire and then hitting a couple of buttons in the app.
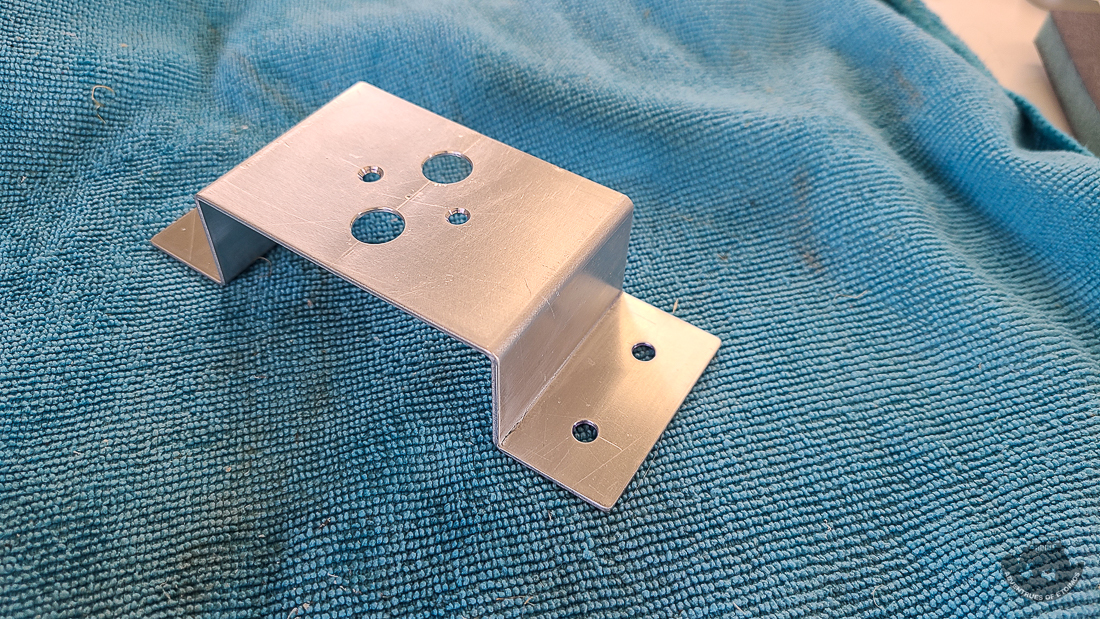
The mounting bracket they include did not work for my needs, so my hotrod building neighbor made me up a bracket to mount it to my passenger side half bin MOLLE panel.
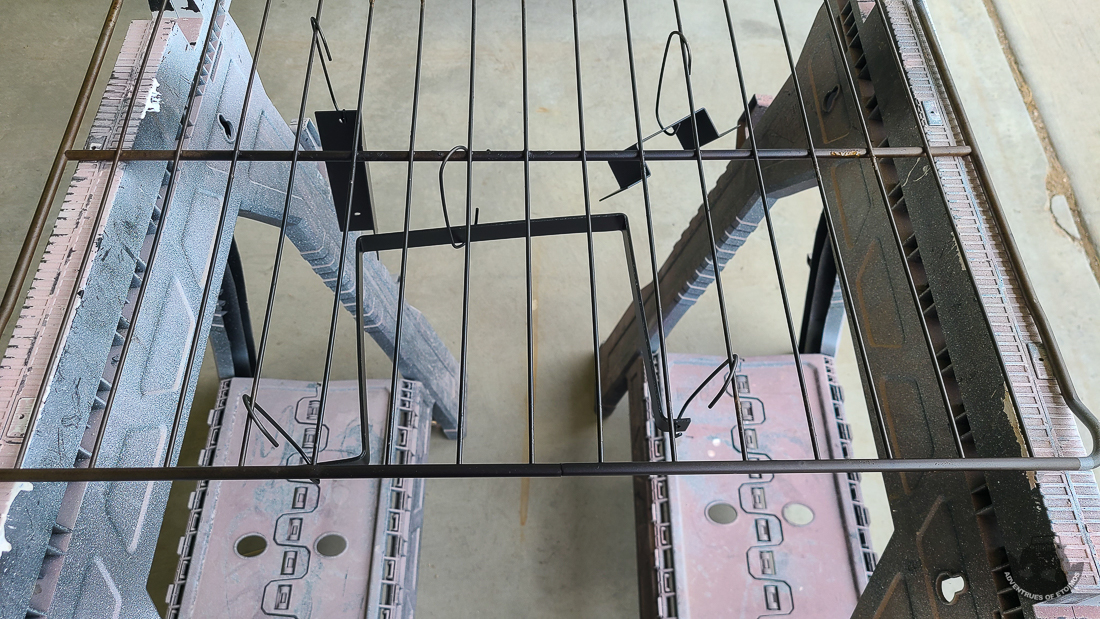
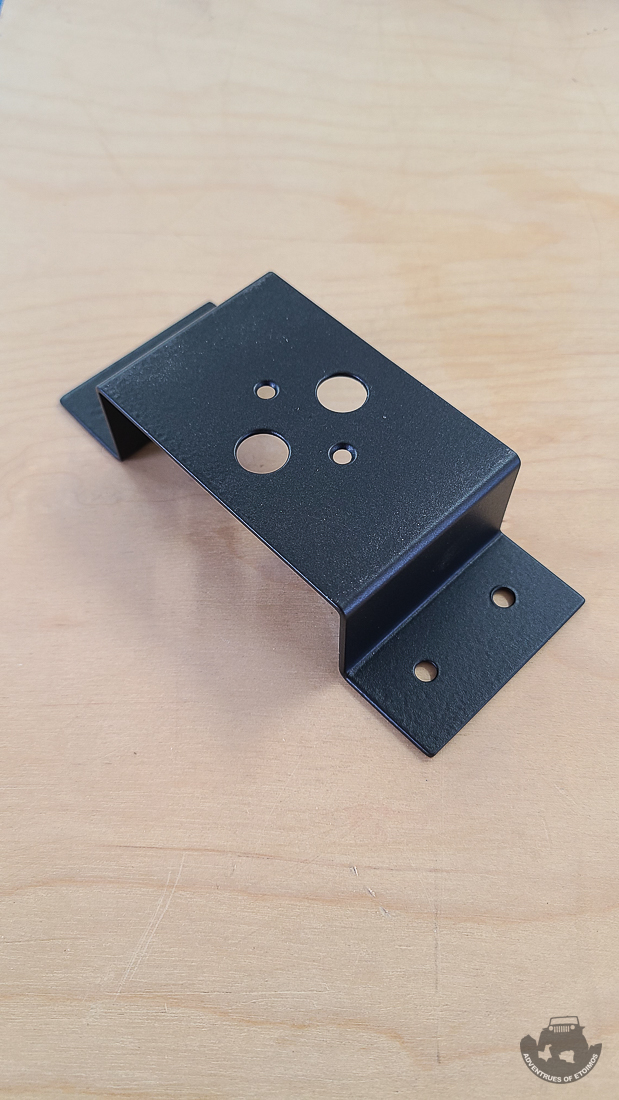
I then rounded up everything else I need to powder coat for this part of the build and hit them all with a satin black that is a very close match to the SmartCap.

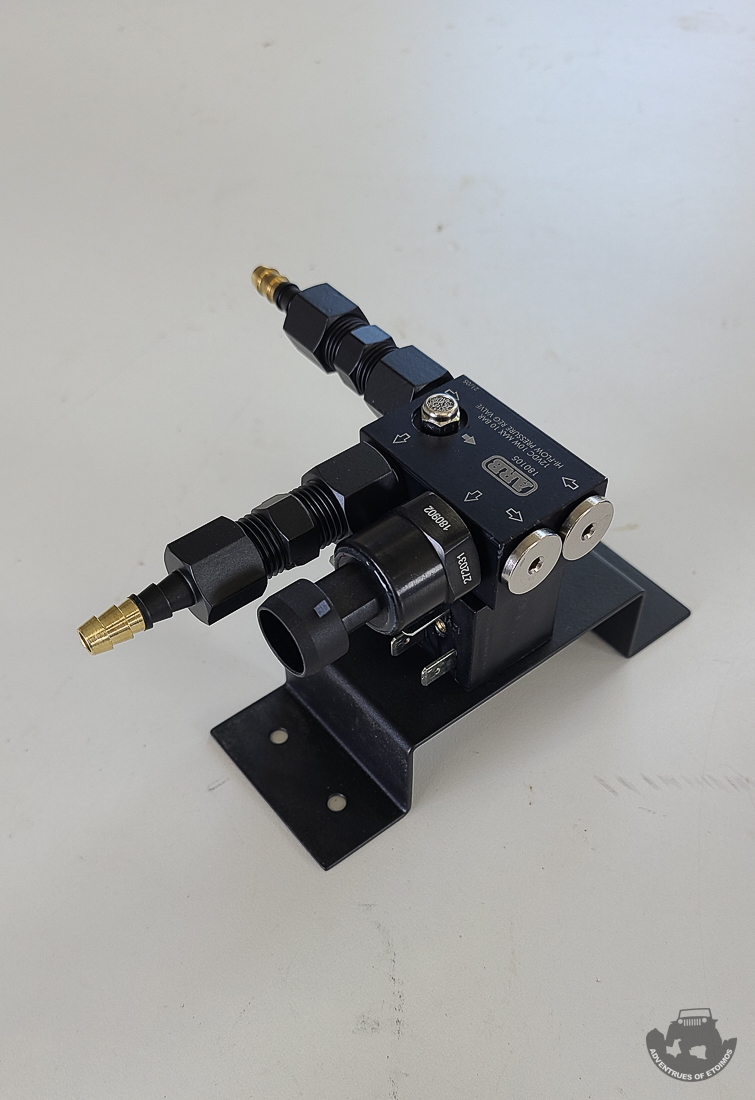
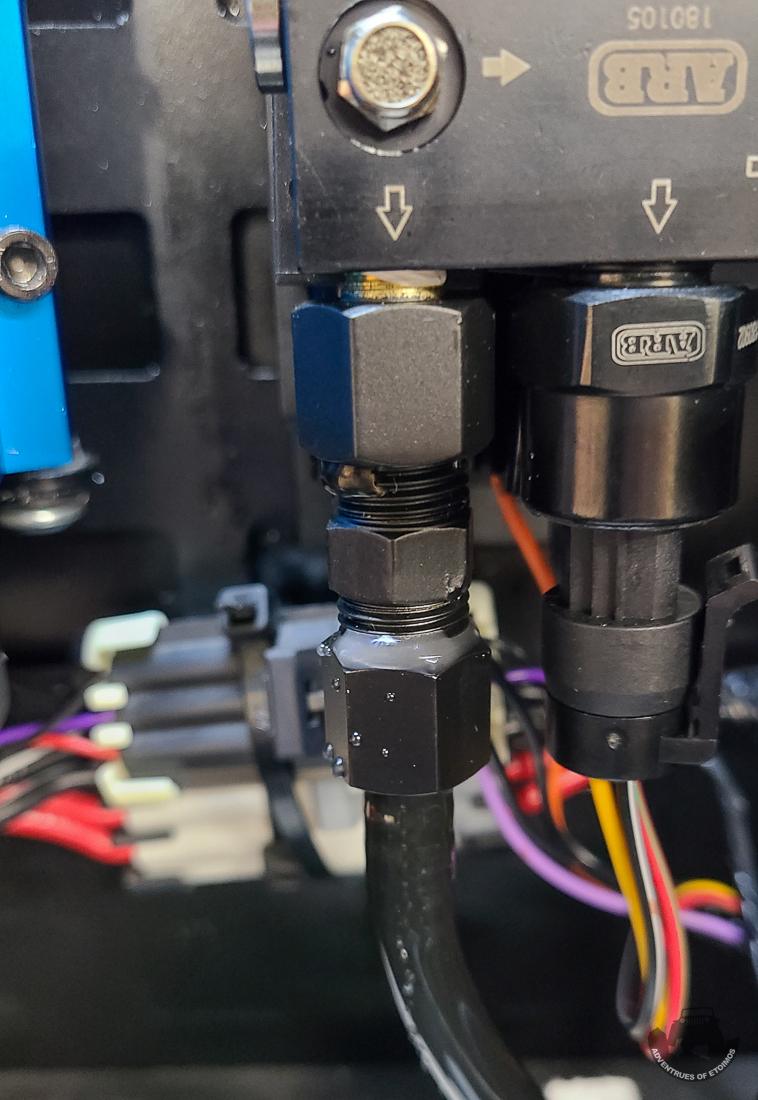
Here is everything put together and attached to the pressure control module.
With all of the hardware mounted to the half bin, it was time to plumb everything up. This was done with parts from the Up Down Air system that I had bought for the Gladiator and never got around to installing on it.
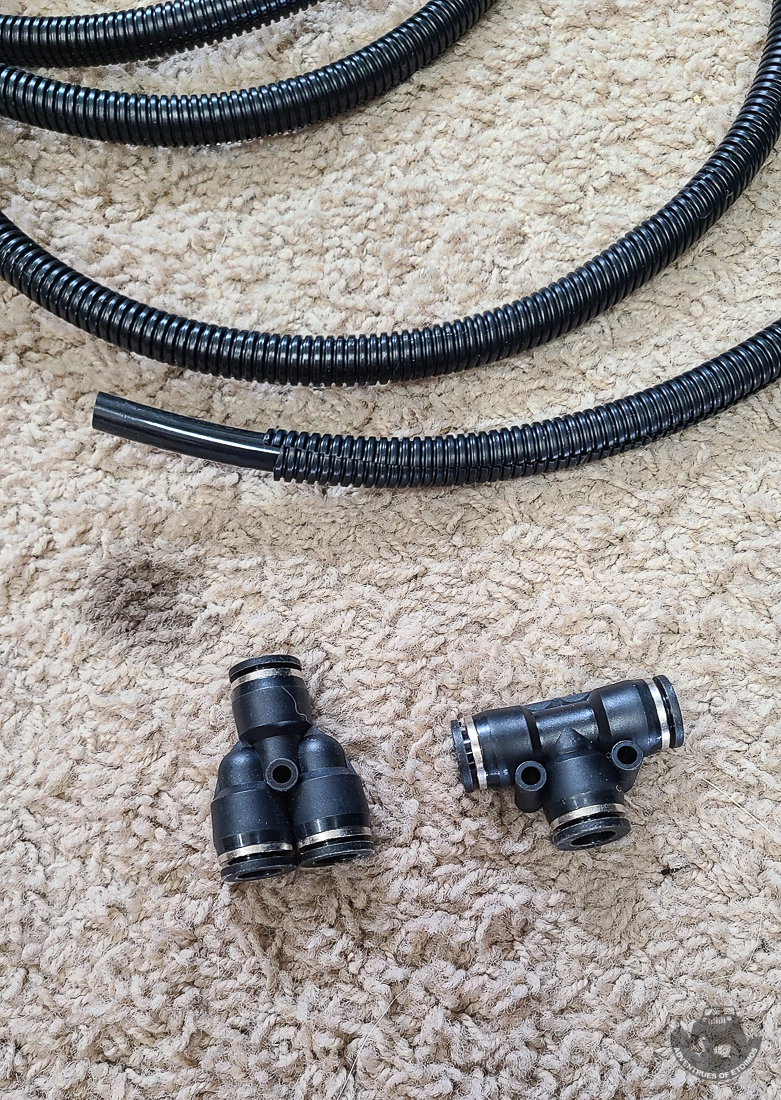
Of course, the BedRug had to be pulled back again to run the tubing up and into the bed of the truck.
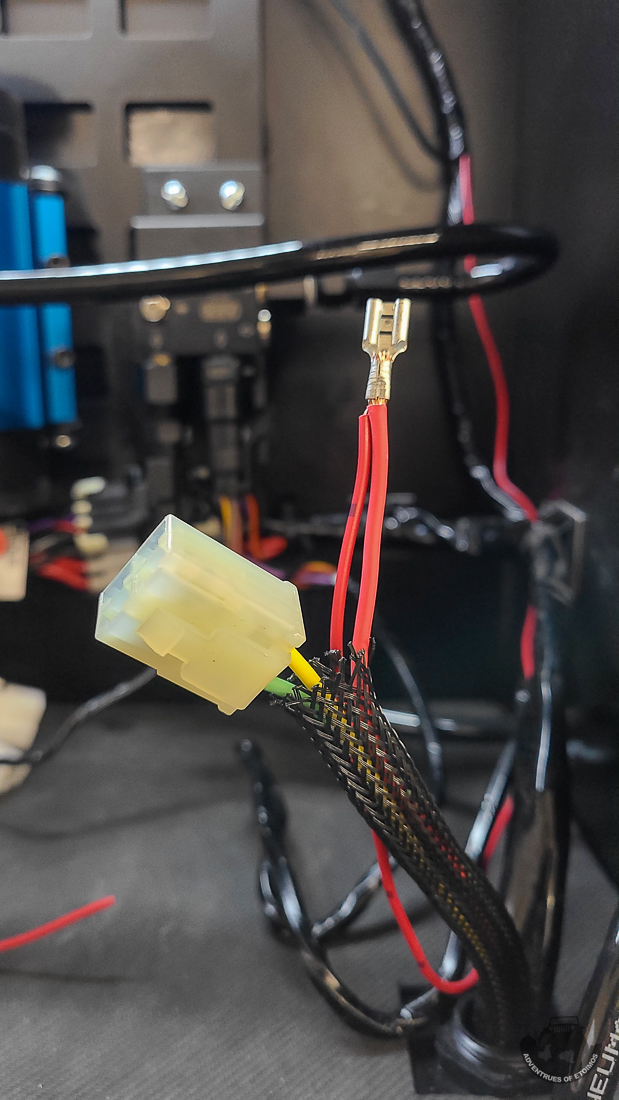
The pressure control unit had to be tapped into the ARB compressor harness so that it turns on when the compressor does. For this I removed the pin from the connector and spliced the new wire into that and put it back into the connector.
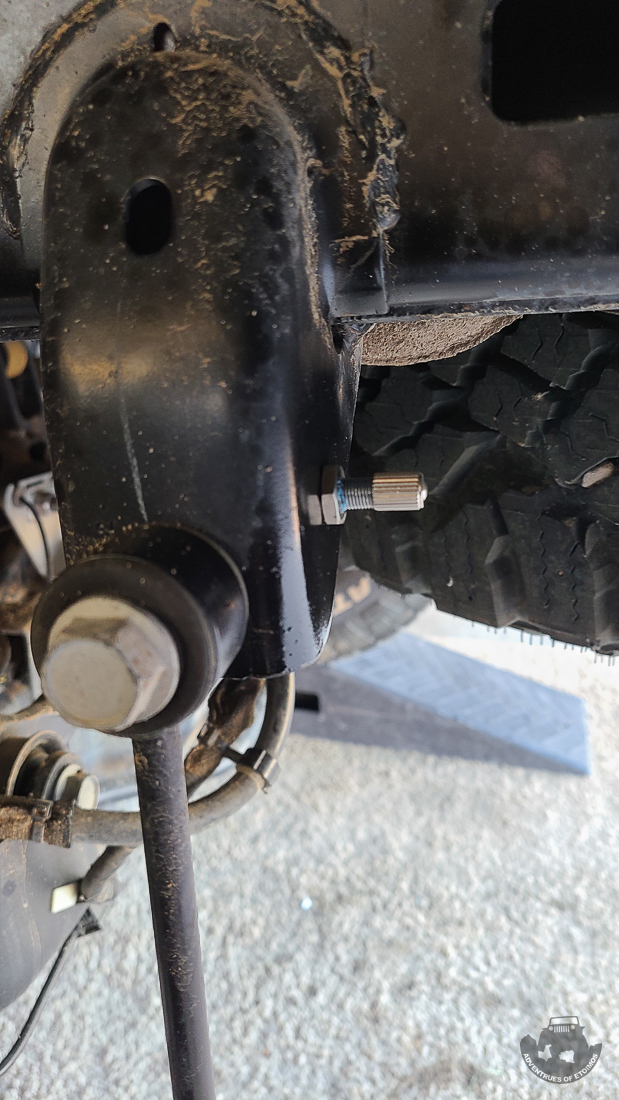
Schrader valves were installed at all four corners of the truck to get the air to each tire.
With everything plumbed it was time to connect the tires via the “whips” and see how the system did.

There were a few leaks in my fittings up at the control module that needed to be taken care of. These leaks also showed me that quite a bit of moisture was being generated by the compressor. I am going to have to get an inline moisture trap installed at some point in the near future.
How Well Does It Work?
On my setup I can inflate all four of my stock tires from my Overlanding pressure of 20psi to my Daily Driving pressure of 36psi (I’m still fine tuning my daily pressure) in just a tad over 7 minutes. Deflating from 36psi to 20psi take about the same amount of time… if you trick the system a little. This system, at least on my truck, has a hard time deflating to the last psi. It will release some air which will drop it down to the target psi and stop. The pressure rises 1psi once the valve closes and this sets off a cycle of very small adjustments trying to deflate that last psi down to the target. What I have found best to do is set your target psi to 1psi less than what you really want. This way the system takes it down to your true target psi and you can turn the system off before it goes through that whole cycle mentioned above.
Leave a Reply