Power Wagon: Solar, Electrical and Comms
Solar
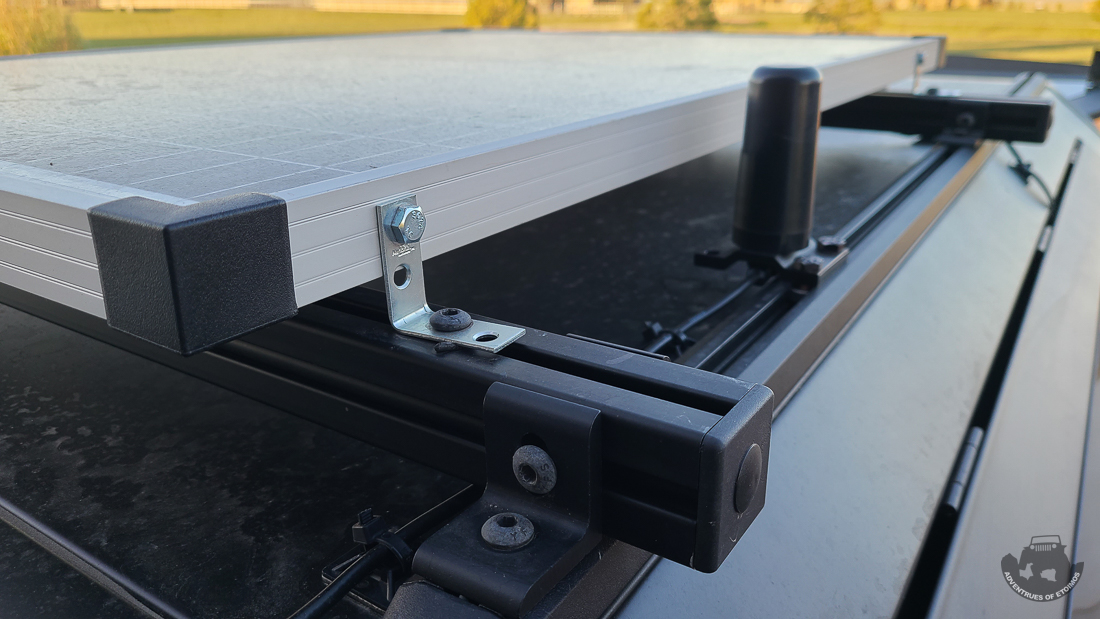
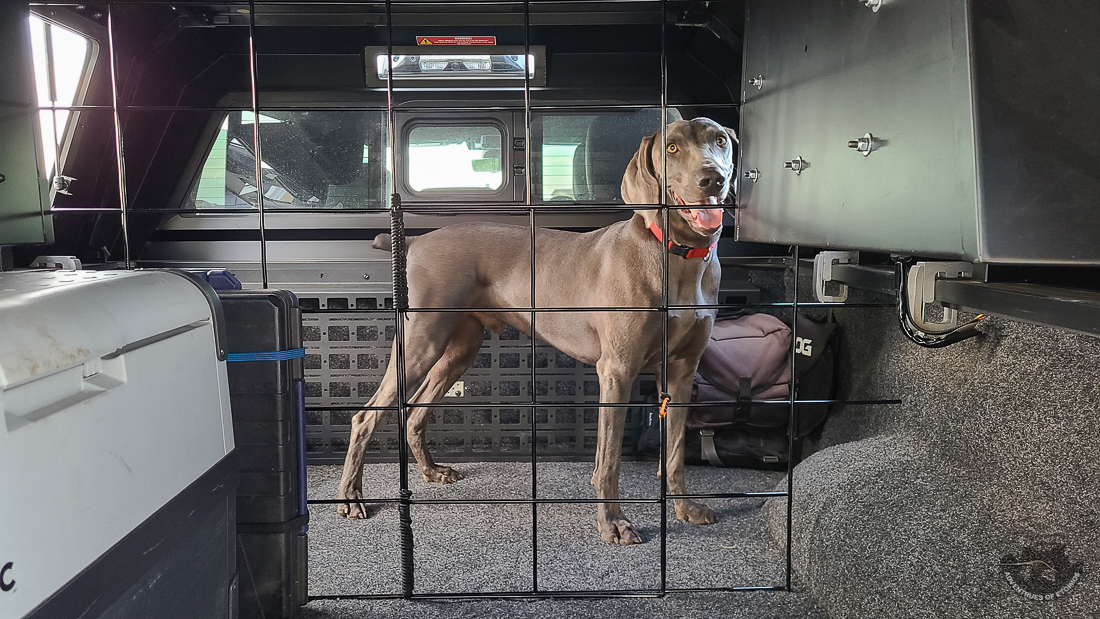
One of the mods to be installed in the bed is a Dometic fridge and slide. I am also going to be installing some lighting in there to make things easier at night. All of this means I needed some type of power back there. Instead of adding more load to the trucks battery, I mounted a 100w solar panel on the top of the RSI SmartCap via a pair of 15 series aluminum profiles from TNUTS.
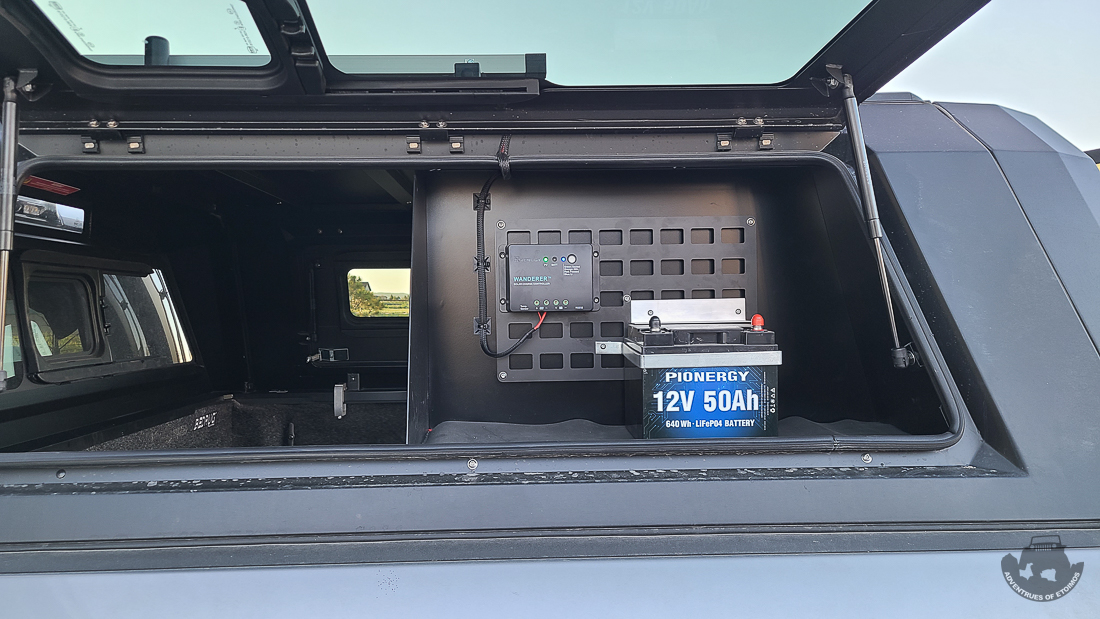
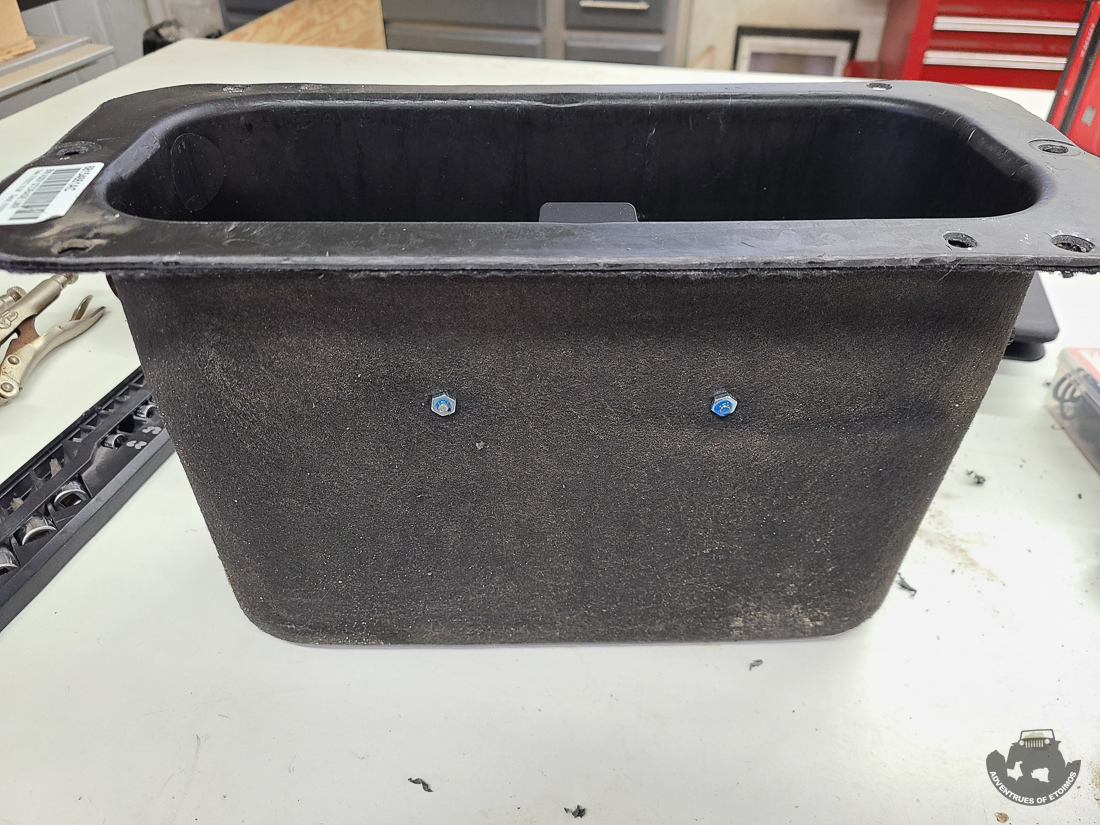
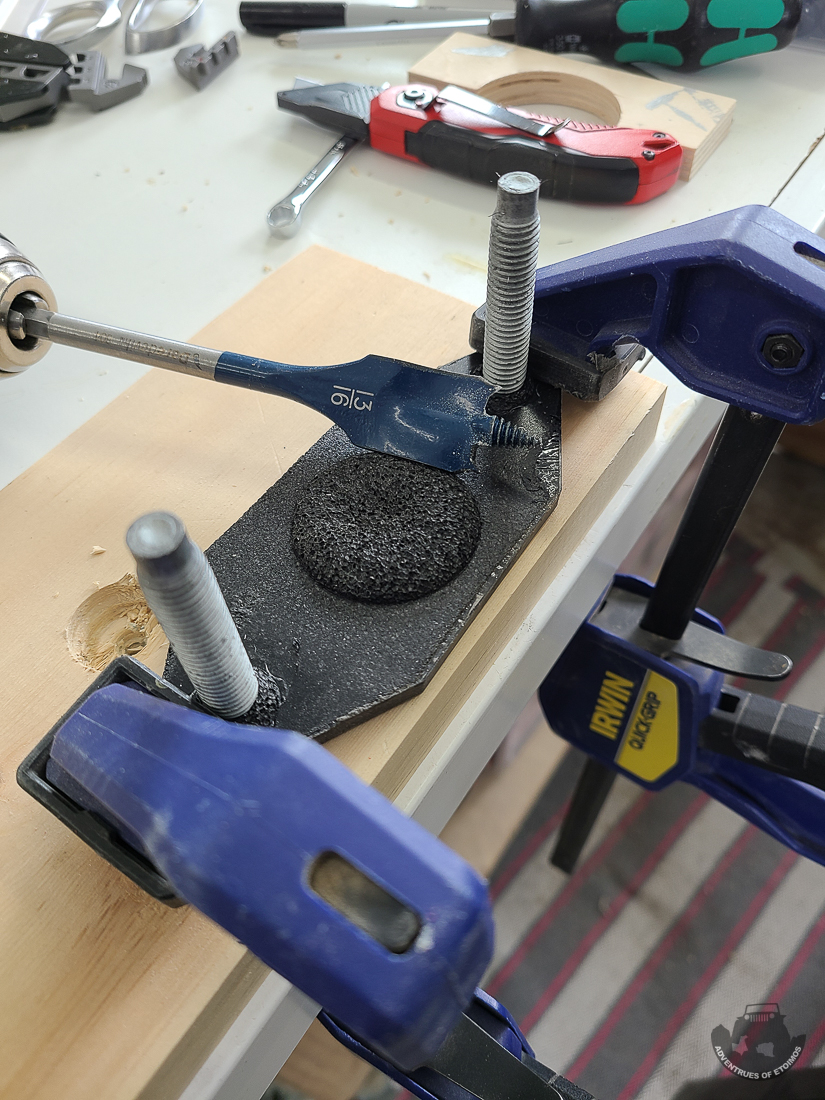
The solar panel is connected to a Renogy Wanderer charge controller and finally to an Amazon 50Ah lithium battery, all mounted in the driver side RSI half bin. From there a line is ran inside the bed to the fridge when mounted. To secure the battery in the bin, I made some quick brackets from spare metal laying around the shop. They turned out pretty good but I’m thinking about remaking them with purpose bought metal so that the sizing is a little better. I also need to powder coat whichever set I decide to go with.
Communication and Navigation Gear
Getting the layout of all the Comms and Nav gear is important so that everything is easily seen, easily reachable and does not cutter up the interior of the truck too much.
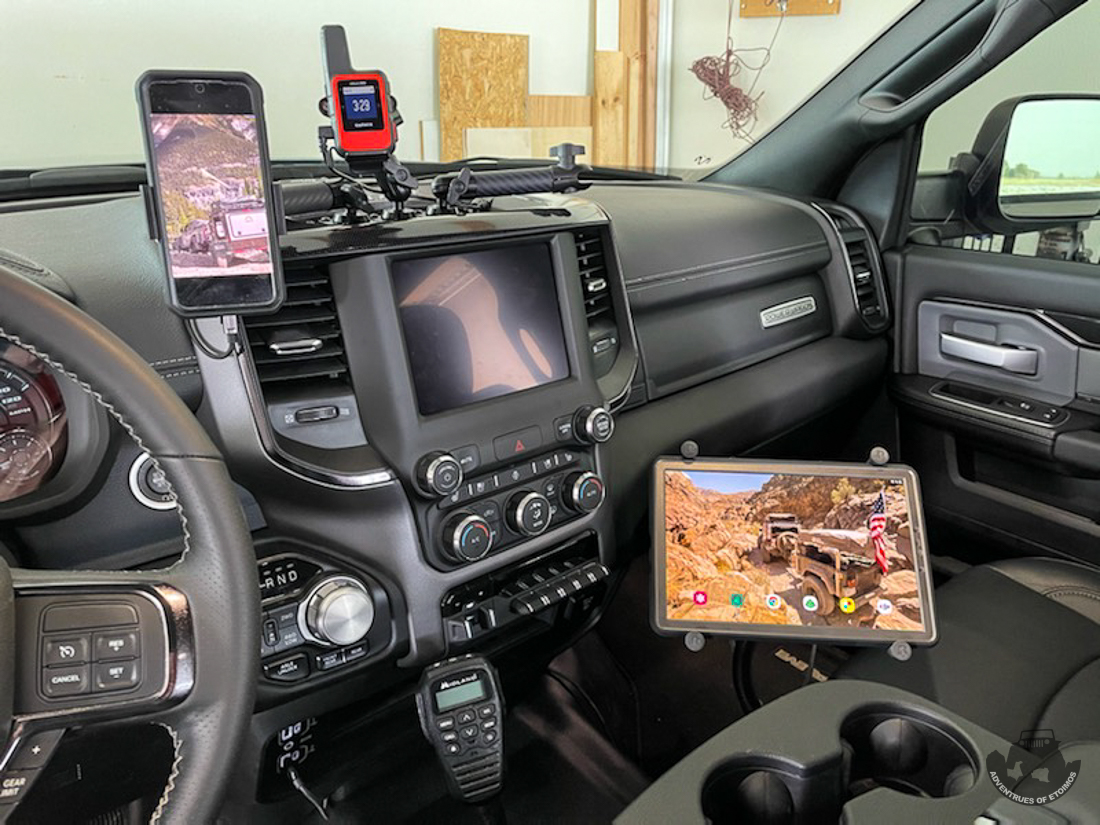
Up top I’m using a mix of some 67 Designs parts I had on hand and the Bullet Point RubiGrid for the phone holders. BP’s shortest arm worked well for the inReach mini. To power these I used a 12v to USB socket adaptor and bought some short charging cables to help keep things clean looking.
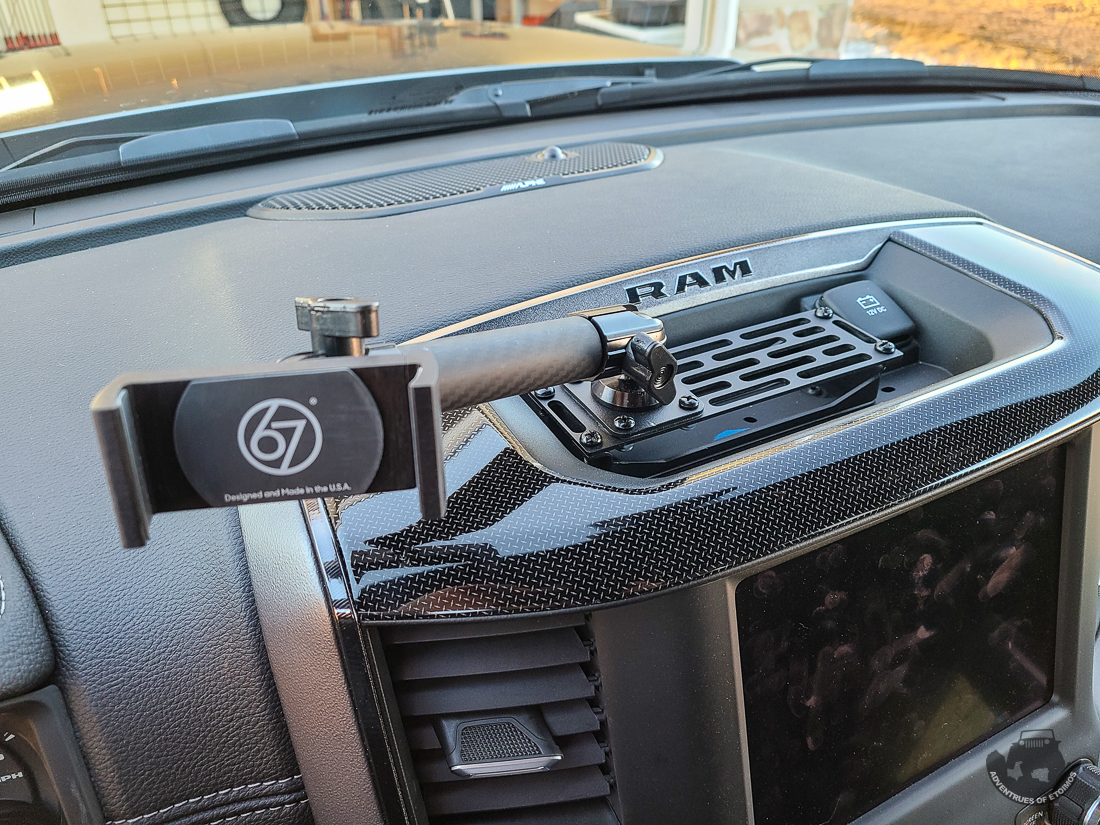
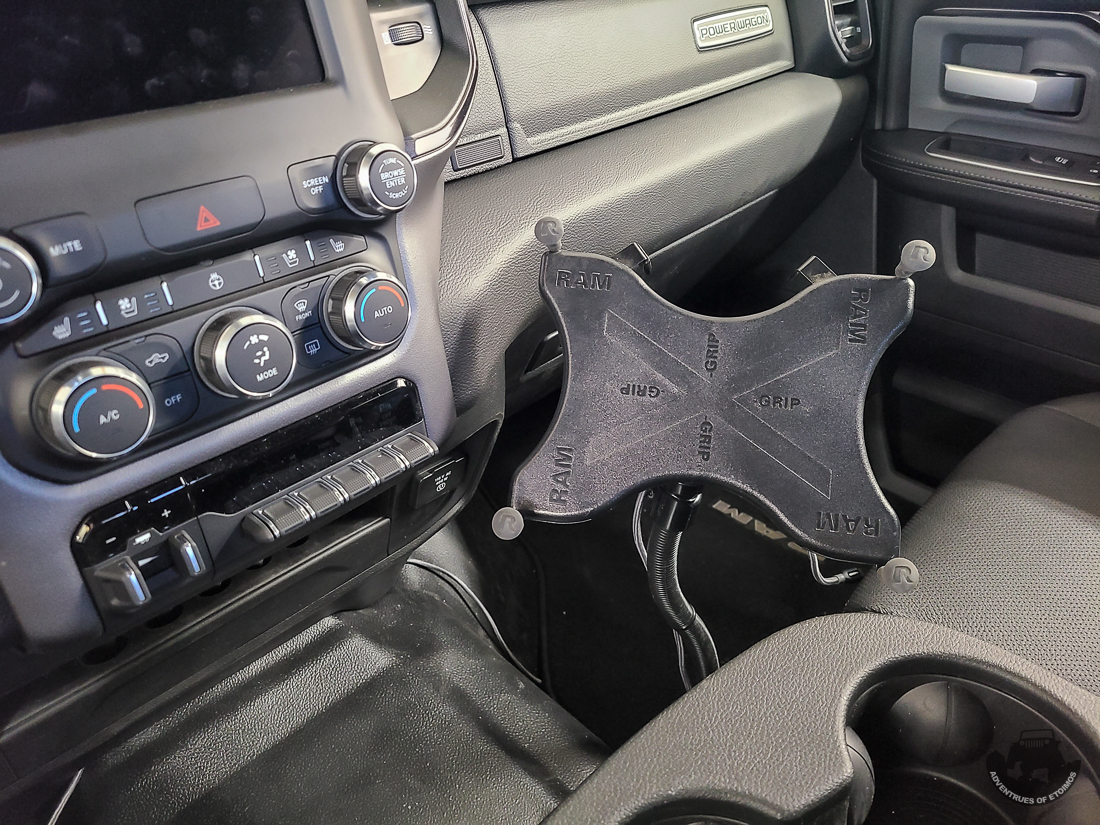
A RAM Mount tablet mount from my Gladiator was modified to attach to the passenger seat frame.
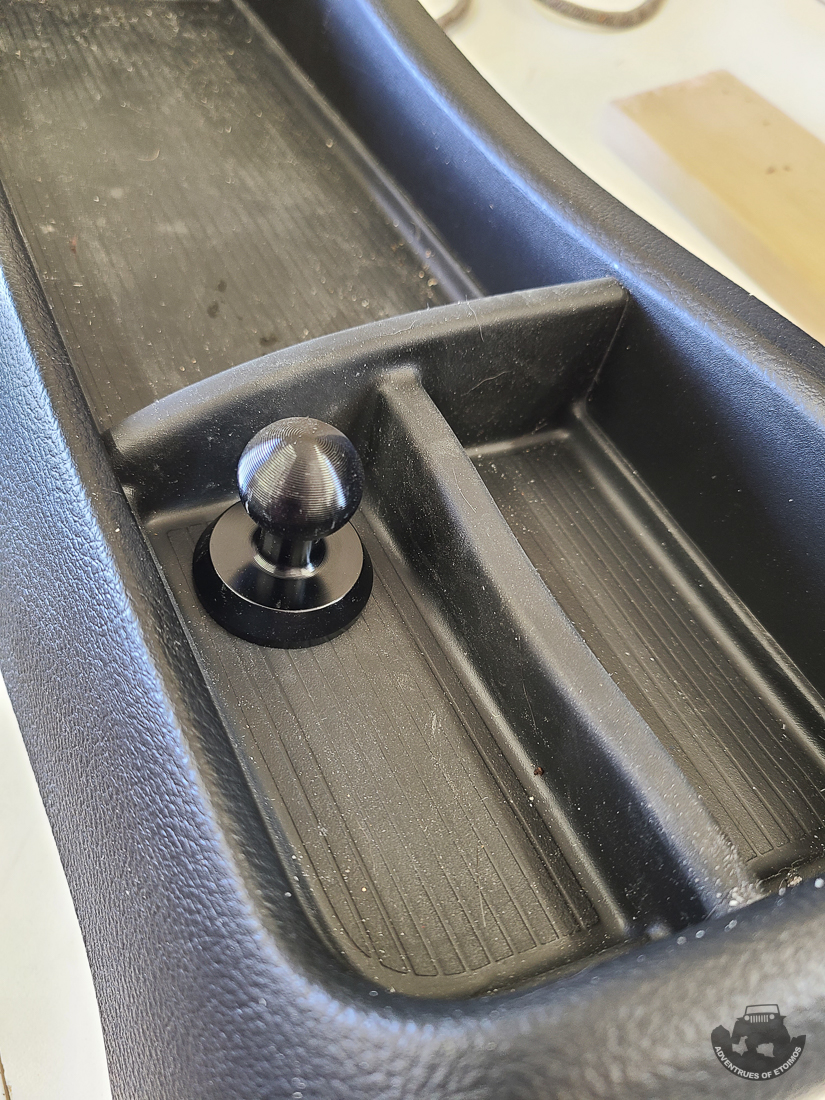
The mic holder for my Midland MXT275 GMRS Radio is the Bullet Point CB Radio Holder with their Xtra Long 20cm arm. The mic holder part works really well and has a padded surface on the inside that helps keep it rattle free. The other end of the arm is connected to a 20mm ball I pulled off of one of their phone holders. I mounted that directly to the stock tray in front of the middle seat over the hump.
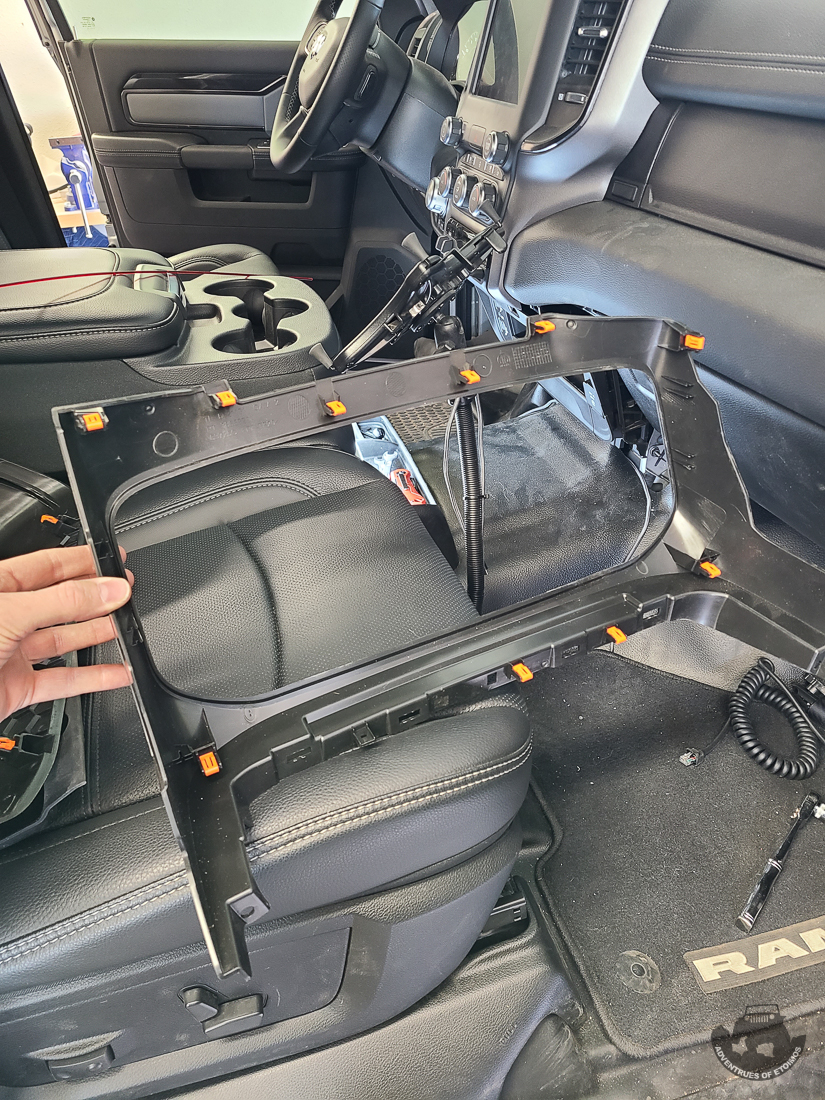
Installing the Midland GMRS radio consisted of ripping out the lower part of the center stack, the carpet and trim around the two driver side doors. I also removed the driver’s side rear seat, but that is not completely necessary for how I ended up installing it all.
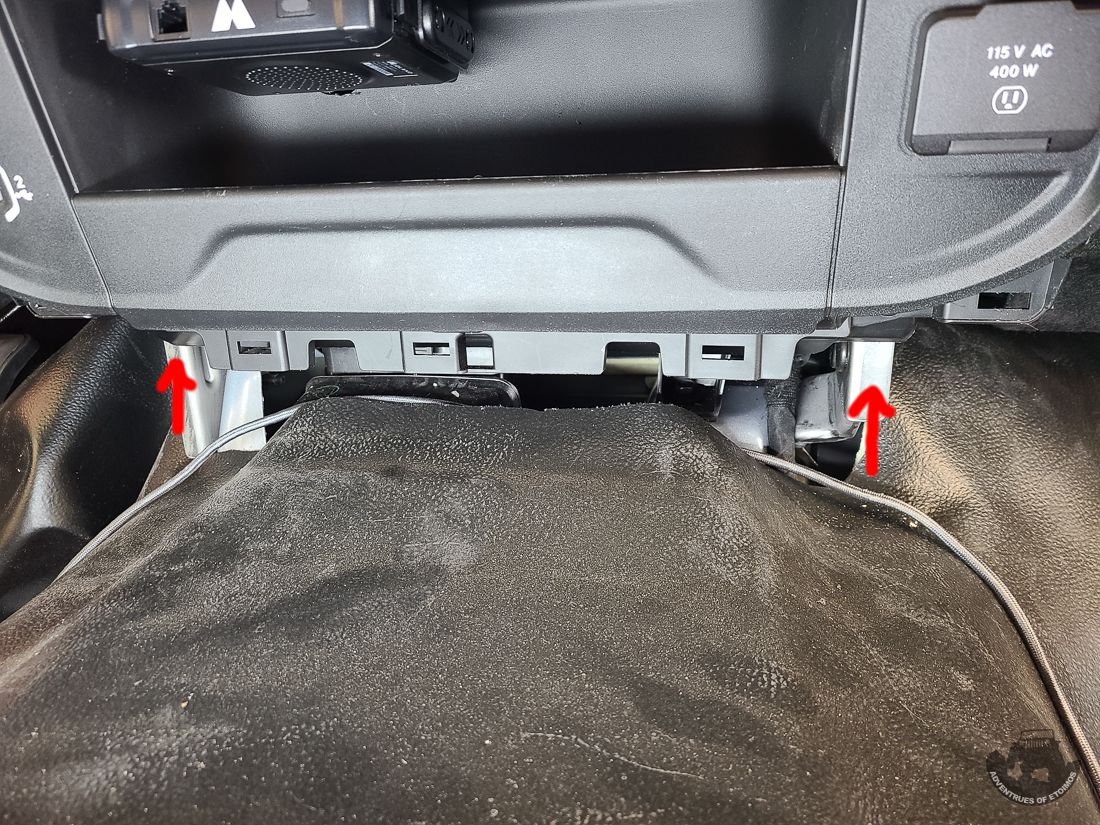
The lower center stack consists of three parts; the lower panel which just clips in, the bezel that surrounds very thing that has two small bolts (8mm I think) and clips and finally the little cubby with the change holder in it (all clips).
Here are the bolt locations, and where my main radio unit is installed.
There are lots of orange clips holding the trim on.
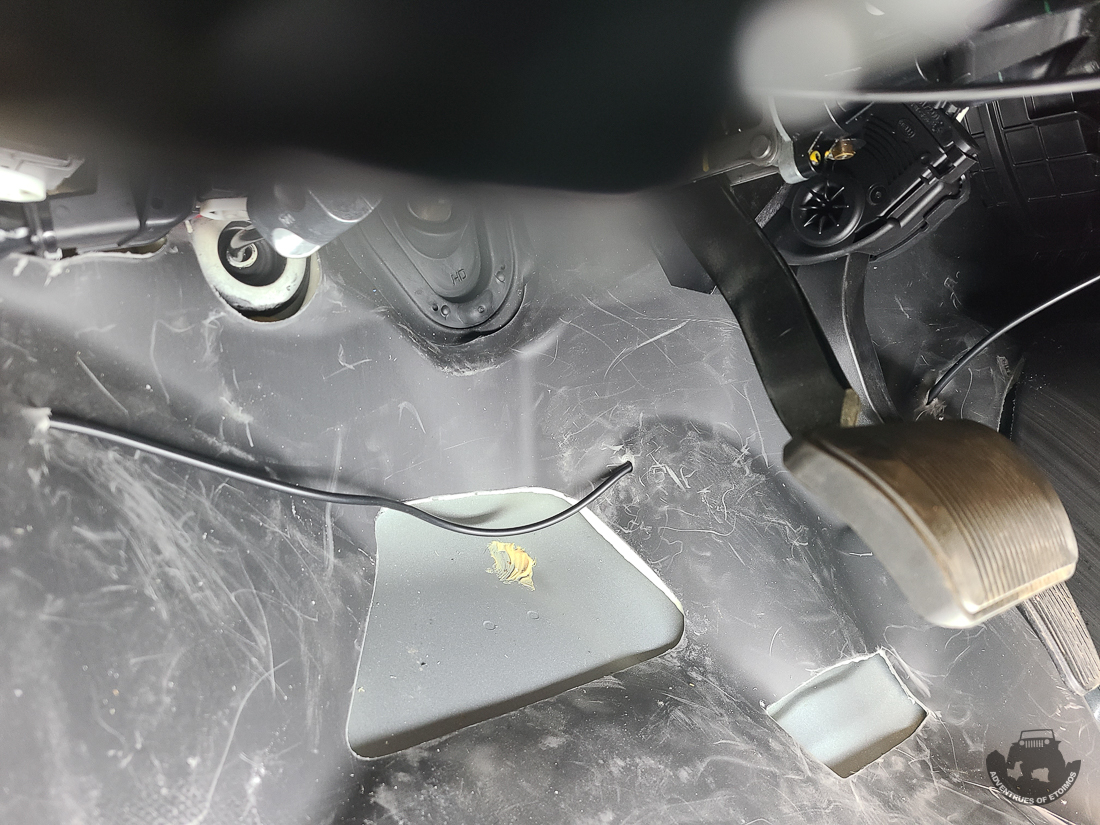
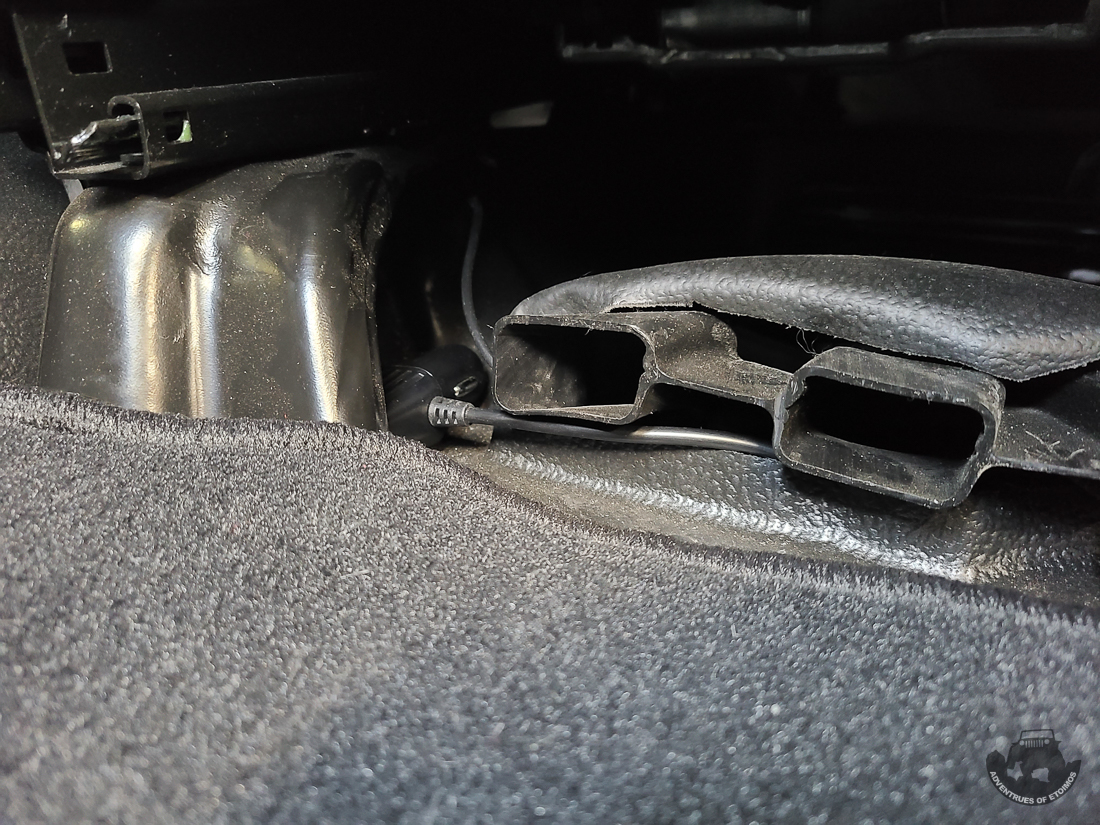
The antenna wire is weaved to slits in my vinyl flooring to keep it up and under things so I don’t step on it all the time.
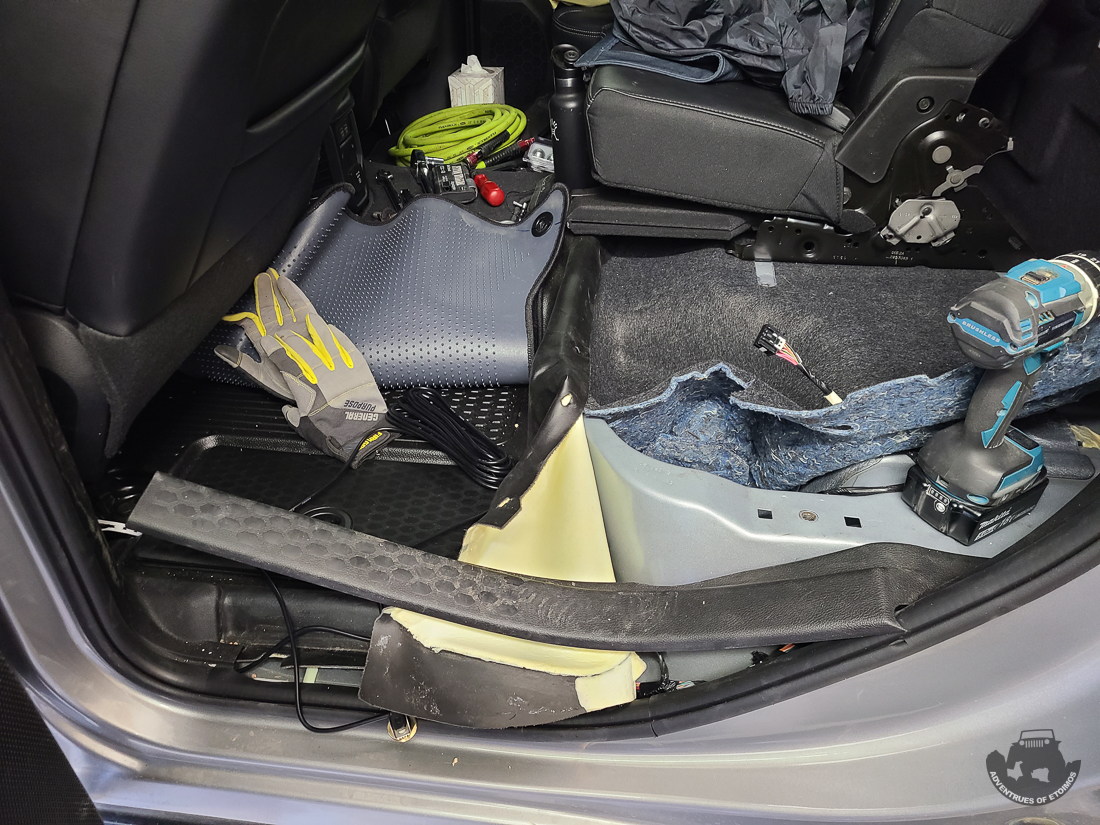
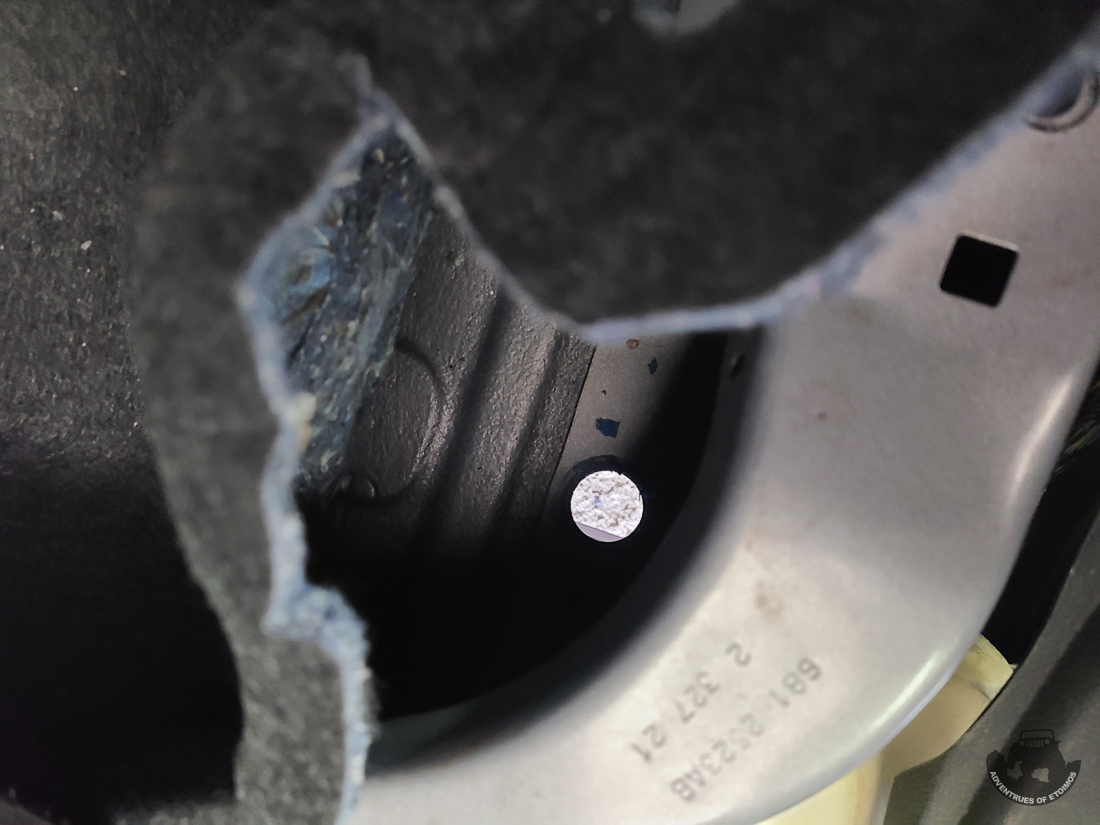
Next I removed the rear seat and door trim to run the wires. I’ve also pulled the vinyl flooring away from the under seat cubby. There is a hole in the front of the cubby you can pass the wire though and then a sealed hole in the bottom of the cubby to underneath the truck.
From there it was just a matter of routing the antenna wirer a few feet under the truck and up between the cab and cap to the 3db gain antenna mounted on the top of the RSI SmartCap.
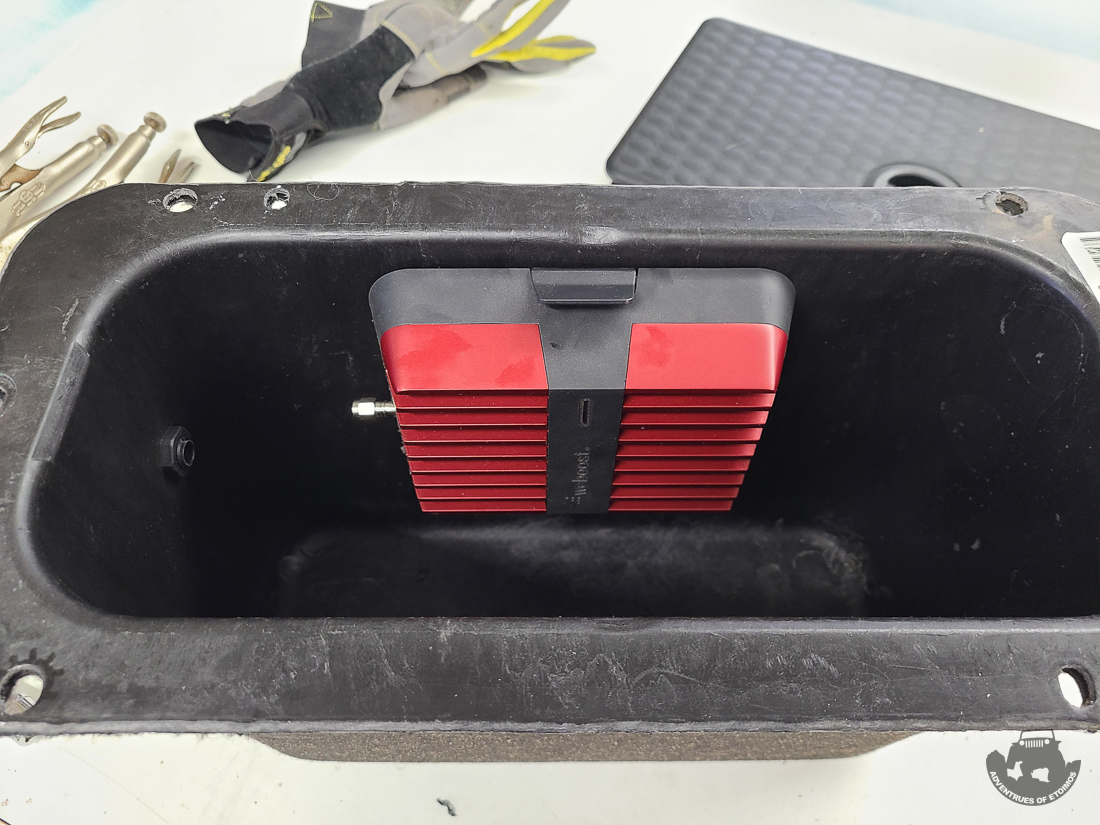
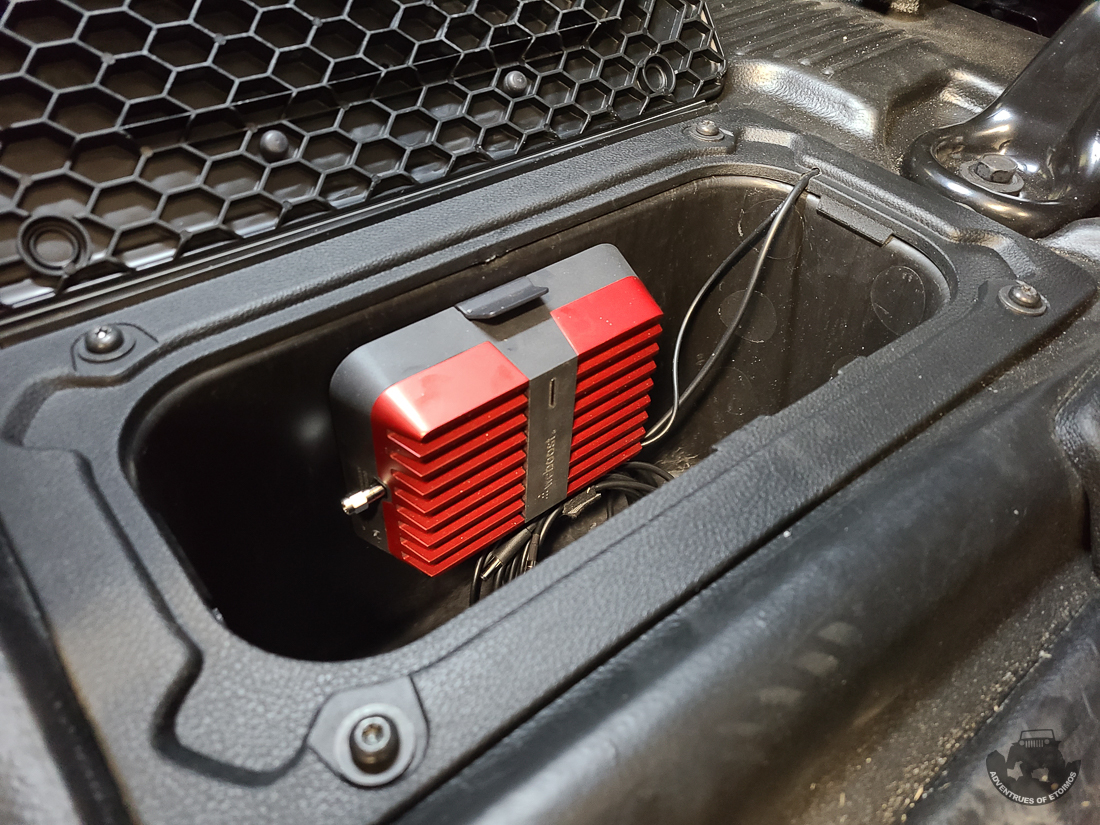
On the other side of the truck is where I’m installing all of my WeBoost cell signal booster gear. This system has a fairly large module and rather small cable connections, so I decided to install it in the rear in-floor cubby on the passenger’s side since it could not get kicked or bumped in there. The cubby is made of three parts. First is the trim and lid, then the cubby liner, and finally the sound dampened cubby its self. I pulled everything out to do this install and it is kind of odd looking down at the rear floor of your truck and seeing the ground!
The WeBoost mount was mounted through the main cubby. I used some lock tight so that the nuts would not fall off going down the road.
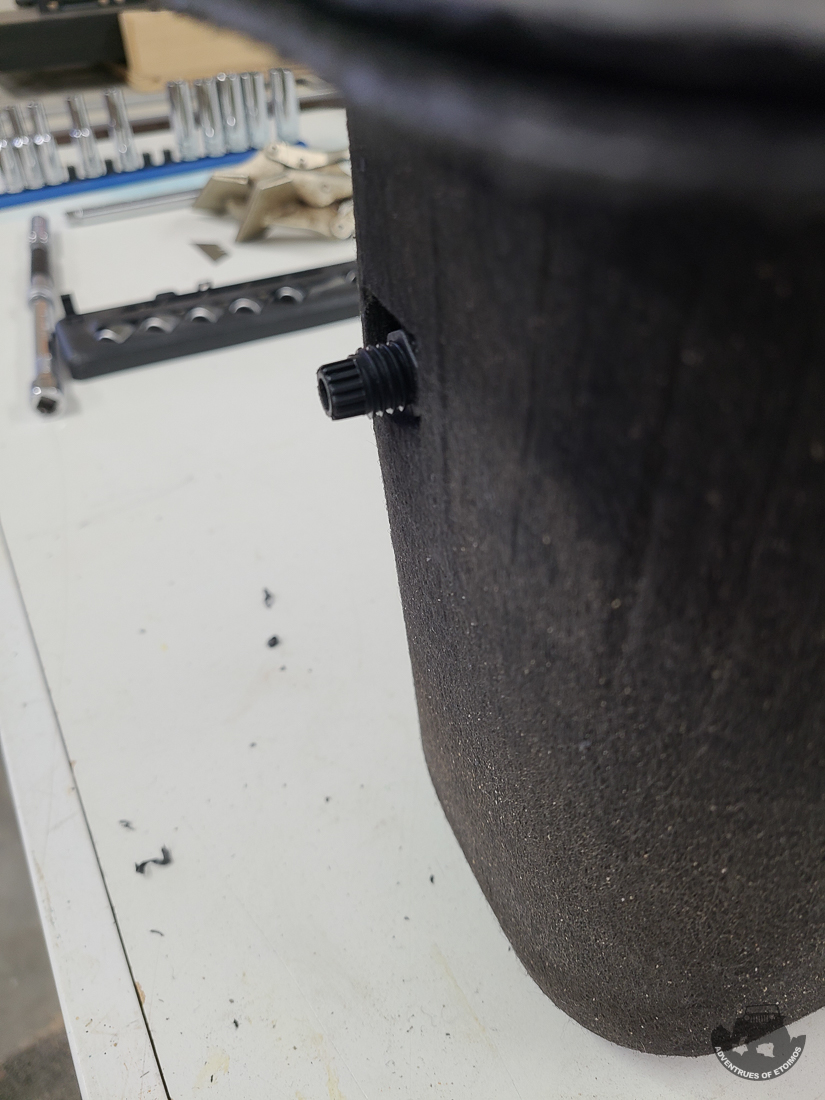
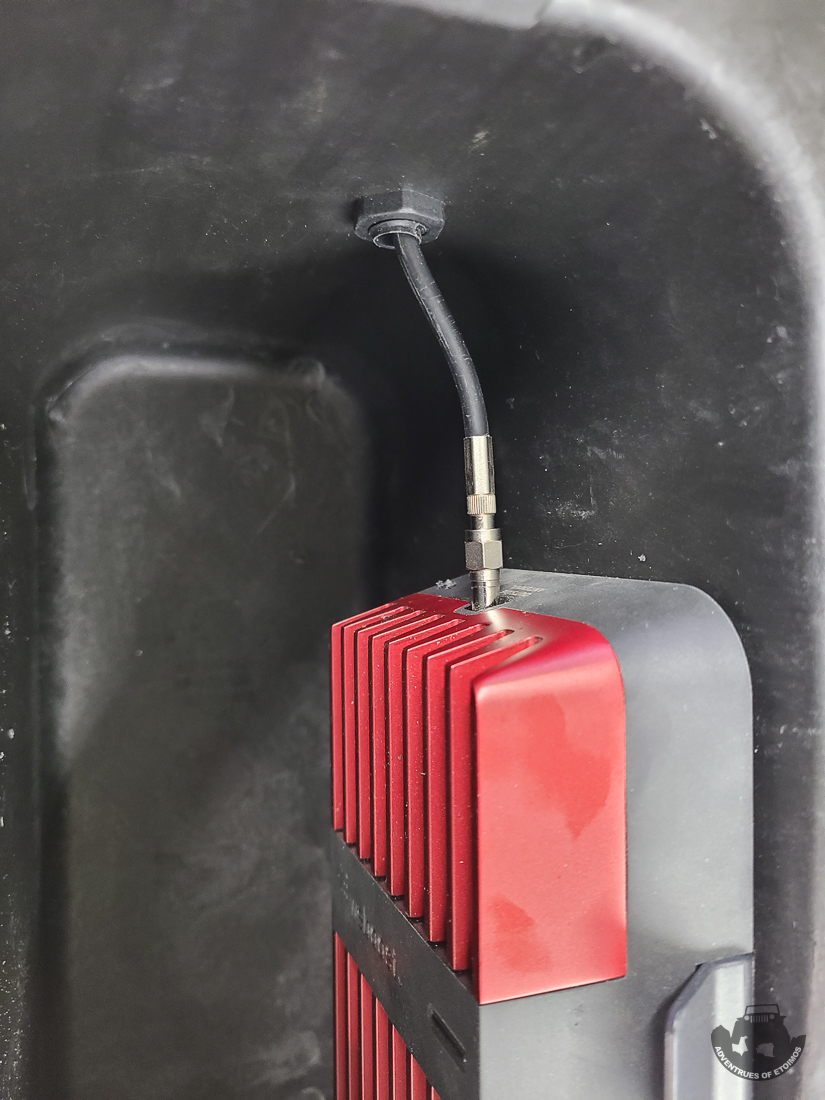
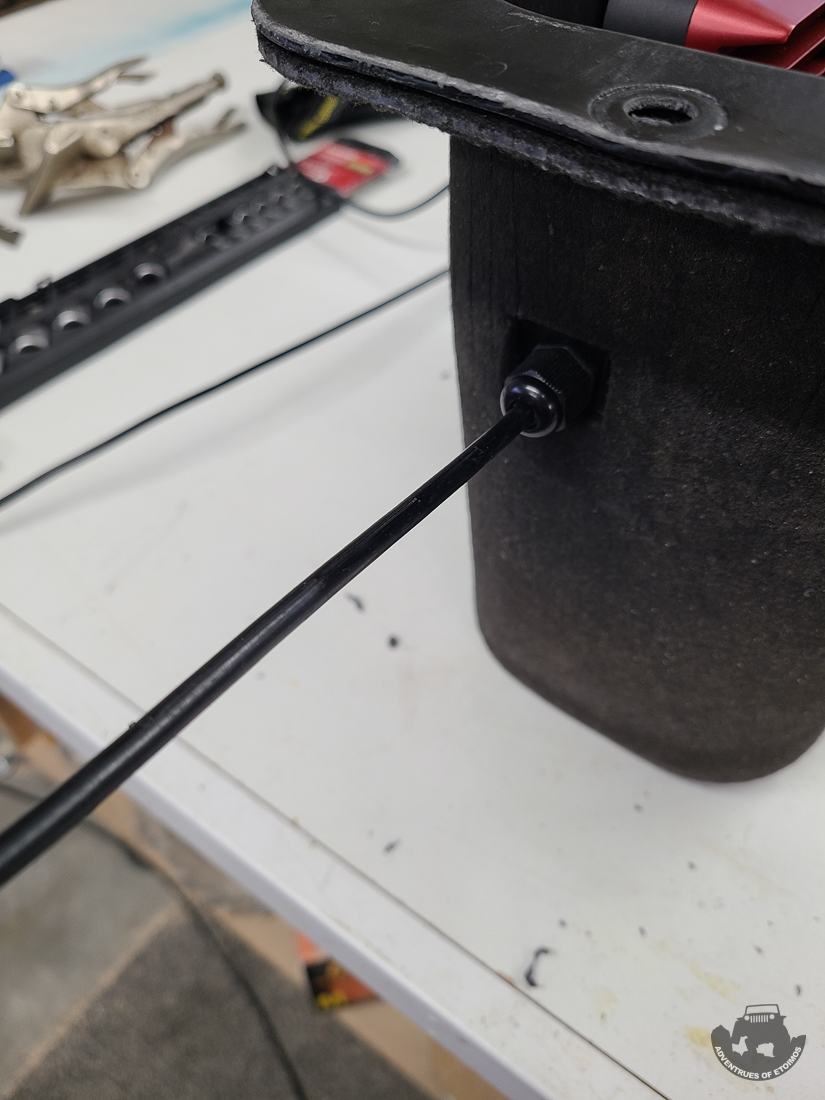
A cable gland allows for the antenna wire to exit the cubby while keeping the dust and water out of it.
The WeBoost module uses a clip style mount that works really well.
This is how the antenna cable looks passing though it.
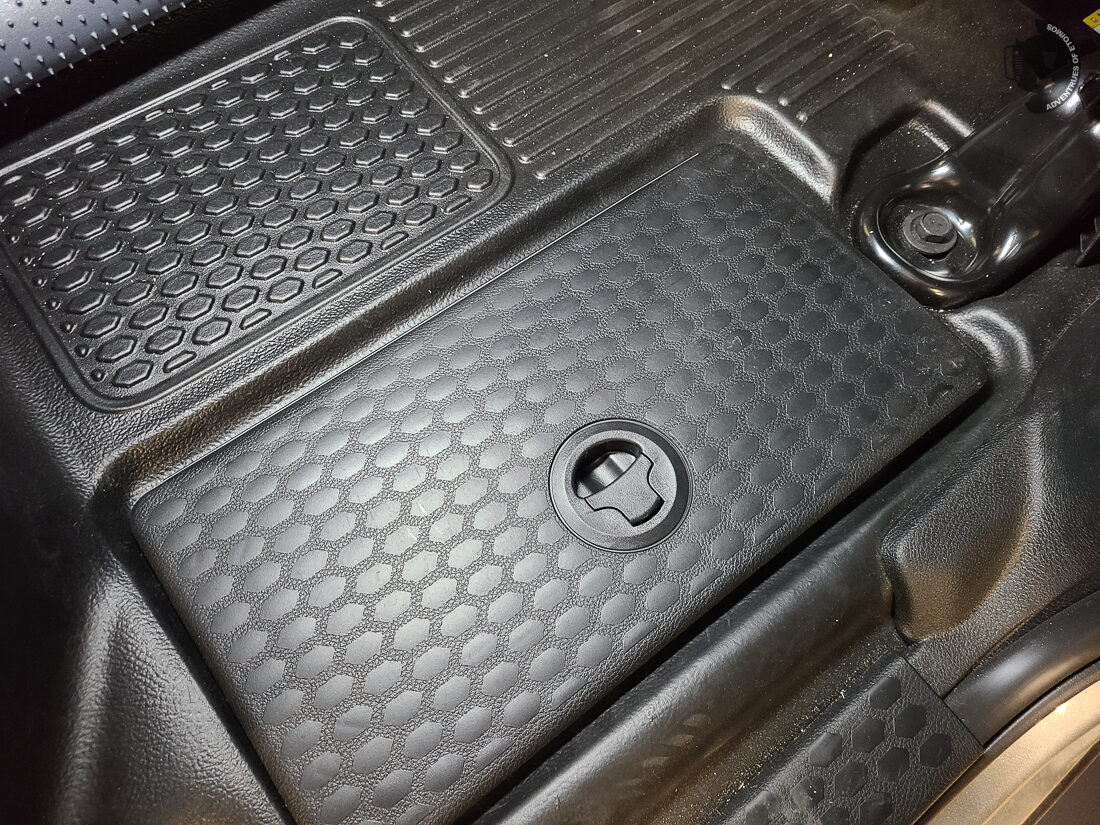
Here is everything back in the truck with the interior wires ran through a notch in the trim for a nice clean install. The wires are then ran under the vinyl flooring and exit under the passenger seat at the floor vent. This install keeps feet from stepping all over the wires.
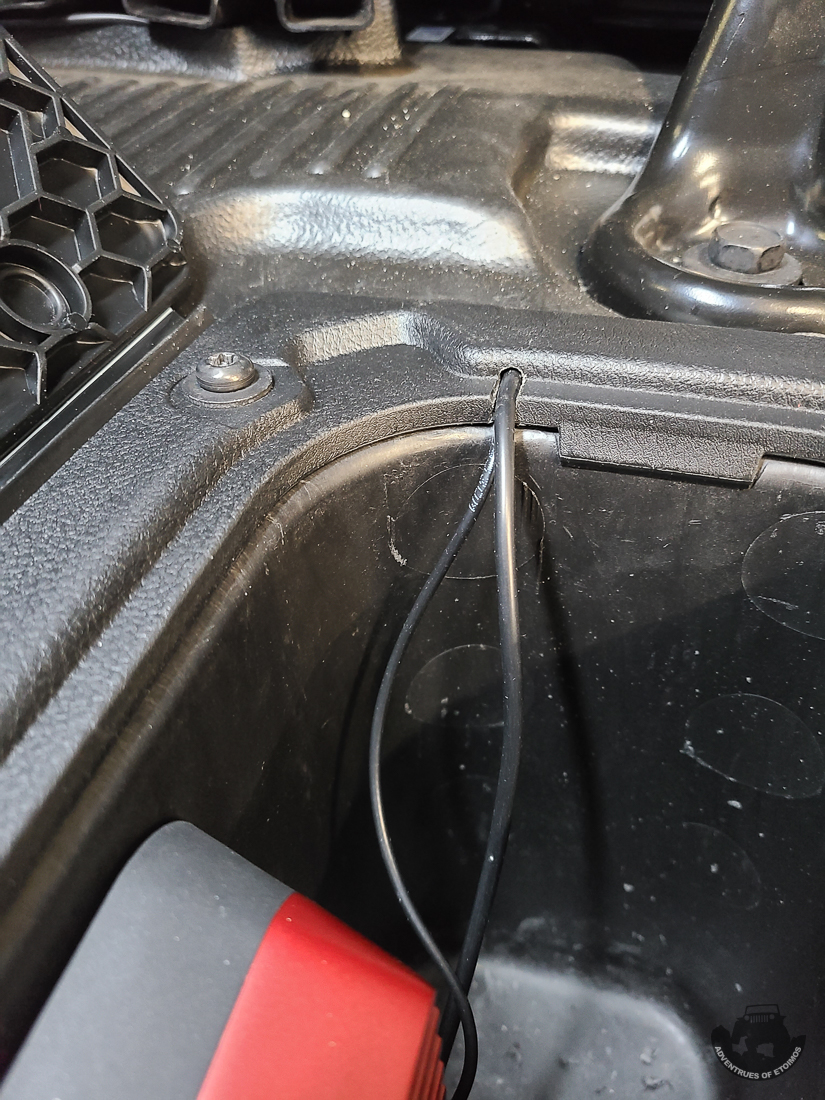
The WeBoost antenna wire follows a similar route as the GMSR setup to the top of the RSI on the passenger’s side where its antenna is mounted. The internal antenna is mounted with velcro on the passenger side floor center console.

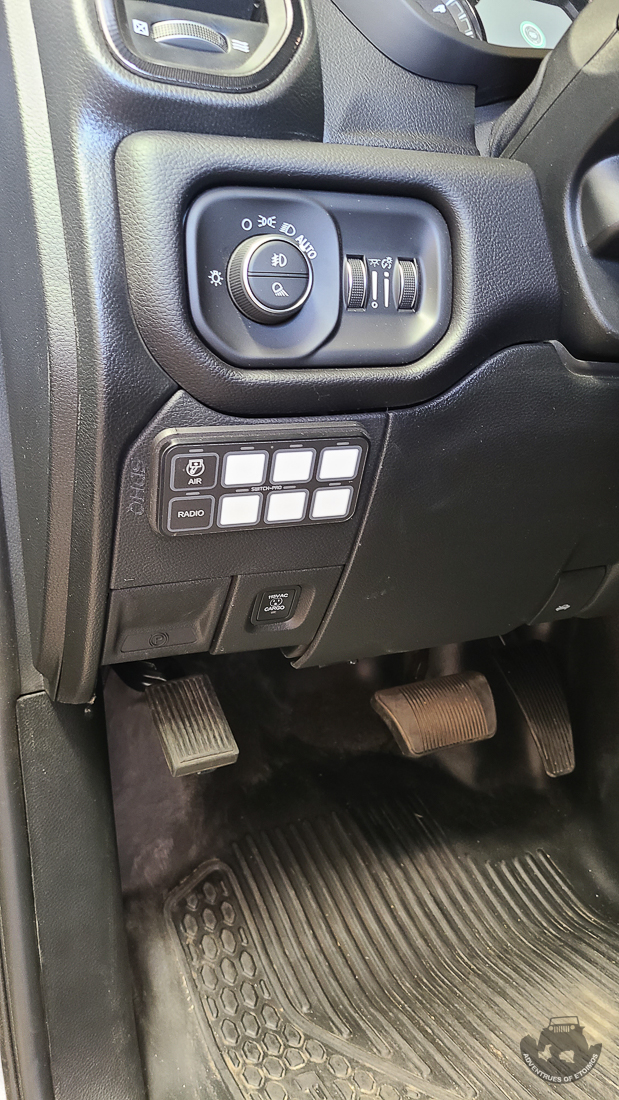
Switch Pros
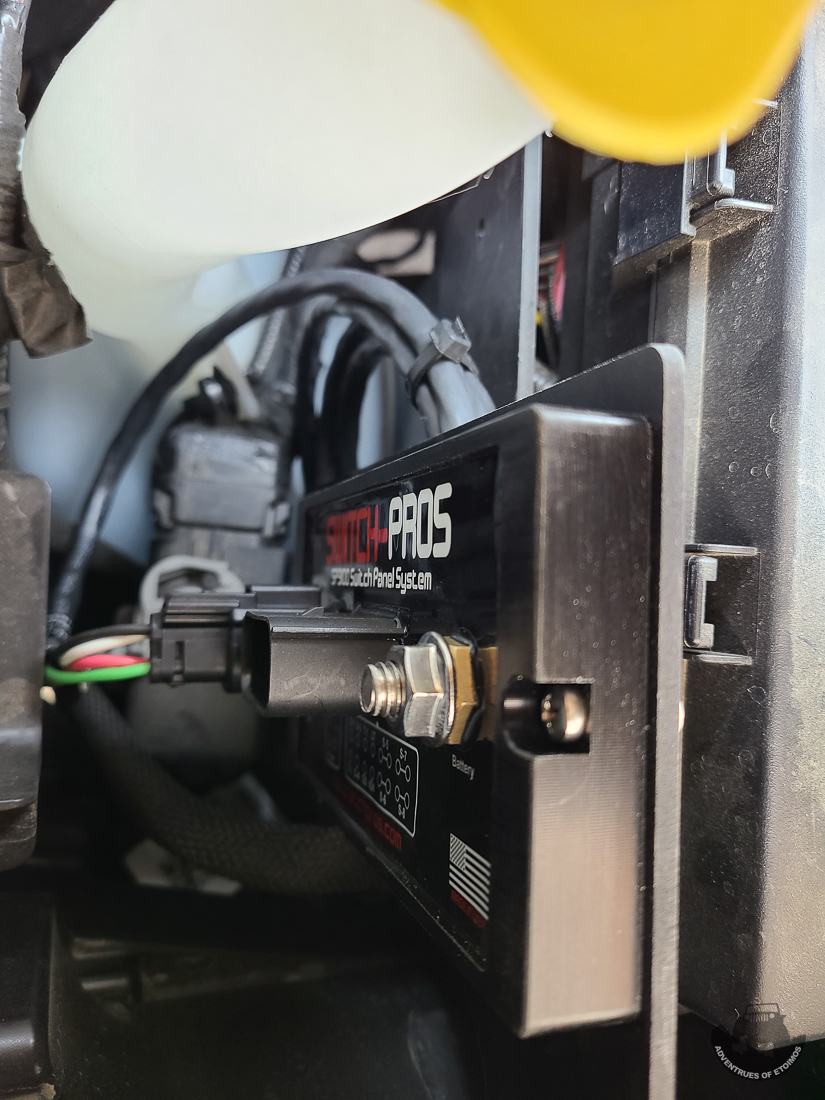
With some electronics installed and more planned for the future, it was time to address controlling them. For this I went with the Switch Pros eight switch unit. SDHQ makes a very nice 3D printed replacement panel for the Power Wagon that cleanly mounts the control panel just to the left of the driver’s left knee.
The wiring is ran through a cable gland installed in a hole I drilled in the firewall clutch cover.
The SDHQ Switch Pros engine bay bracket does a good job of tucking everything out of the way.
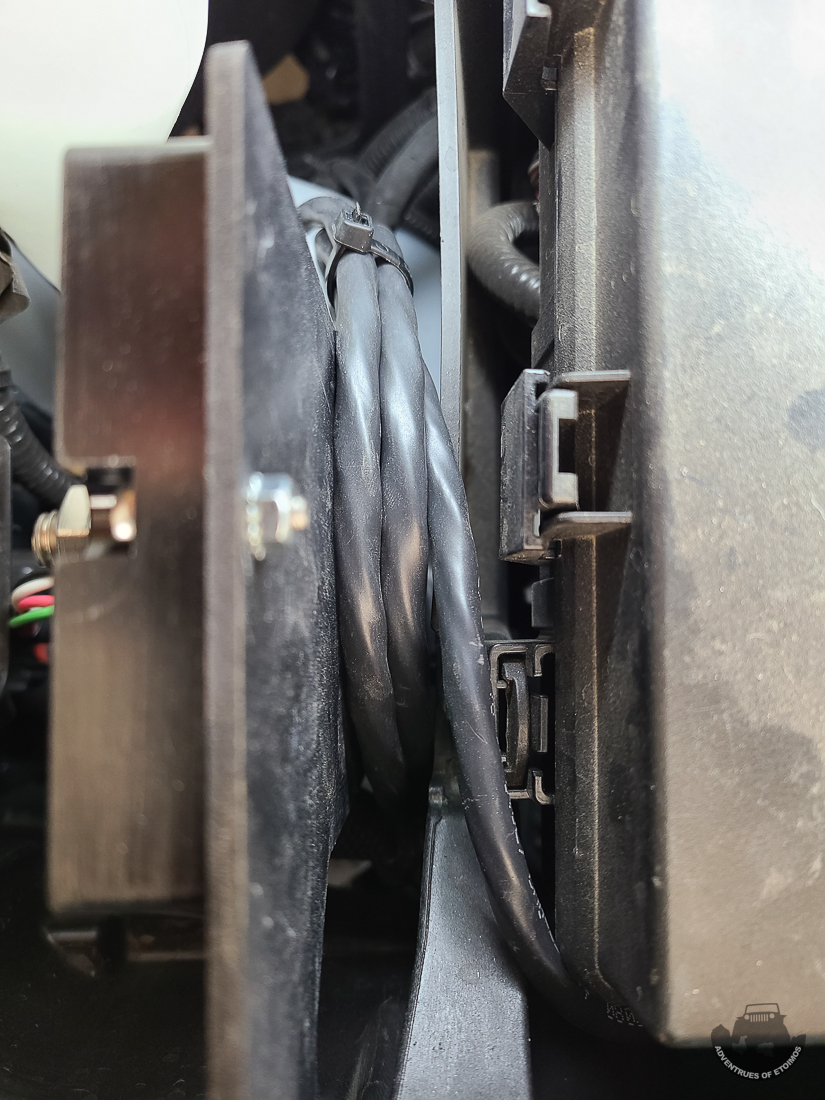
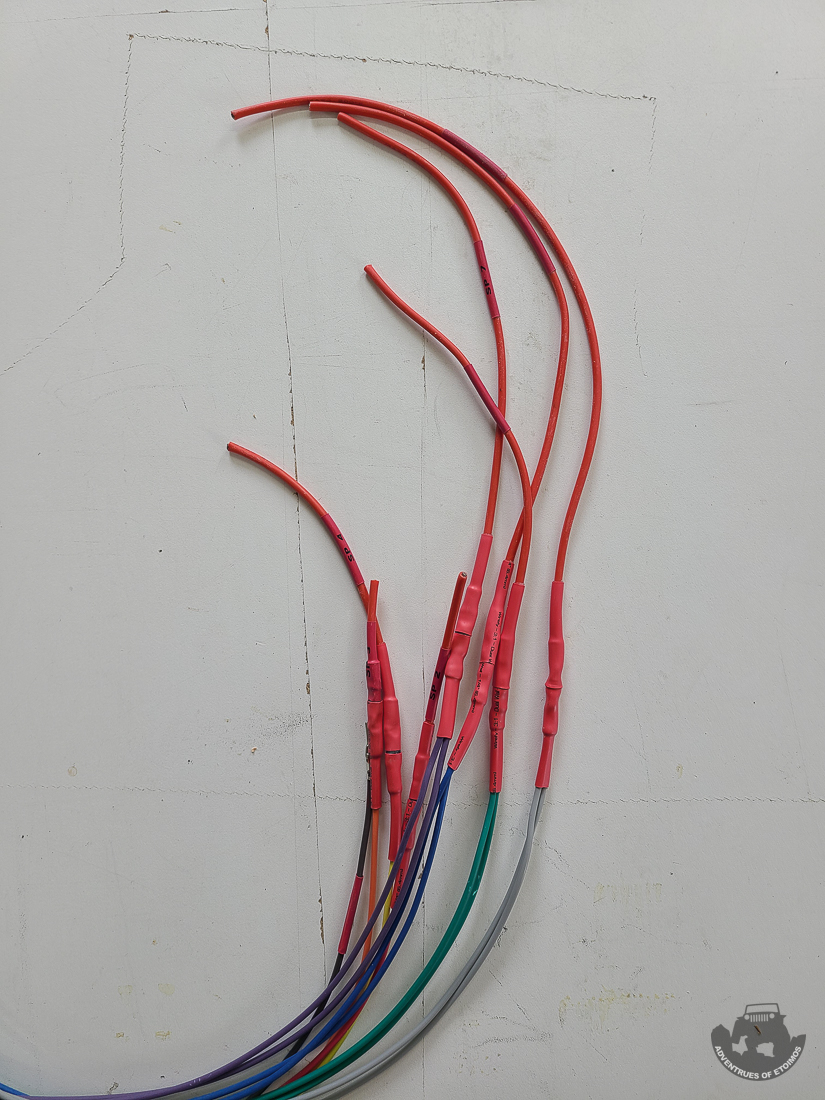
Based on some clean installs I saw on a few forums, I made a harness extension for the Switch Pros accessories wires and terminated them with Deutsch connectors. I also wired all of the grounds from the Deutsch connectors to a common ground wire. Since there are so many wires in a small area, each was labeled for easy identification later on.

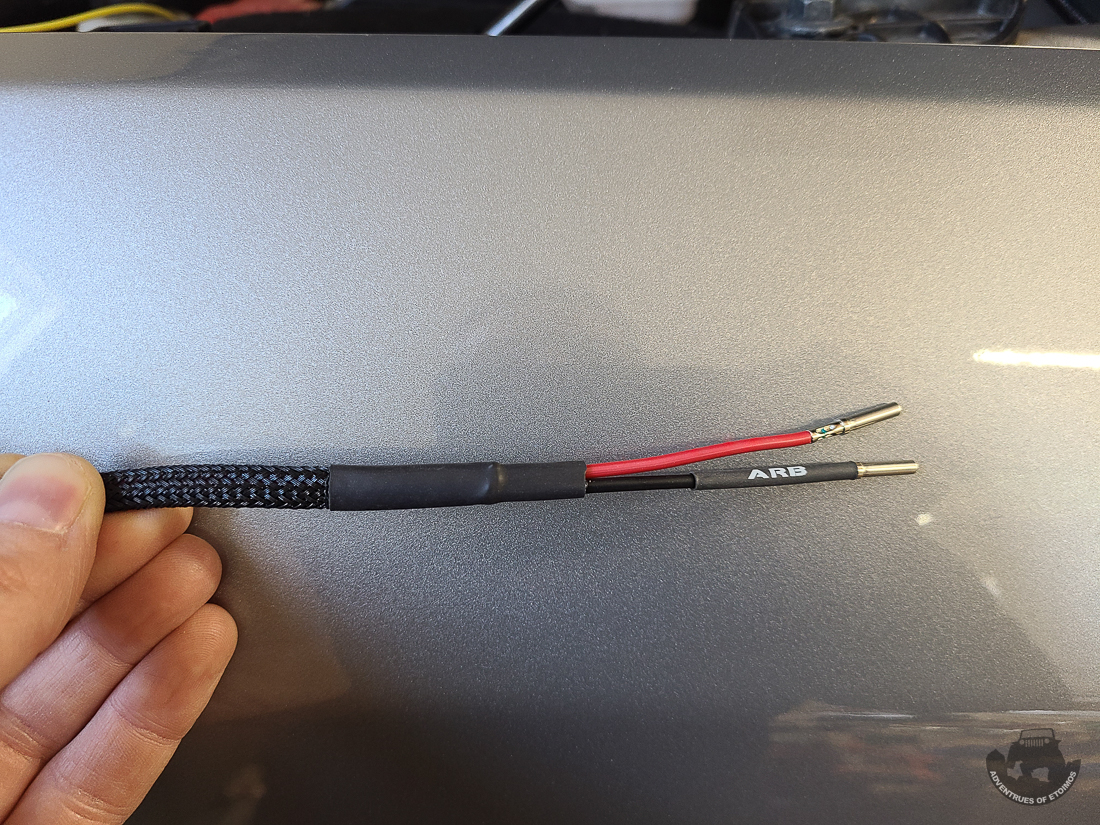
At this point in the build I only have the ARB compressor and Comms (GMRS and weBoost) connected to the Switch Pros so I have quite a few extra switches to expand into.
The build continues with Bed Modifications…
Leave a Reply