Power Wagon Build
Towards the end of 2021 it became apparent to me that while the Jeep Gladiator was a really cool truck and it did great when off road, it had a few short comings that were just to big (or should I say to small??) to over look.
The first concern was that it was just to small. The interior was so tight I could almost touch the passenger door while driving. With the wife, kid and dog in the Gladiator, there was little room for anything else inside. That meant putting everything in the bed of the truck, and with the ACE Upper Decker, there was virtually no room in it either.
The interior of the new 2022 RAM Power Wagon is much more spacious with plenty of room for everyone. It also has more storage and creature comforts then the JT had as well. I’m loving the power rear window and auto up/down side windows (seriously, why are those not options on a $60k JT?) and Kiefer loves his new heated rear seat.
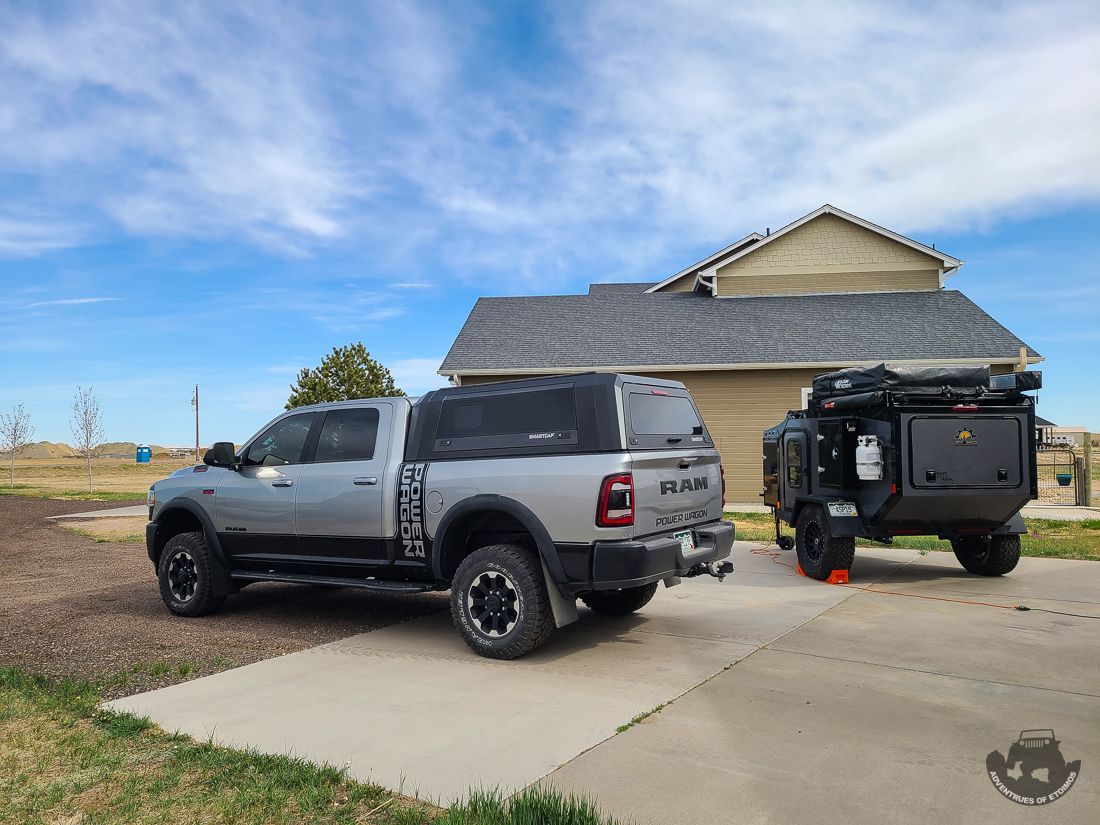
The other issues for me were the small fuel capacity and low fuel economy. I can deal with one or the other, but dealing with both when overlanding is a real pain. The PW actually gets a little less MPG, around 13mpg, then the JT did when daily driving and they both get about 10mpg when pulling the OGT Expedition 2.0 trailer. The advantage of the PW is the size of its fuel tank (31 gallons ) compared to the JT (22 gallons). An extra 90-ish or so miles can really make a difference when out in the middle of no where pulling the trailer.
Ordering a factory build
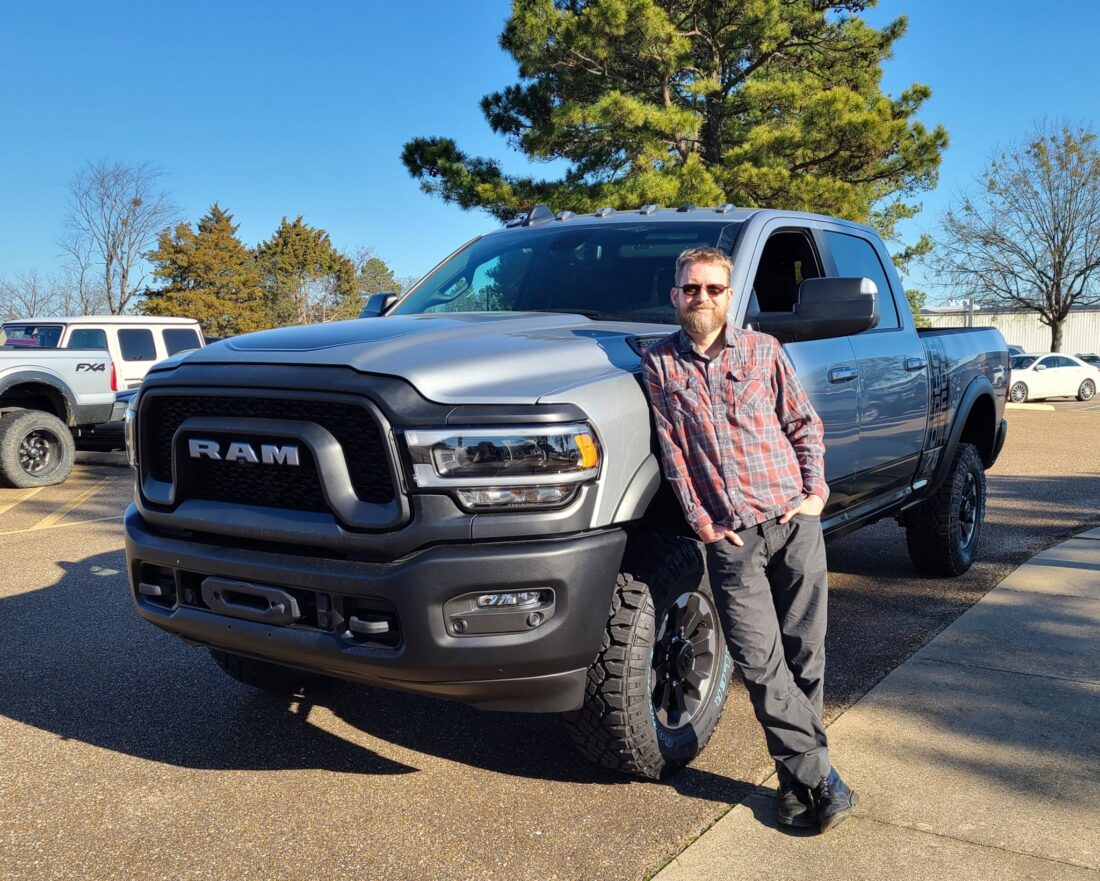
The Power Wagon is the first vehicle that I have had built to order from the factory. With the almost non-existent dealer inventory and lack of options on them due to the chip shortages, I thought it made more sense to order the truck with exactly what I wanted on it. It also did not hurt that I found an out of state dealer that sold it to me for just over $10k off of MSRP. Below is what I ordered on Veteran’s Day of 2021:

The Truck was built on Jan 18th 2022 and I flew down to picked it up on Feb 11th. The final MSRP price when delivered was $70k and some change. My price from Mark Dodge was $59,669.
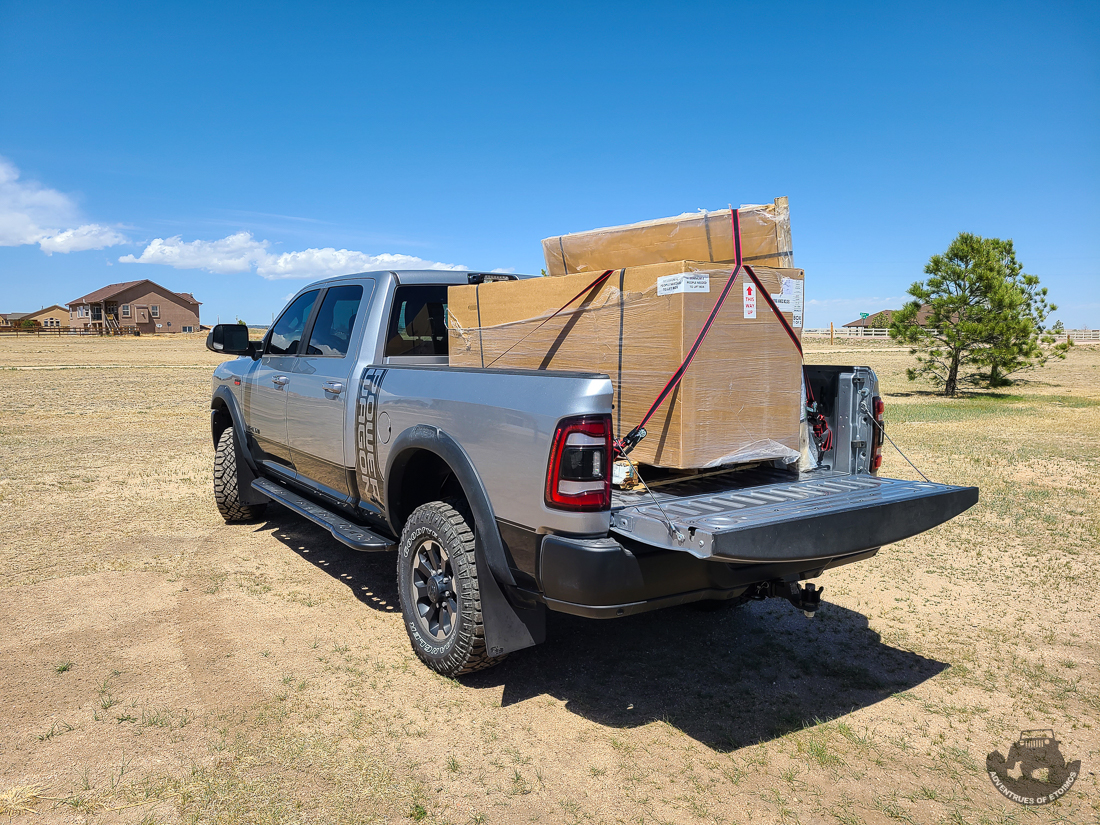
After visiting with family down in Arkansas I made the 863 mile single day trip back to Colorado. It took 14 hours and 2.5 tanks of gas. I averaged 12.5mpgs on that trip running about 80mph for long stretches of it.
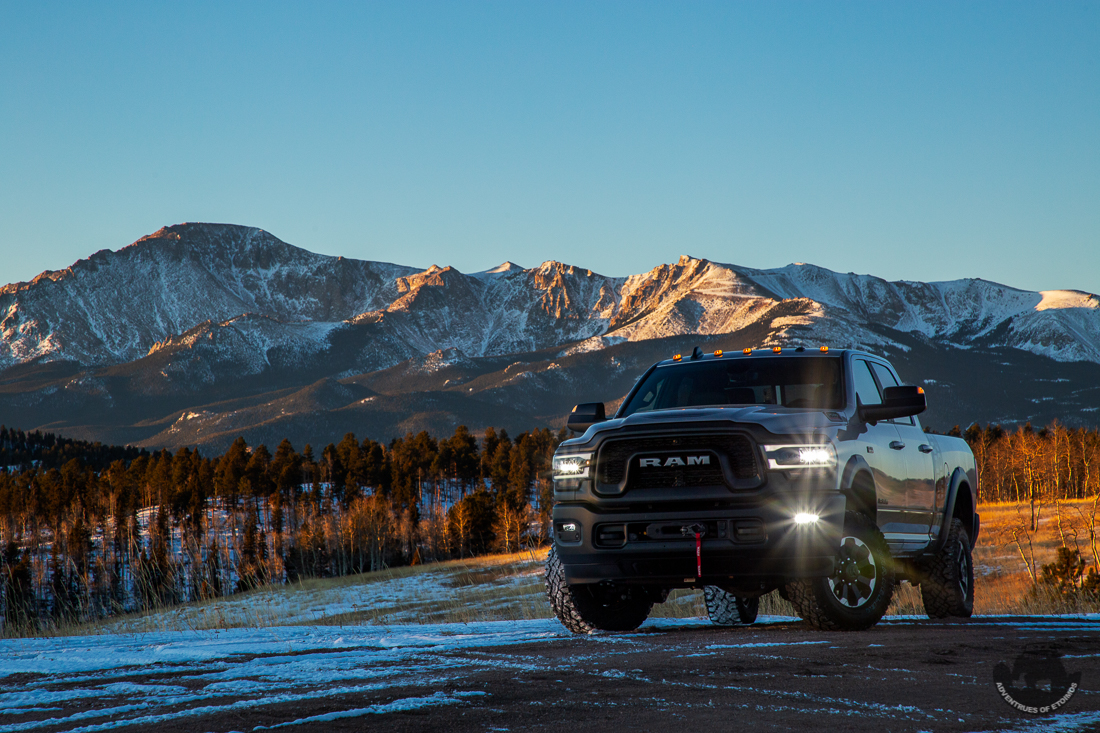
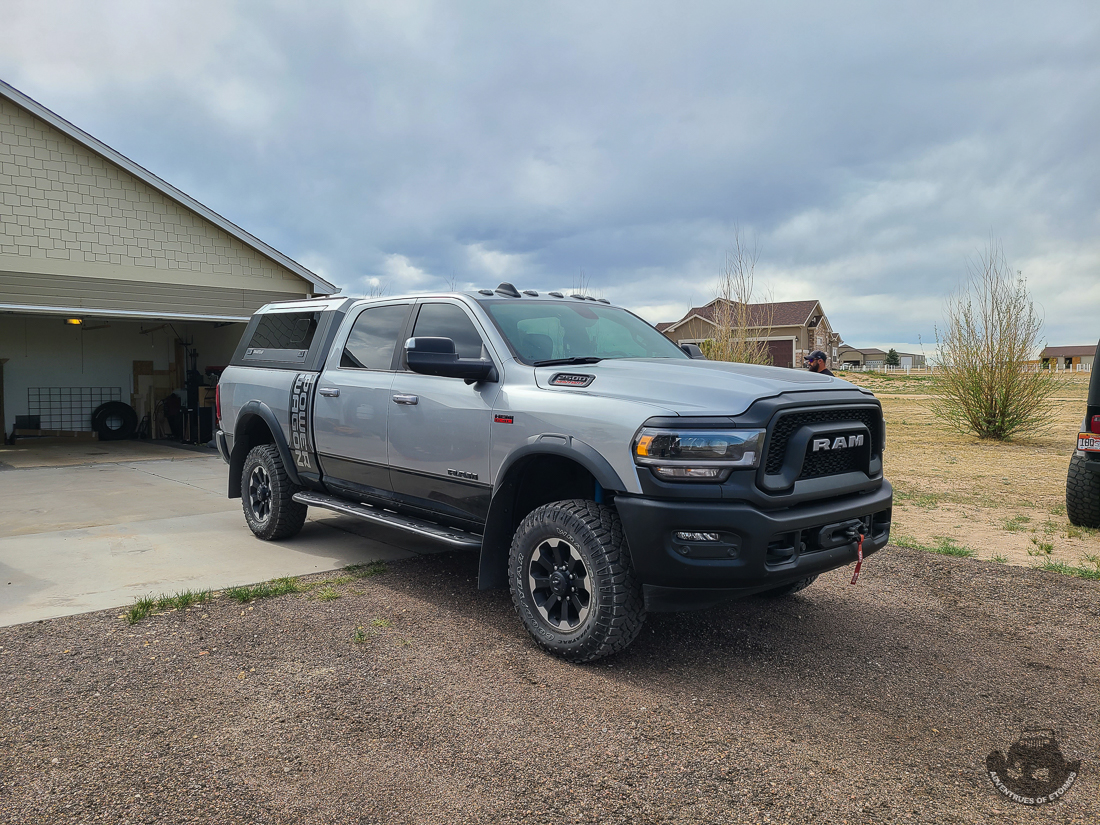
Here it is in stock form at home in Colorado…
Let the modifications begin!
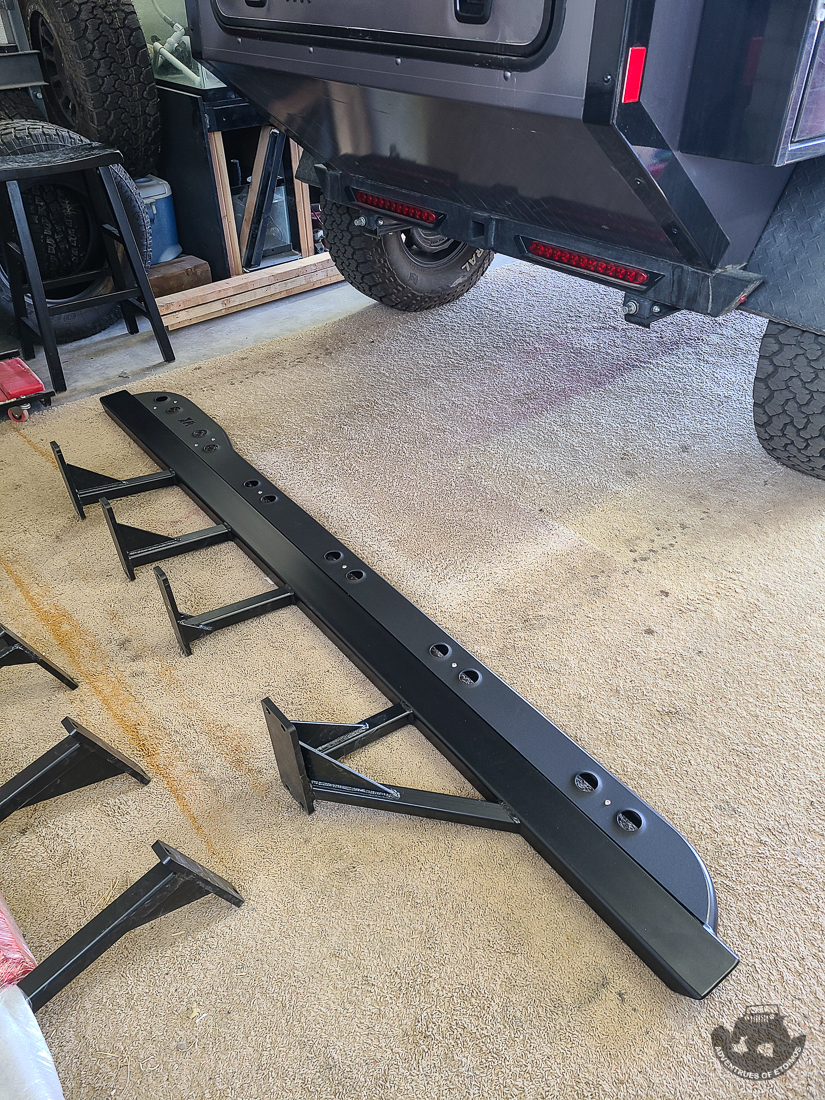
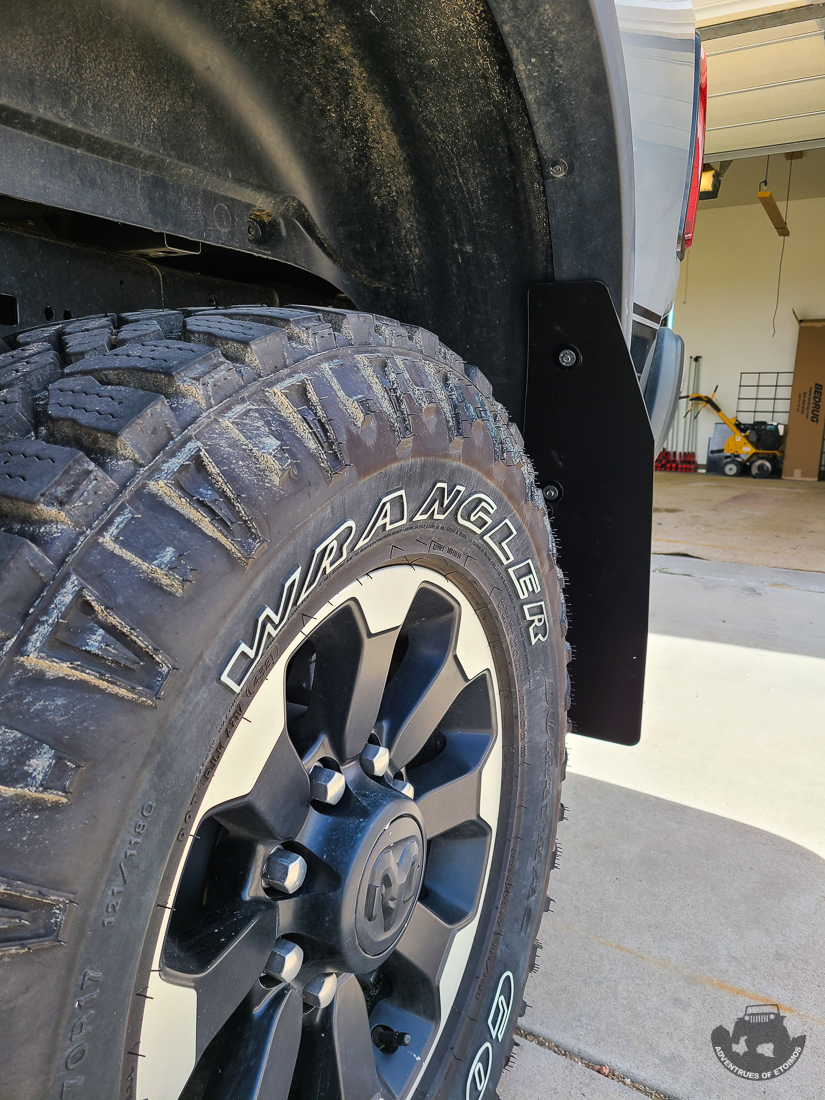
Rock Sliders and Mud Flaps
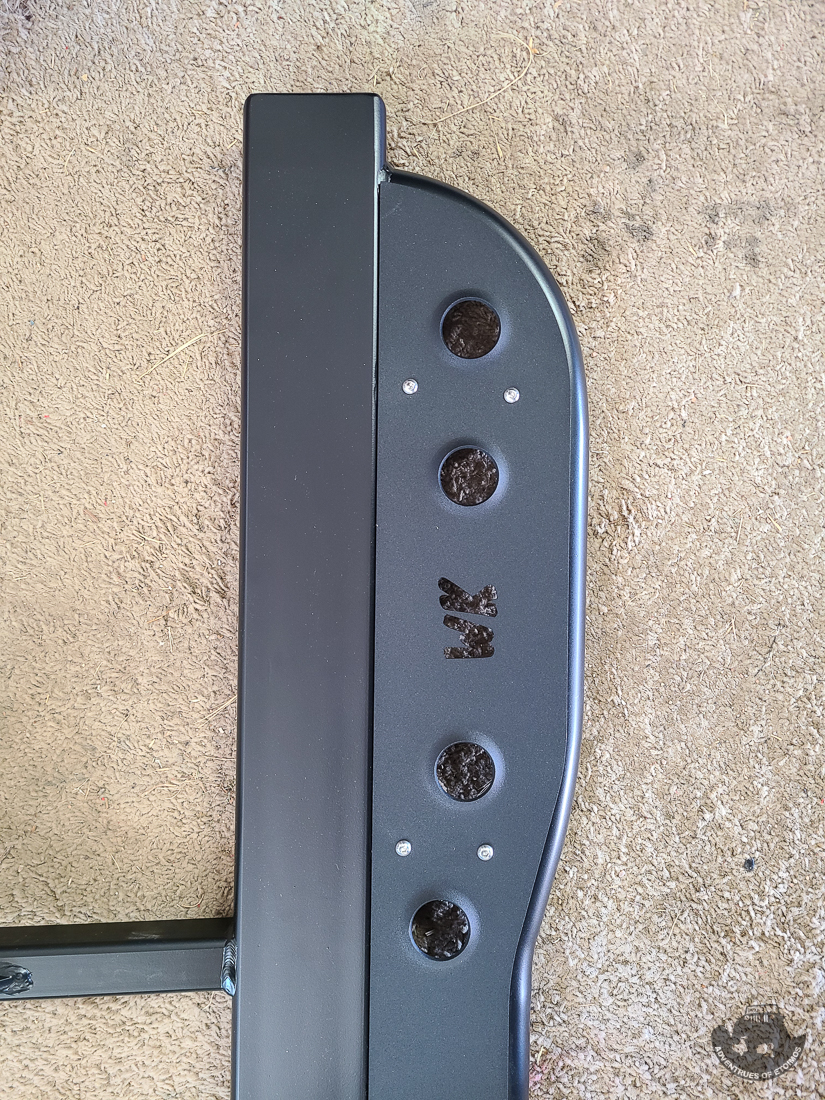
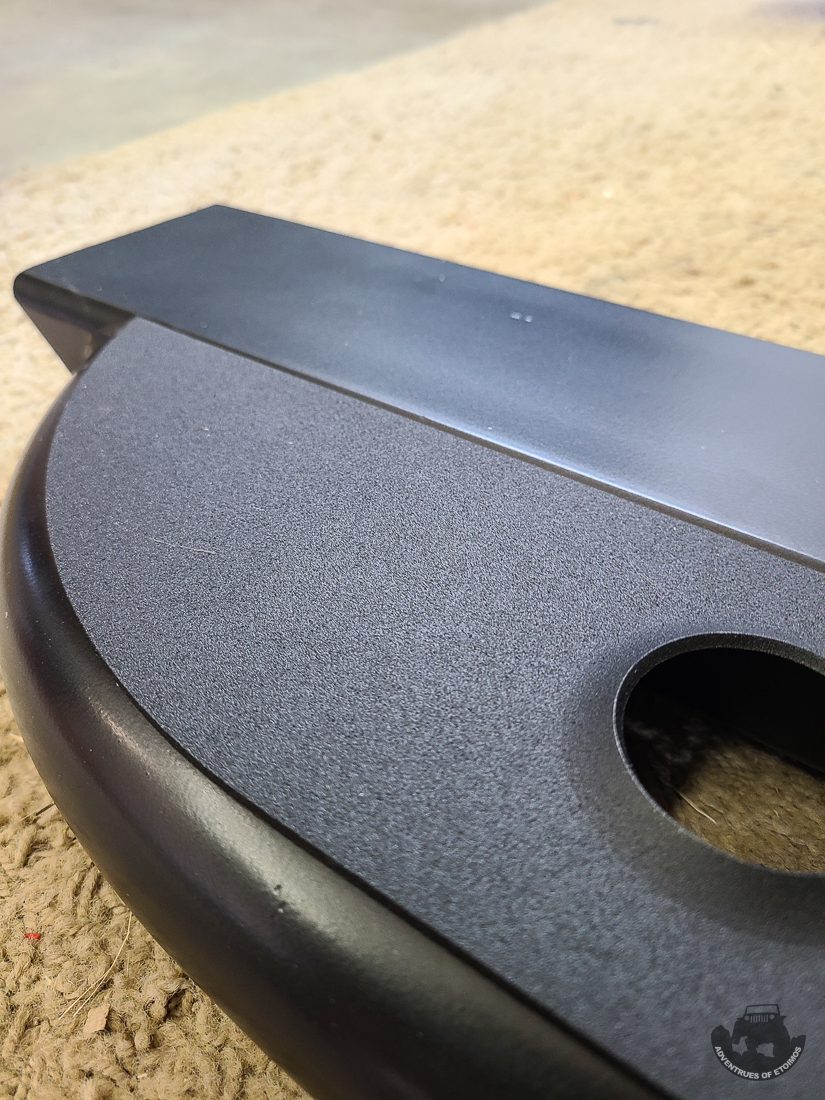
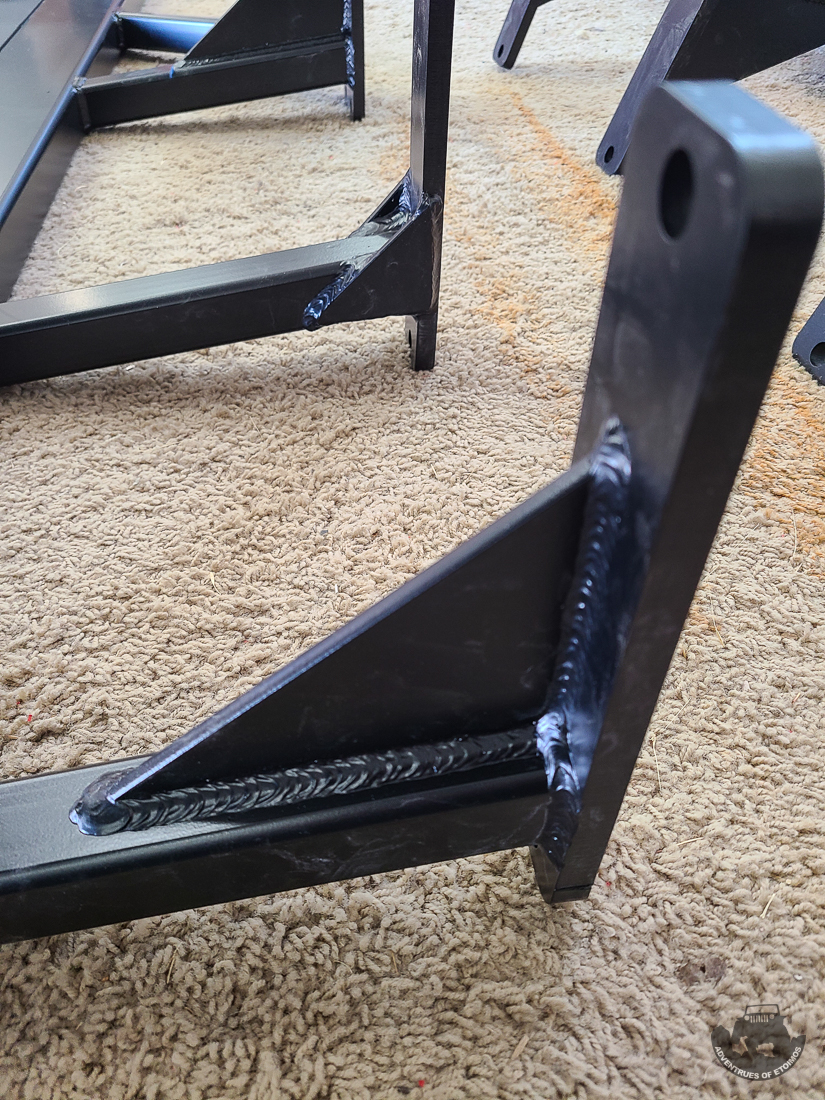
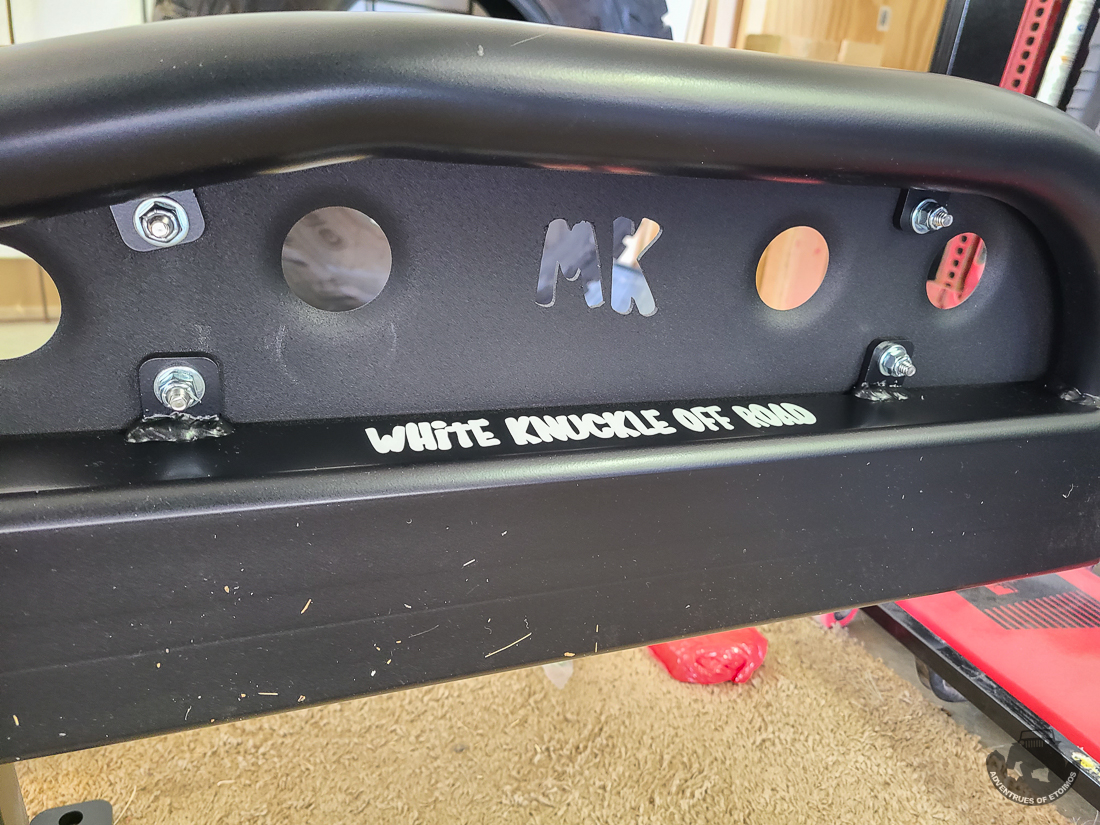
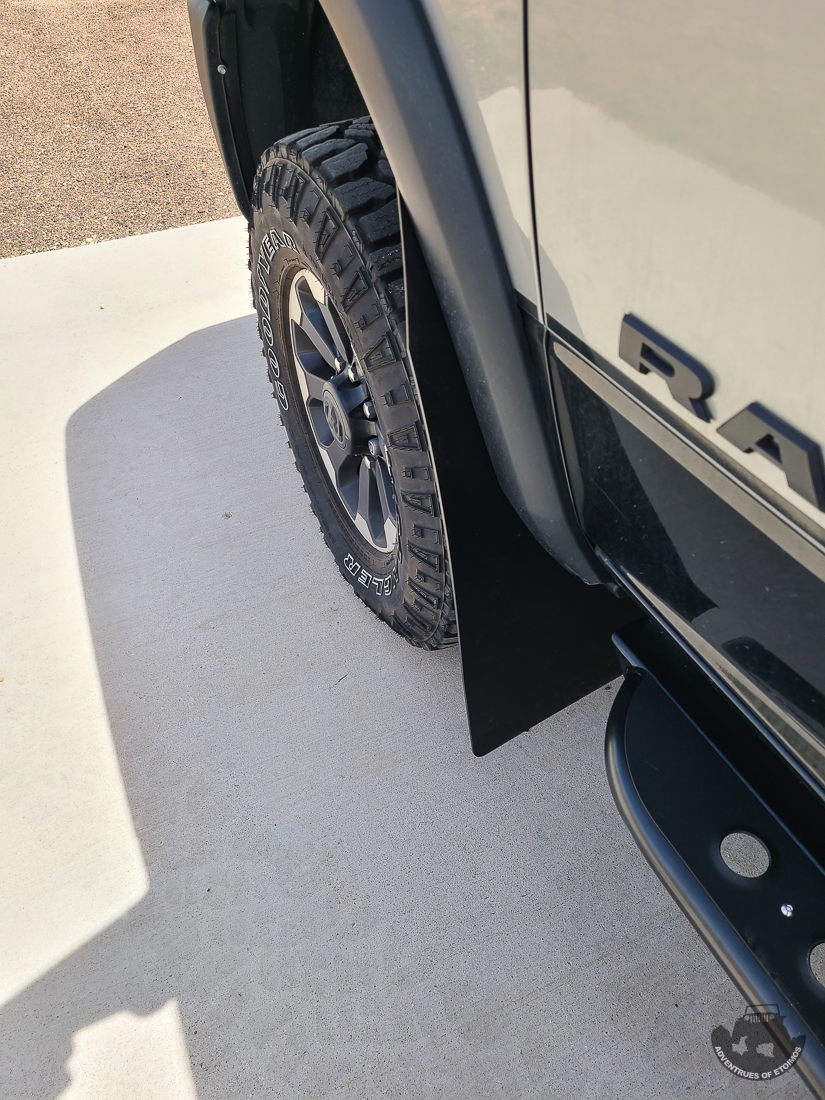
For those that don’t know, these trucks are heavy. 7280 pounds heavy in fact! Mine weighed 4340lbs on the front axle and 2940lbs on the rear axle in stock form. Add in all the mods and gear I’ll be carrying when out exploring and it was obvious that only some heavy duty rock sliders would do. Enter White Knuckle Off Road. White Knuckle offers their sliders in either .120 or .188 DOM tube thickness depending on your intended use of the the sliders. Since I would not purposely be doing any real rock crawling, I decided to go with the .120 DOM tubing to save a little weight while still giving me plenty of protection. I also opted for the full top plate and ordered the extra wide versions off of their secret menu.
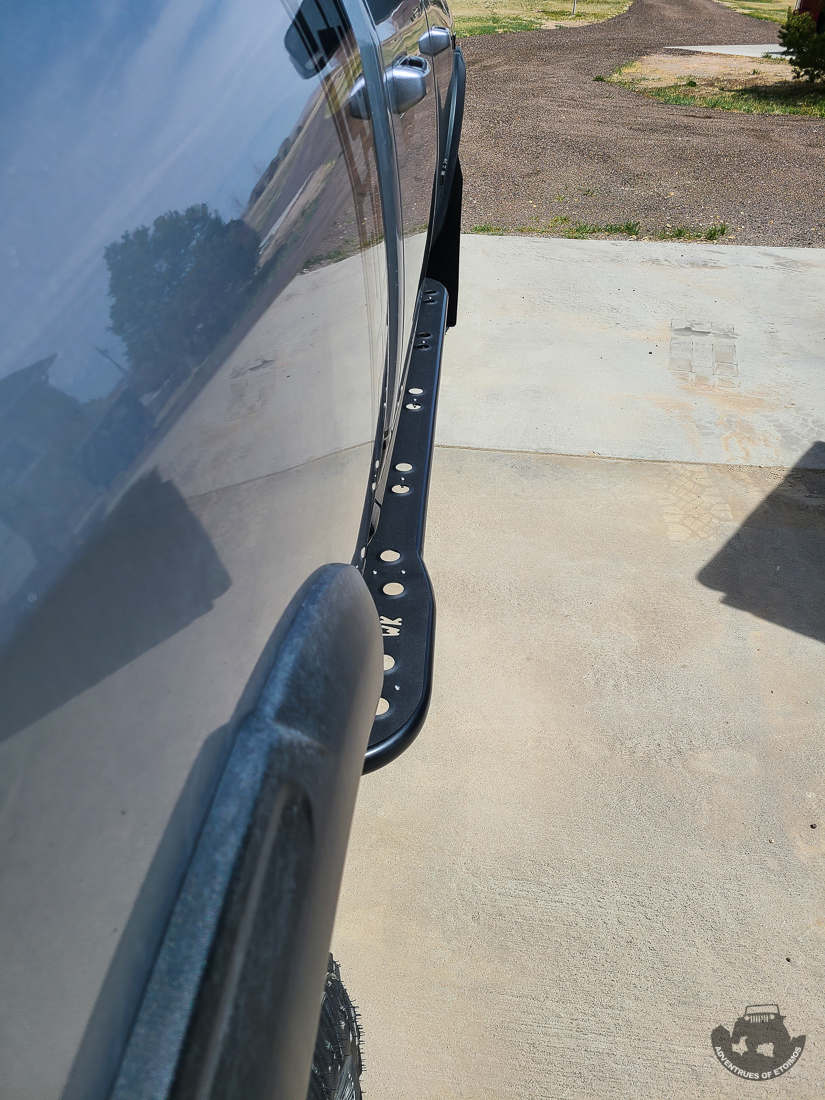
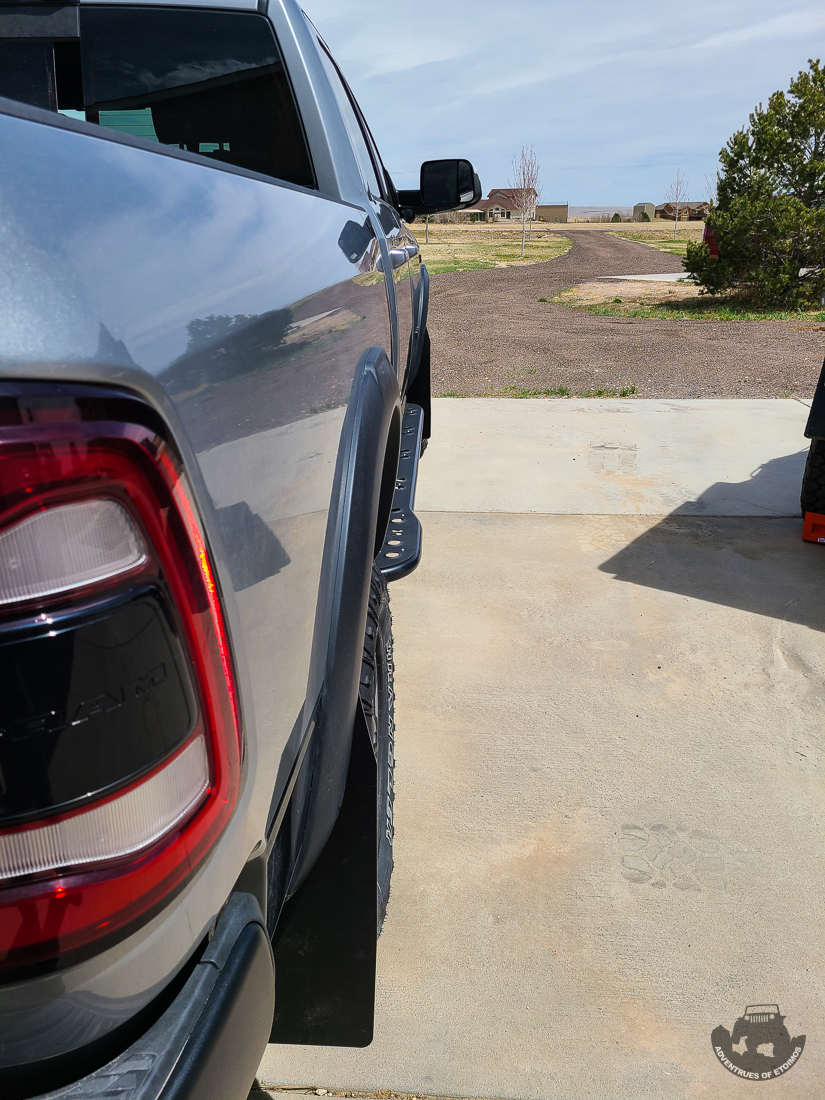
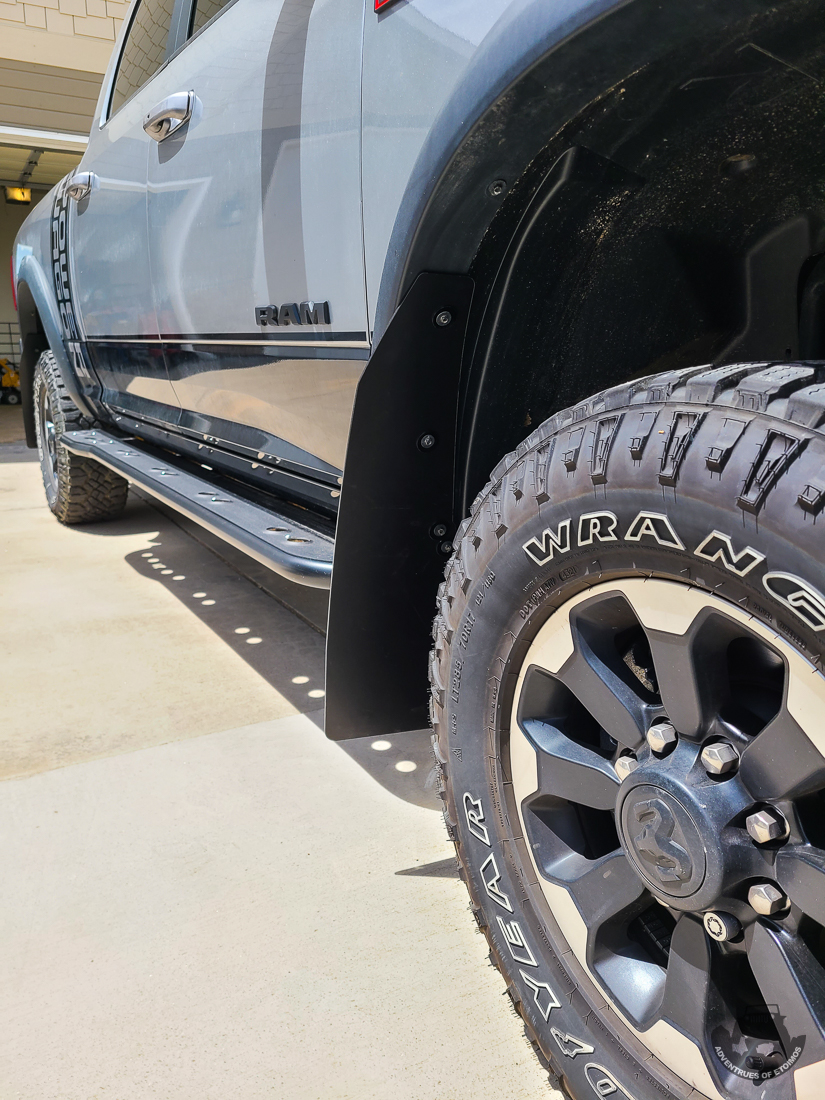
You will also notice in those photos and the ones below that I installed some Rok Blokz XL mud flaps as well. I ran these on my Jeep Gladiator and they held up very well to rock crawling. The main reason I have them is to help keep rocks from being thrown up onto the front of my OGT trailer. They should also help to preserve the powder coating on the sliders a little bit.

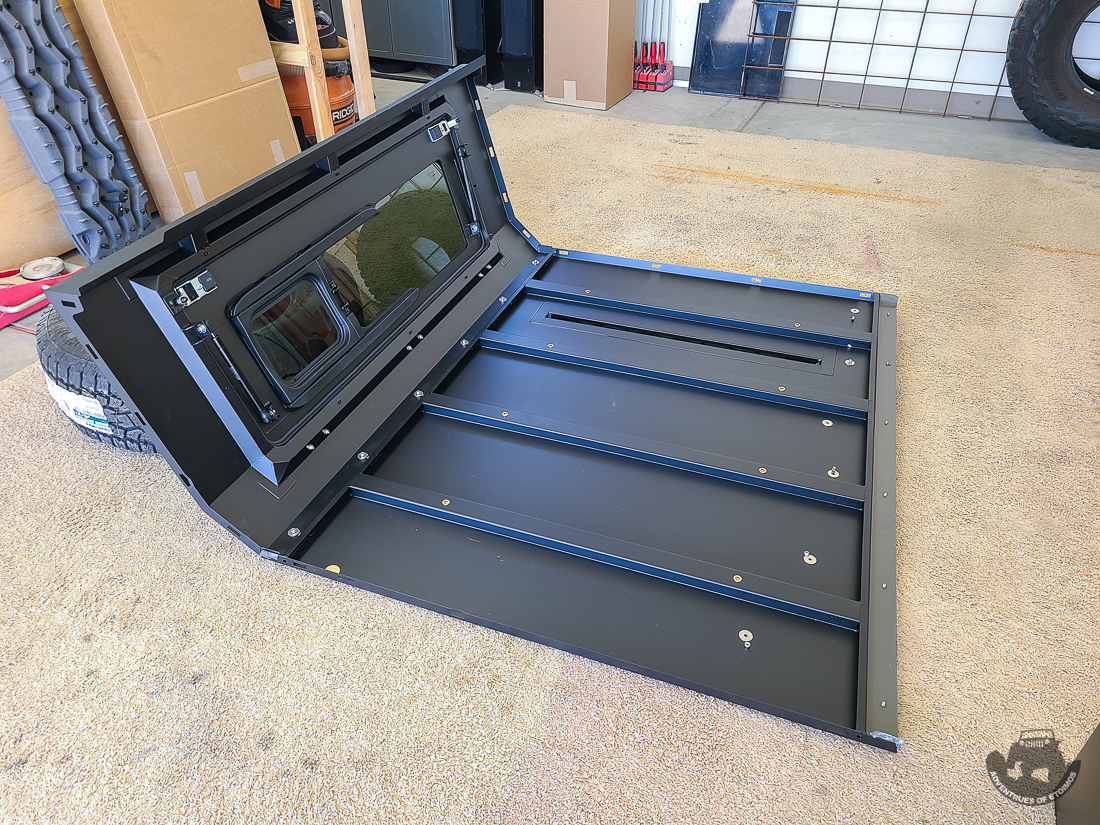
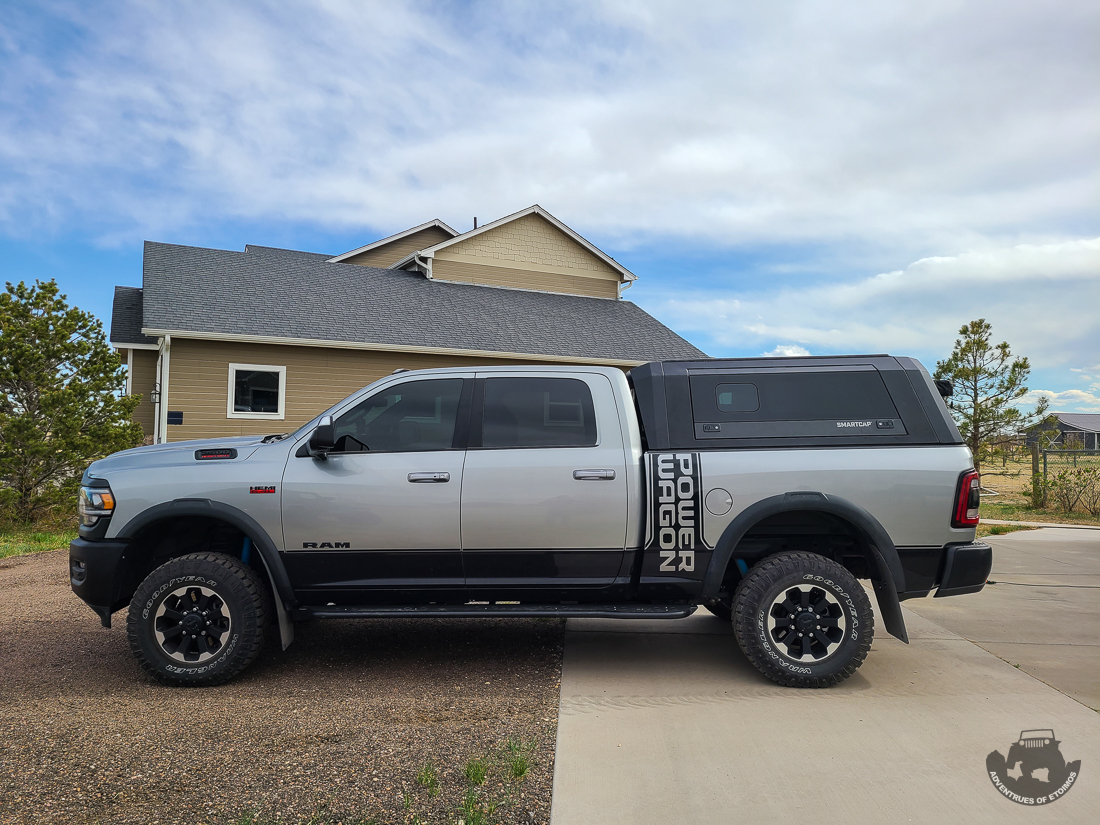
RSI SmartCap
One of the things I did like about the ACE Upper Decker was that it enclosed the bed and kept most of the dirt and dust off of things. I knew I wanted that same benefit on the new truck, but in a larger more usable size. After looking at a couple of different bed toppers, it was clear to me that the RSI SmartCap was the only real choice. With its ability to hold 770lbs and the option for several different configurations of bins and side windows, it met all of my needs.
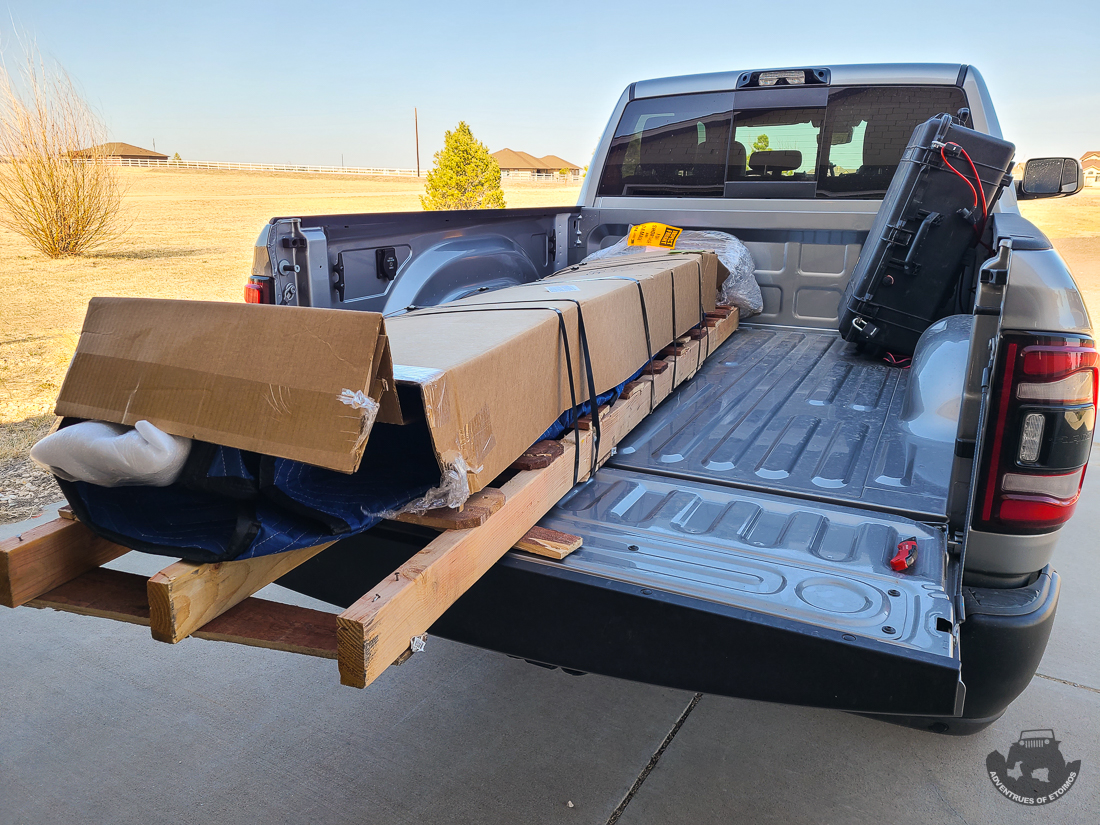
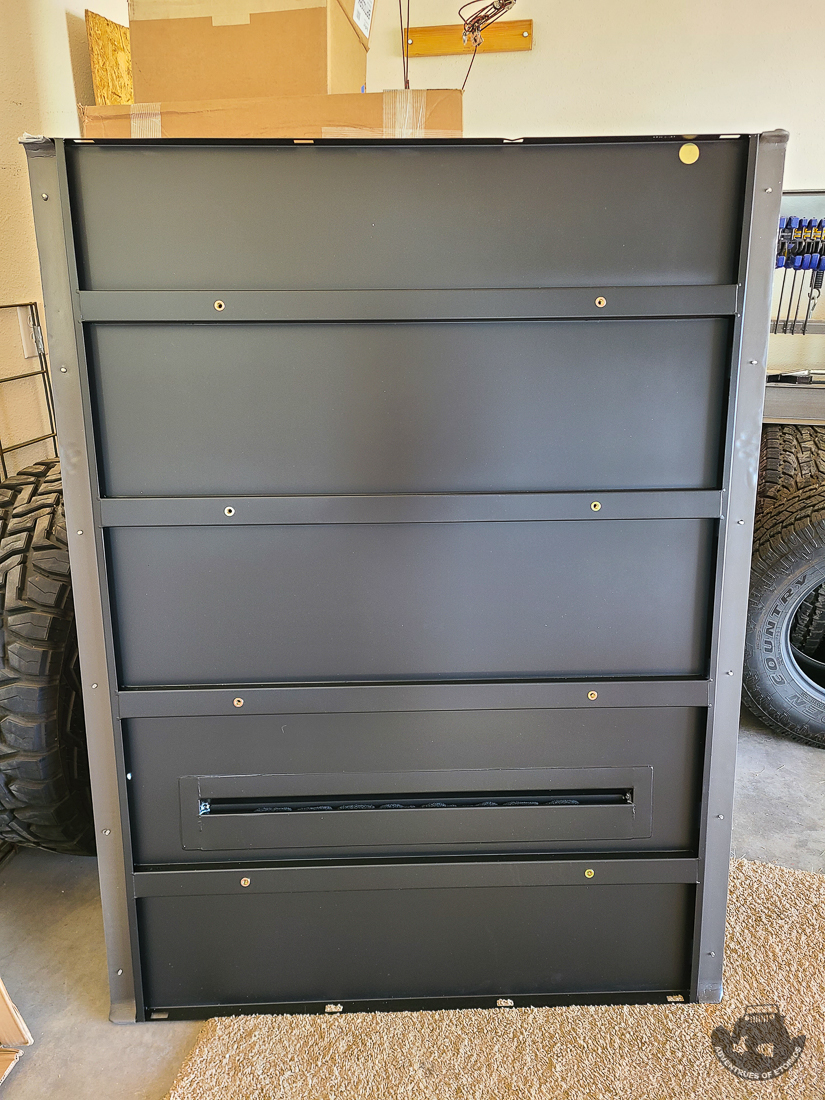
The cap comes flat packed in two very large boxes.
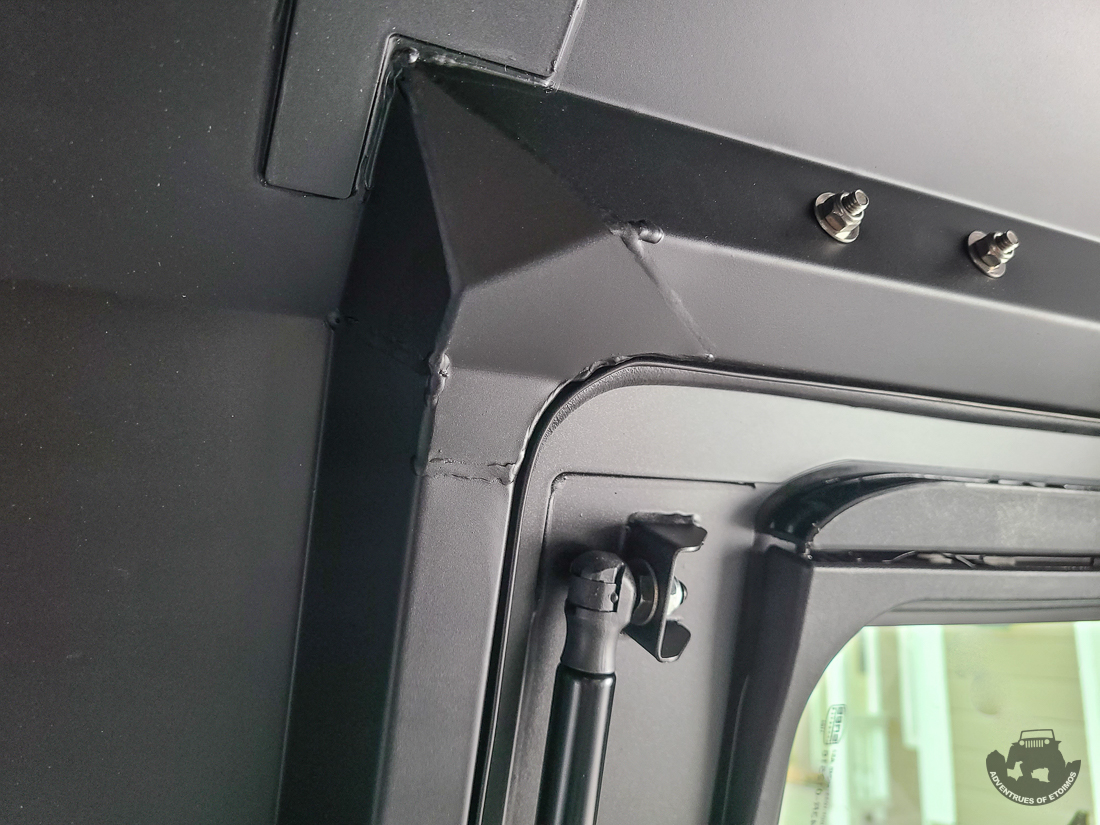
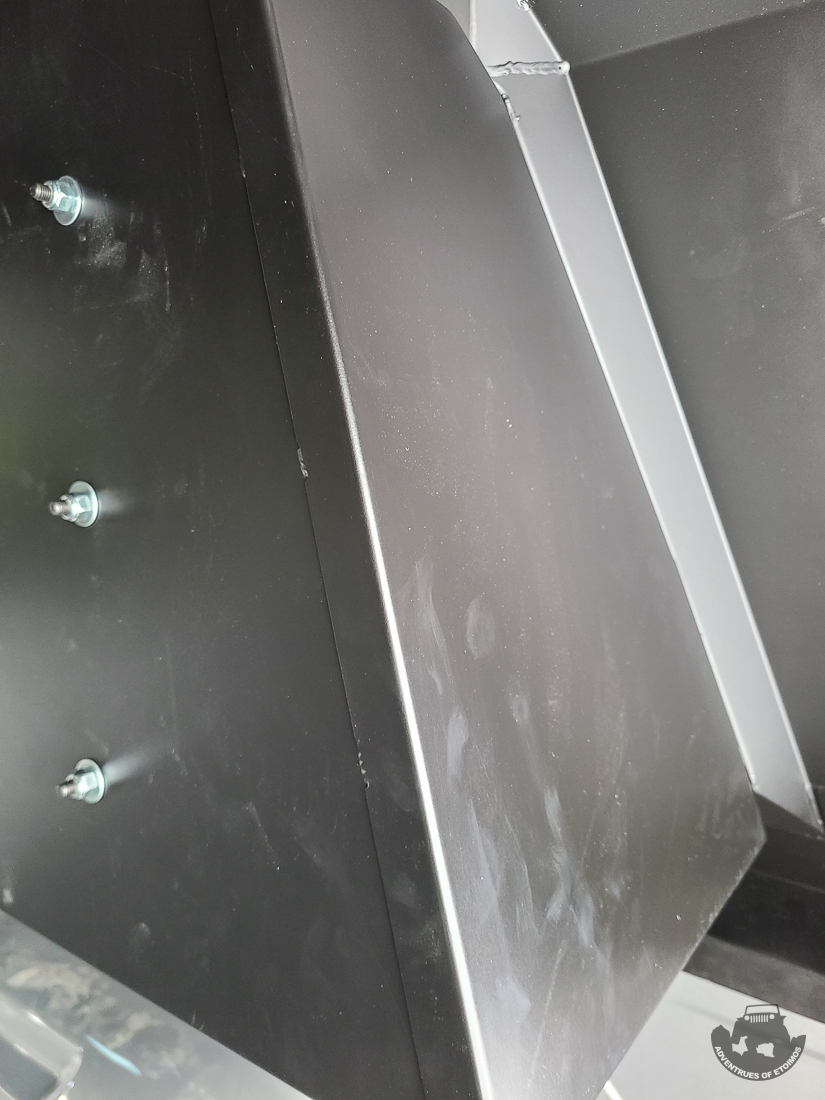
The build and install was pretty straight forward and there were just two “tricky” parts on assembling it. Both were on the rear panel where getting the tabs to align with the slots was kind of a pain. One person had to lift up on the rear panel and at the same time push down on the side panel. The second person had to insert the hardware to lock it all into place. I did not get the built-in table, so my roof just has the eight rivnuts in it. Those will come in handing for mounting something down the road I’m sure.
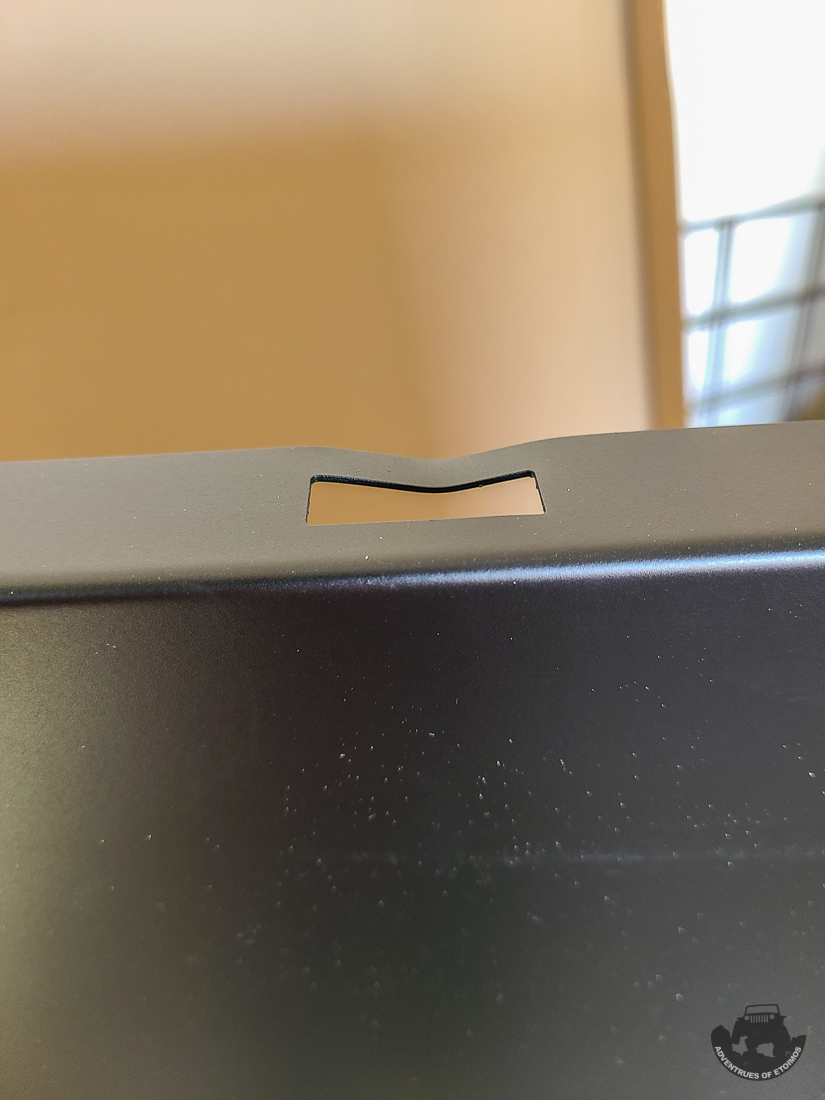
Some of the slots had a bend in them. At first I thought this was some type of damage, but the side panels had the “dents” in the exact same place. This makes me think they are from the manufacturing process. These did make it harder to insert the hardware into these slots.
Speaking of hardware, when you take the hardware out of the front and rear panels, do your self a favor and take the black space pieces off and tape the silver metal plates to them. This makes things a lot less fiddly when you are holding the panels together and trying to install the hardware.
While putting this thing together you will notice that they did not skimp on the details. They even cut the part names into the parts. Each panel is also paired to the others with a hand written set of numbers.
Assembly is as simple as insert Tab A into Slot B and then bolt it down.
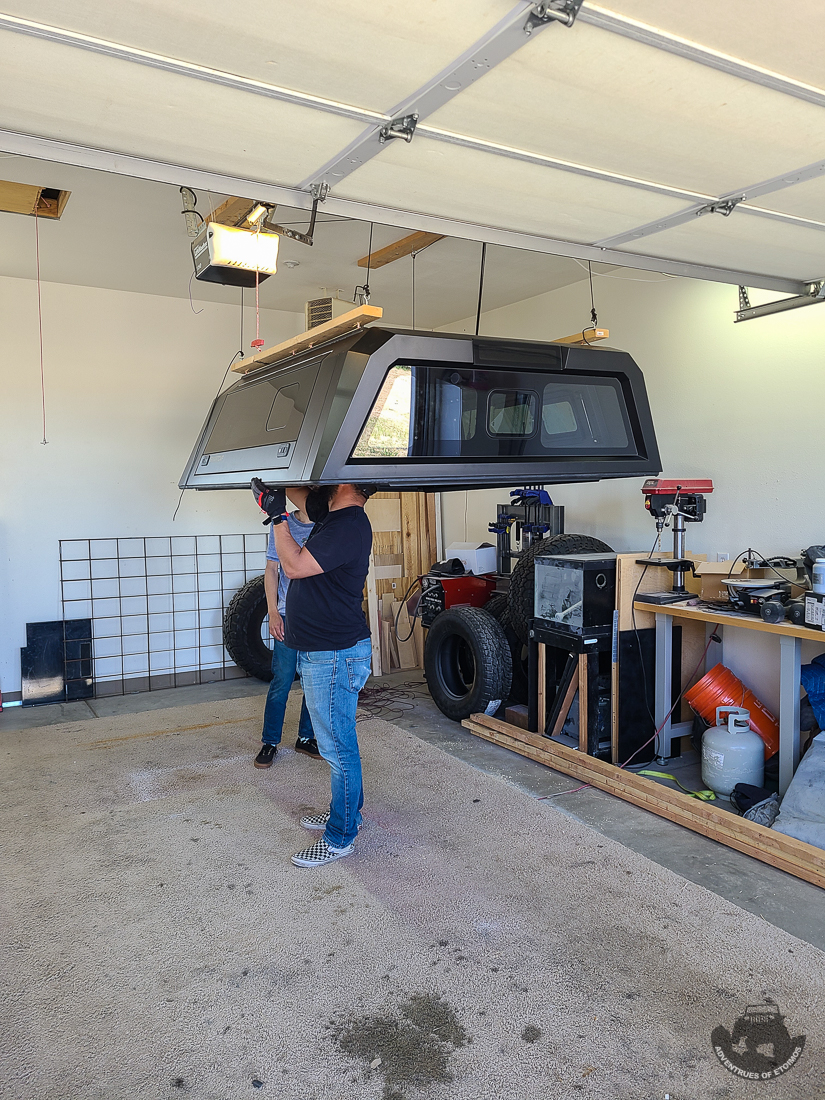
The fully assembled SmartCap is pretty heavy. Two guys can pick it up off the floor, but would be hard pressed to lift it high enough to get on the truck… let alone have enough control to do it without damaging anything. I only had two buddies to help me, so we used my Jeep top/RTT hoist to lift it up and then backed the truck under it. That worked out great. We spread the load of the top across all eight M8x1.25 nuts in the built in rails.
I’m really happy with how solidly it goes together and I think it looks great on the truck.

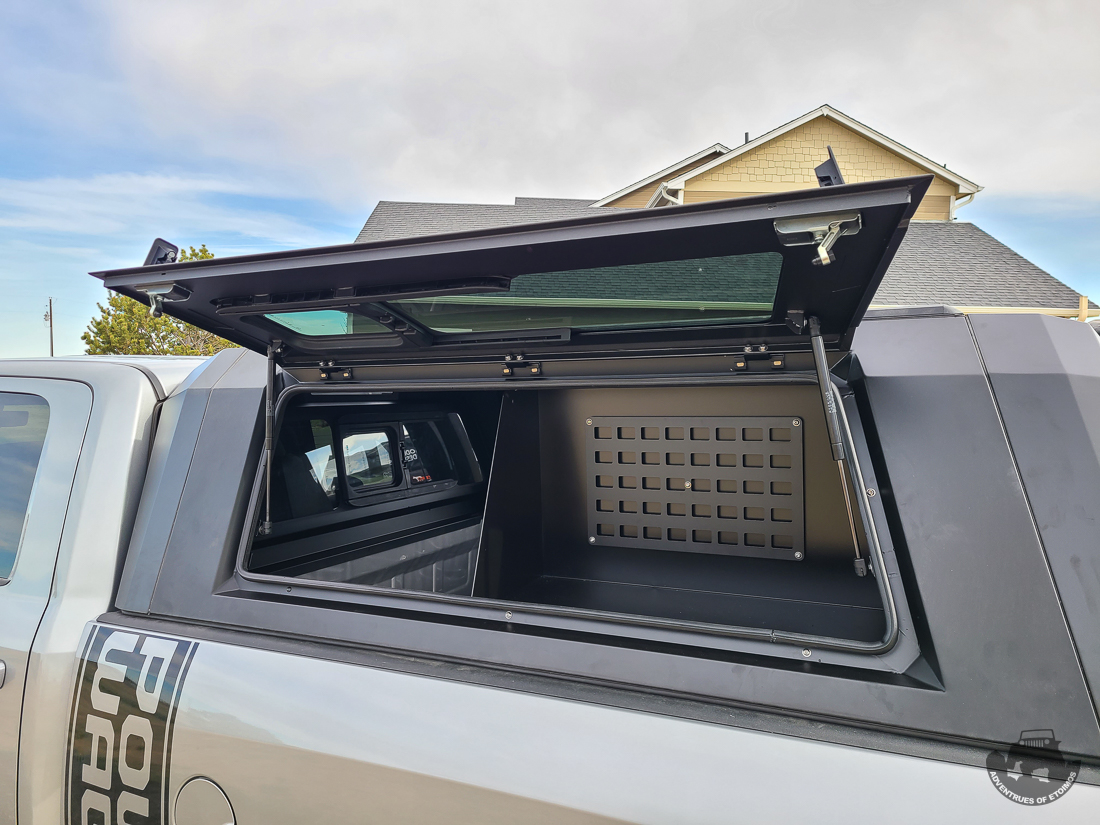
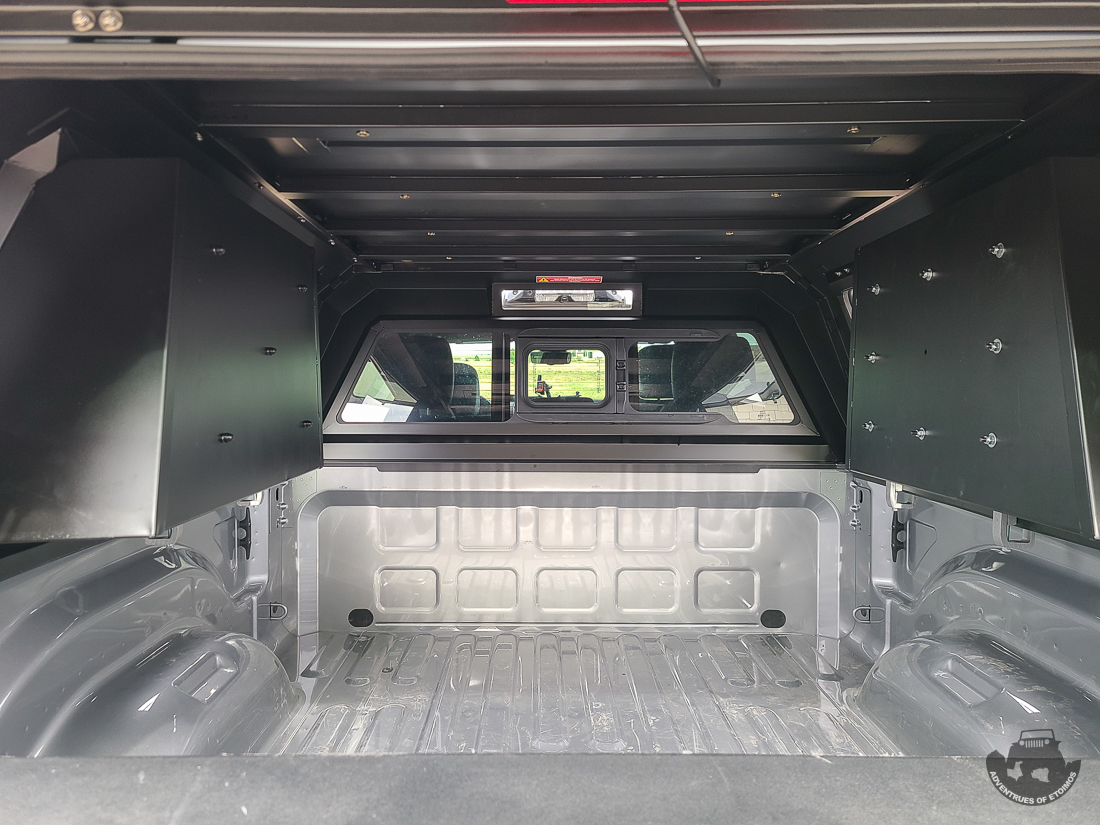
The window surrounds are very beefy. In fact, everything about the window is very nice.
The half bins are much more stable then I thought they were going to be. I do wish the MOLLE panels in the half bins filled in more of space on the back walls.
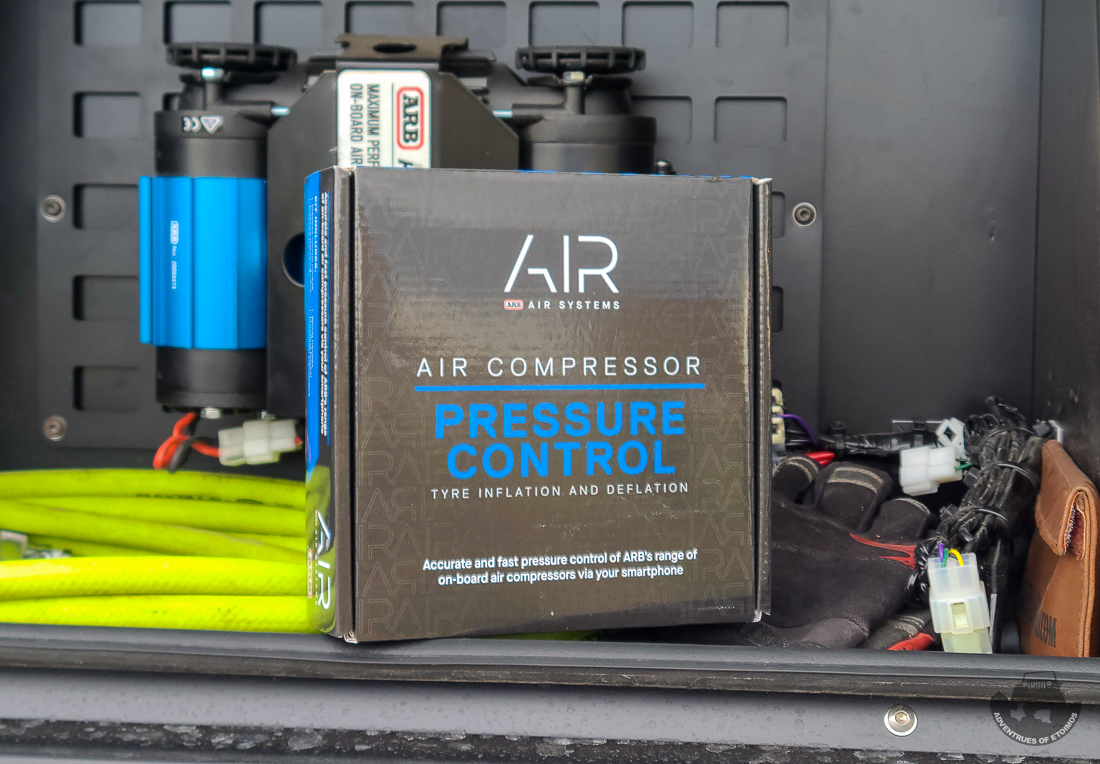
On Board Air System
Every overland build needs an on board air system of some type, so I picked up an ARB twin compressor for those duties. Phase 1 of the system consisted of mounting the compressor in the passenger side RSI half bin and routing the cables and wires to the engine bay.
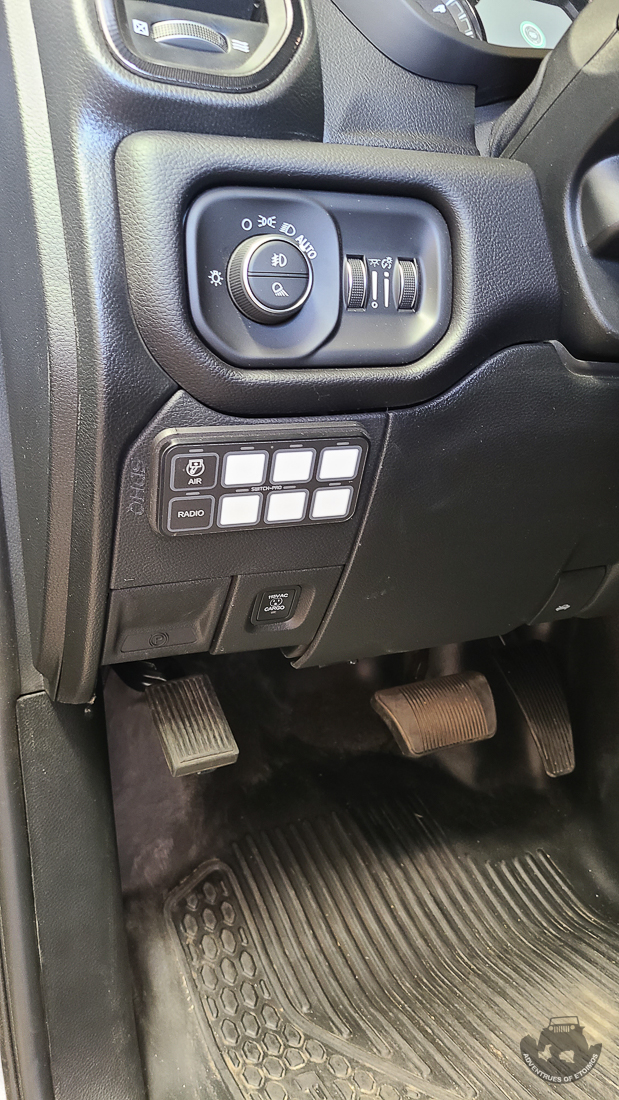
The wiring runs through the cable gland in the front corner and then behind the BedRug and under the truck to where the Switch Pros is mounted.
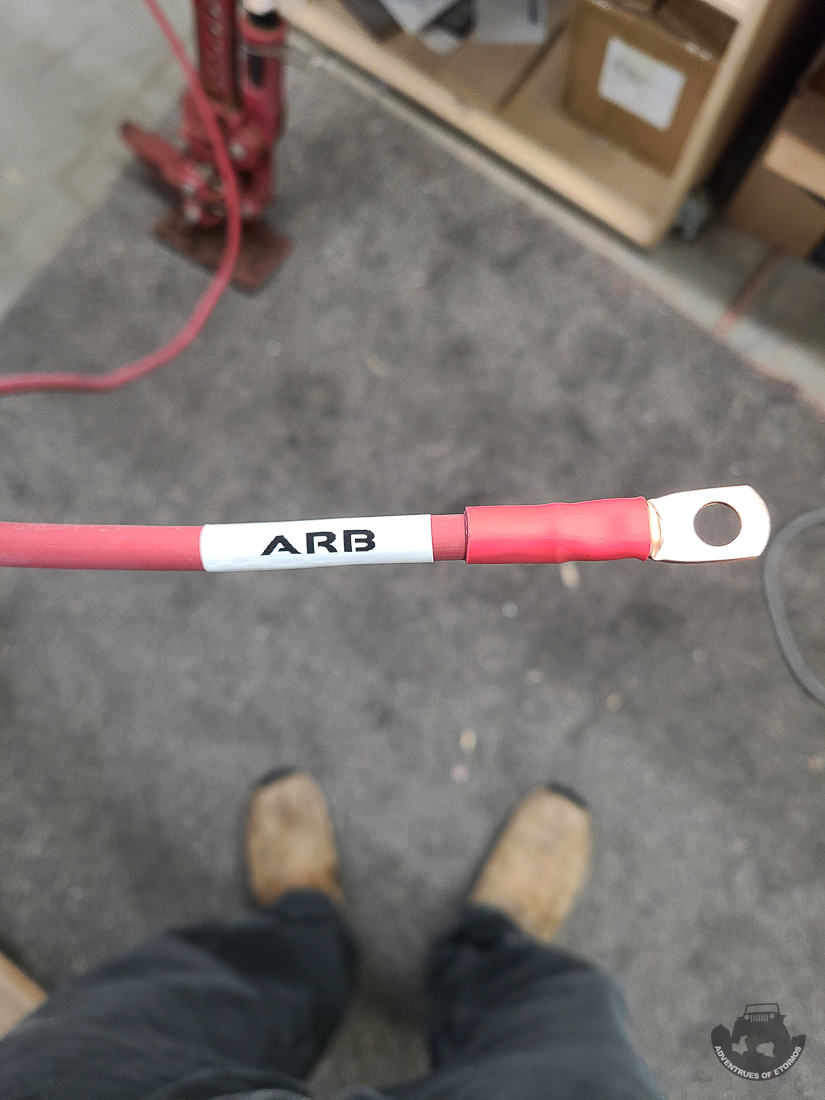
The ARB twin compressor required three wires going to the engine bay. One was to connect it to the Switch Pros and the other two were the positive and negitive wires to the battery. I chose to connect the ARB to the main truck battery instead of the house battery installed in the RSI for a couple of reasons. First, I did not want to run the house battery down via the compressor since its main job is to power the fridge/freezer. Secondly, the ARB really needs a good solid power source and I order the truck with dual alternators just for this purpose.
The three wires were all ran through more cable glands installed along the fire wall. On the driver’s side there was room to place them in the black plastic cover that runs along the back.
The wires go across the back, hidden under that plastic cover.
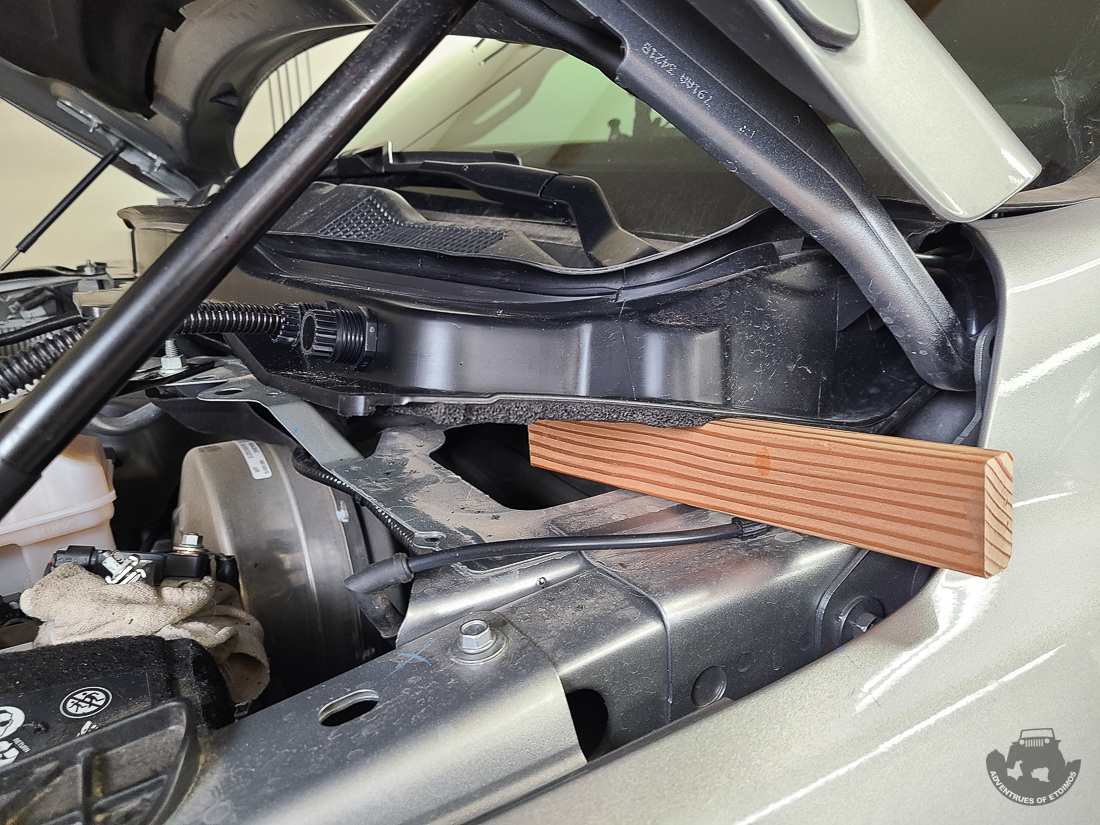
The passenger side does not have enough space on the plastic cover for the cable to exit, so I had to drills some holes in the firewall for them.
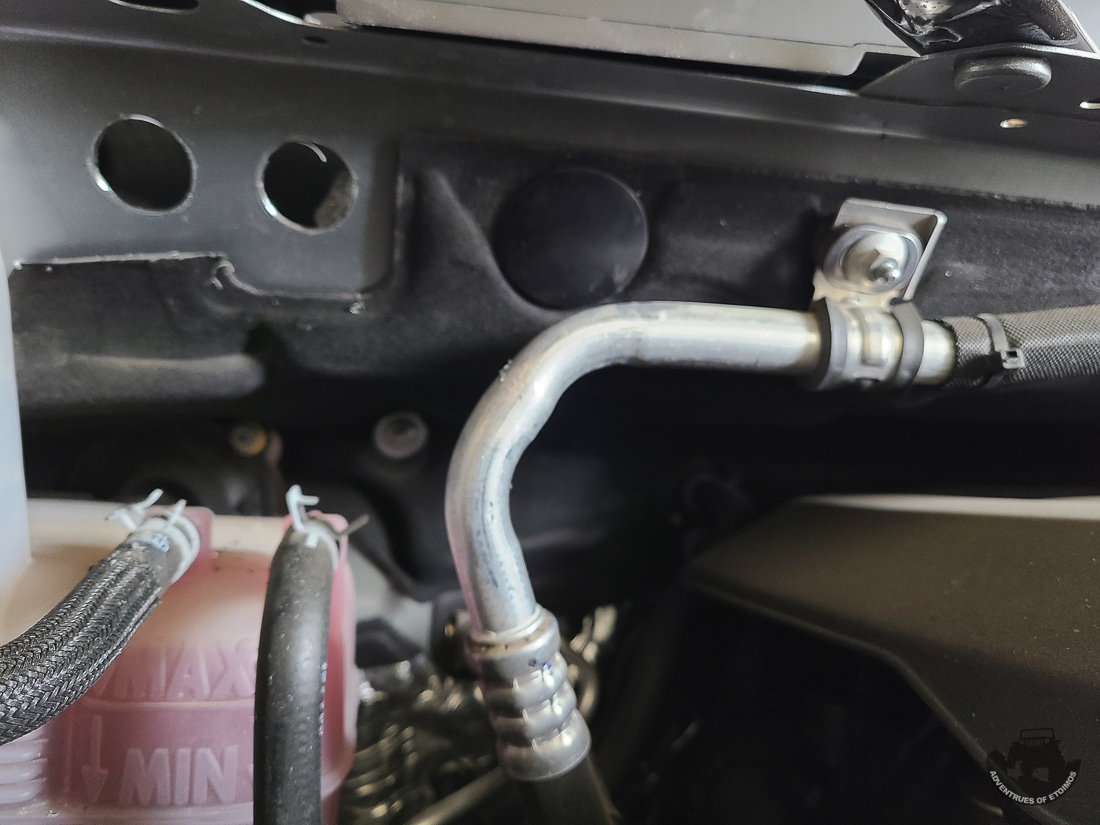
Cable glands were used on this side as well for a nice clean look. Unless you know these trucks, it is hard to tell these wires are not factory installed.
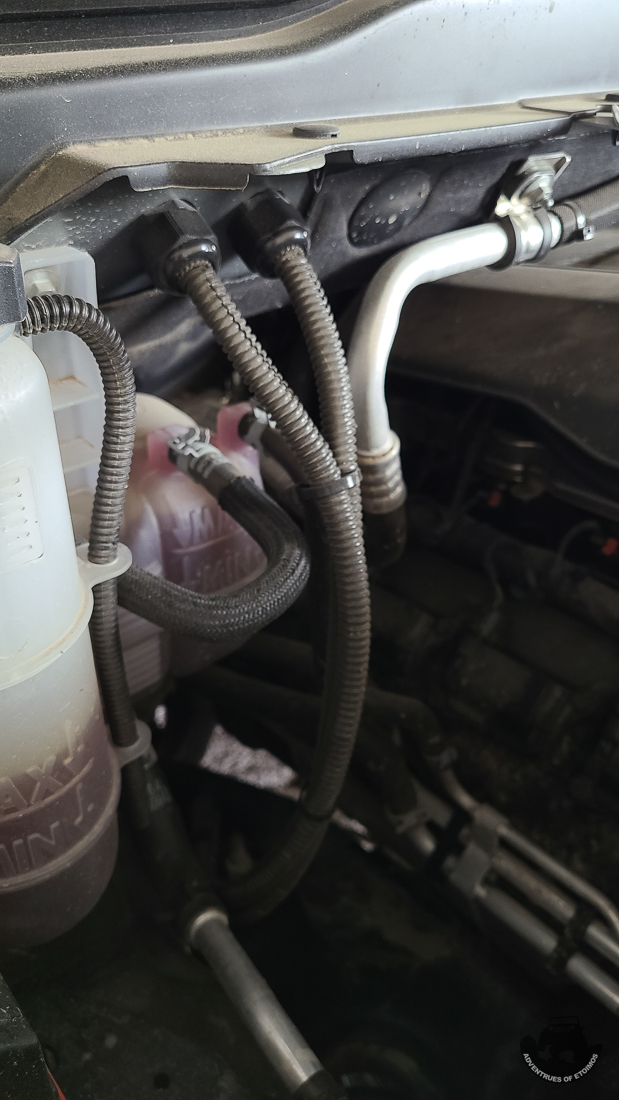
Again, all the wires are labeled for easy identification later on.
The build continues with Solar, Electrical and Comms…
Leave a Reply